

About MSP Billing
MSP Billing is the billing page in the Partner portal. You set up billing, review estimated spend, and download invoices in Iru. This page is only available in the United States. Support for the European Union is coming in a future update.MSP billing is part of the Partner portal. Partner portal appears in the Account Menu only for Account Owners and Administrators on an MSP parent tenant. See Team Member Role Permissions.
How to Open MSP Billing
1
Open the Partner portal
In the sidebar, select the Account Menu Button, then select Partner portal.
2
Select MSP billing
In the left-hand navigation, select MSP billing.
First-time setup
Complete billing in the Partner portal. There is no email and no redirect to an outside page to add a bank account. If billing is not set up yet, MSP Billing shows Billing setup. You also see that prompt if you try to create a tenant before billing is set up.1
Open MSP billing
In the Partner portal, select MSP billing in the left-hand navigation.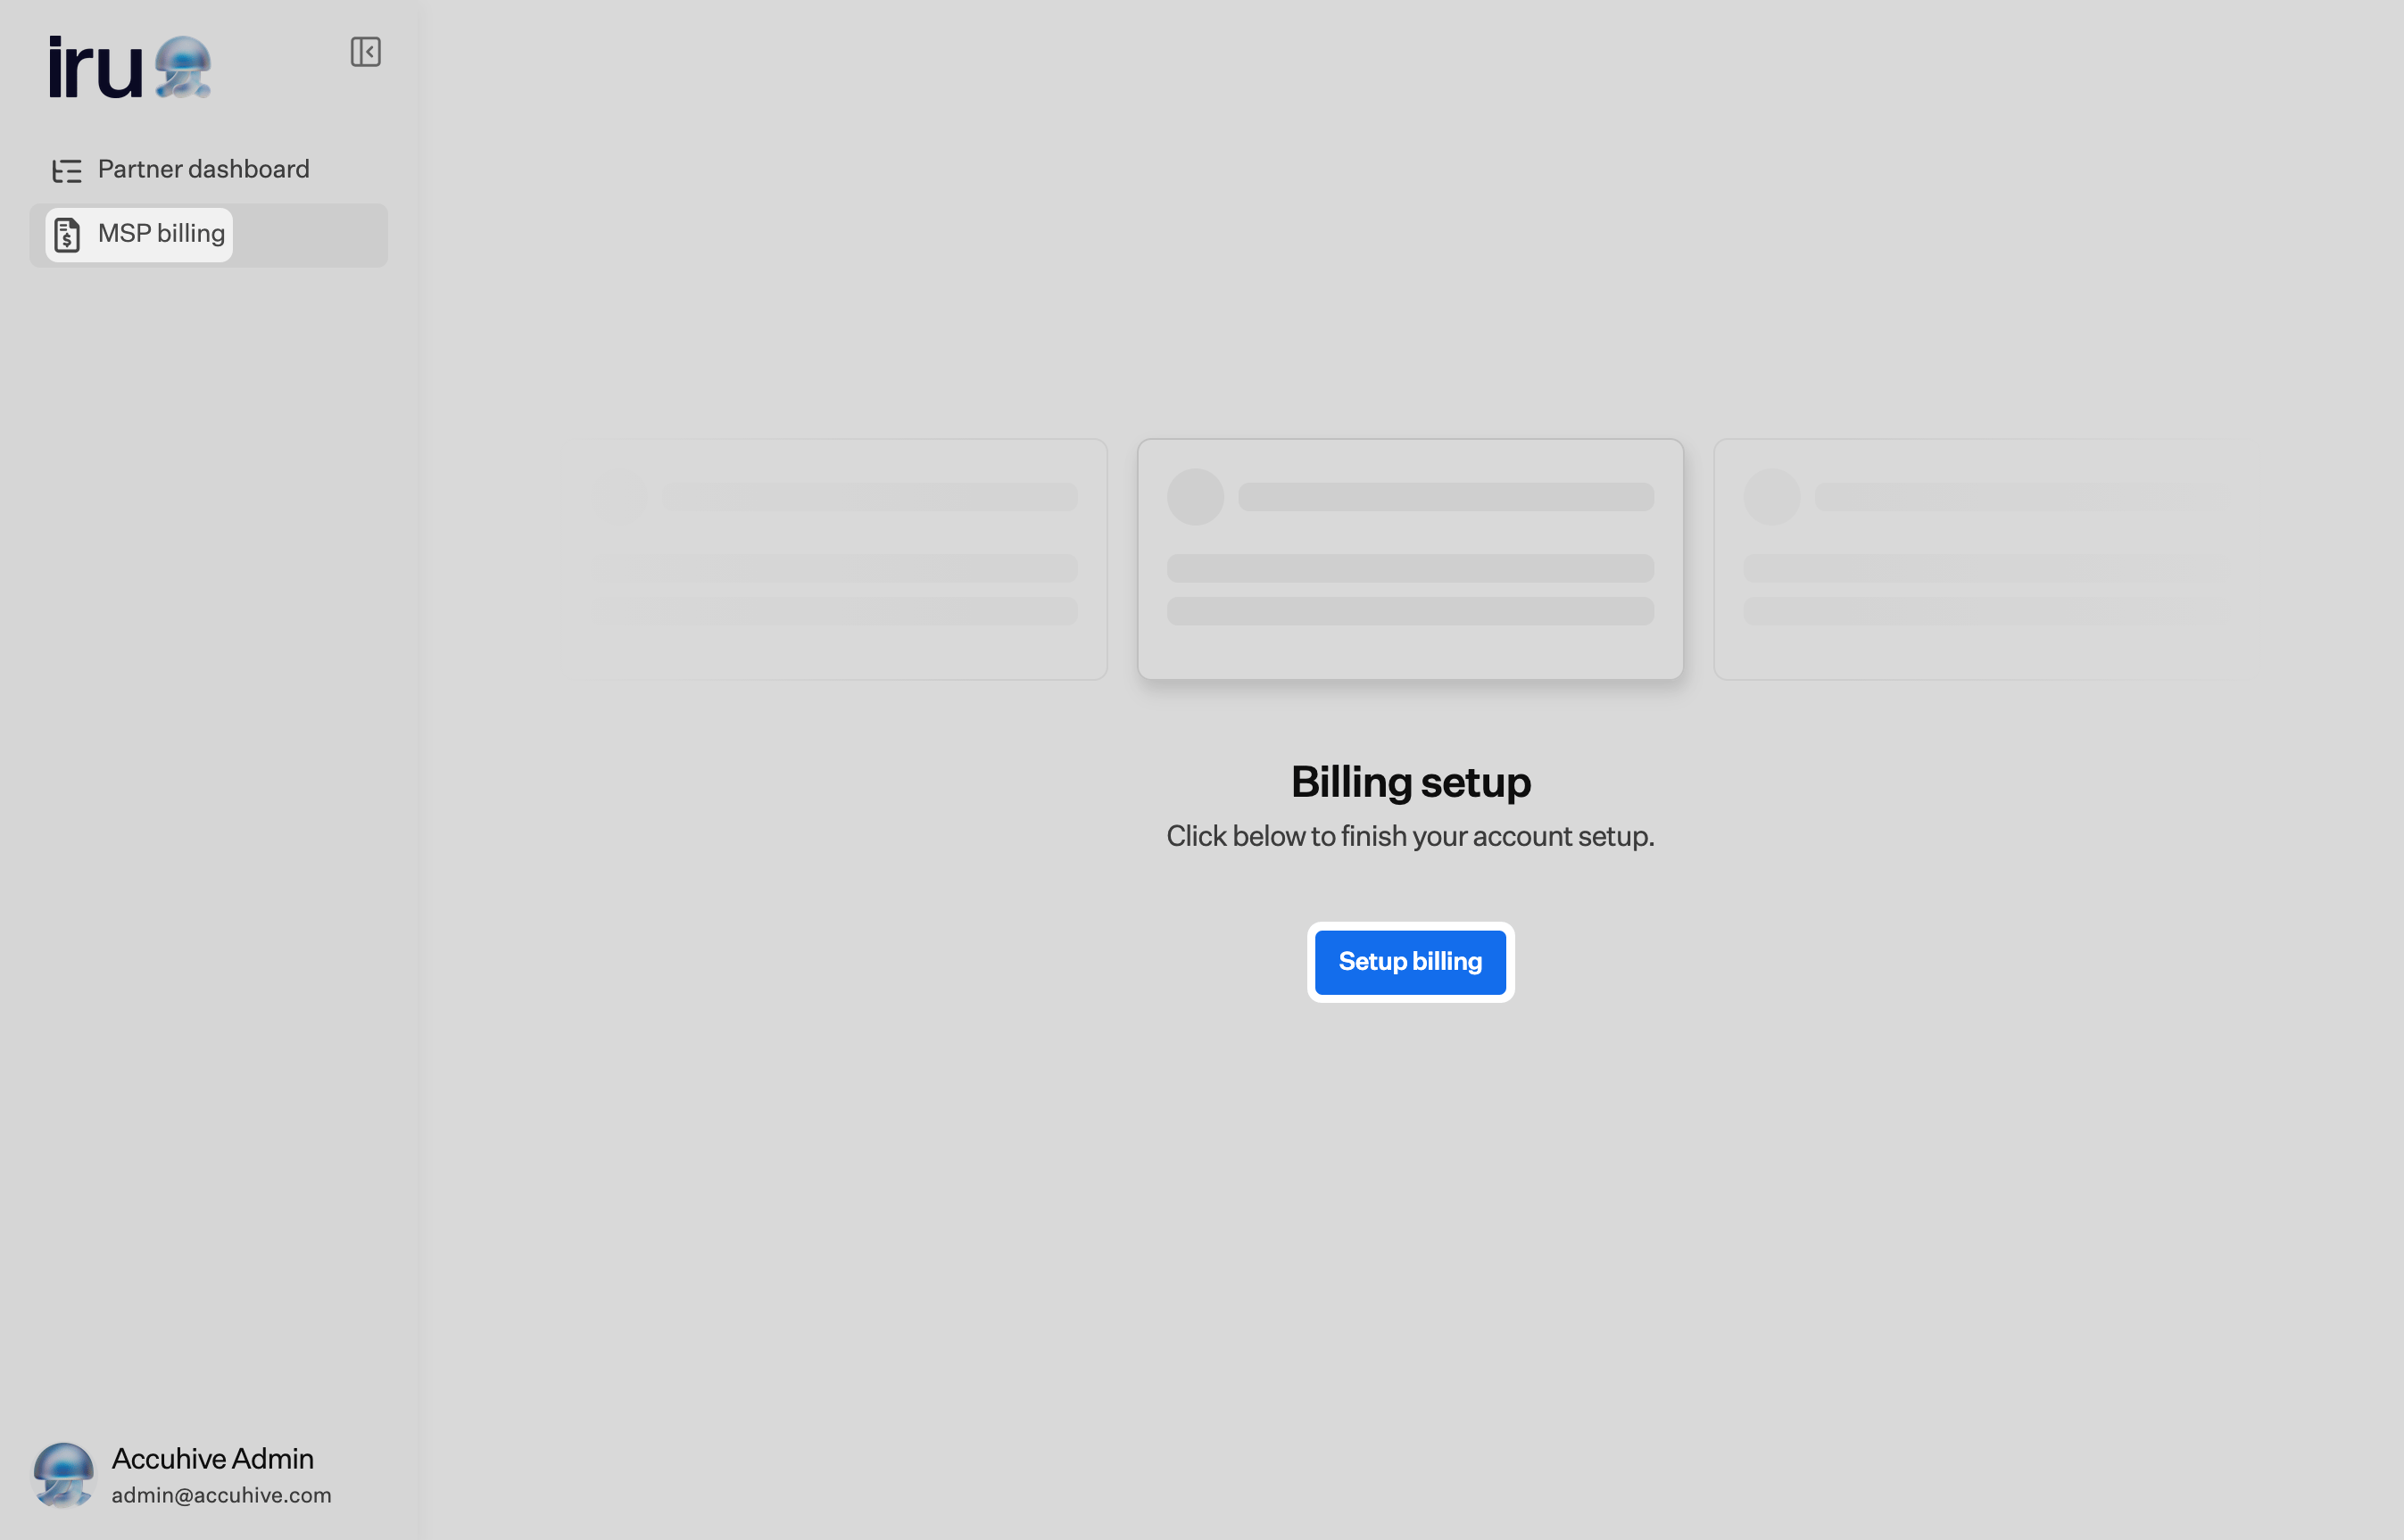
2
Select Setup billing
Select Setup billing.
3
Enter organization details
In Organization details, fill in the organization address, then select Save details.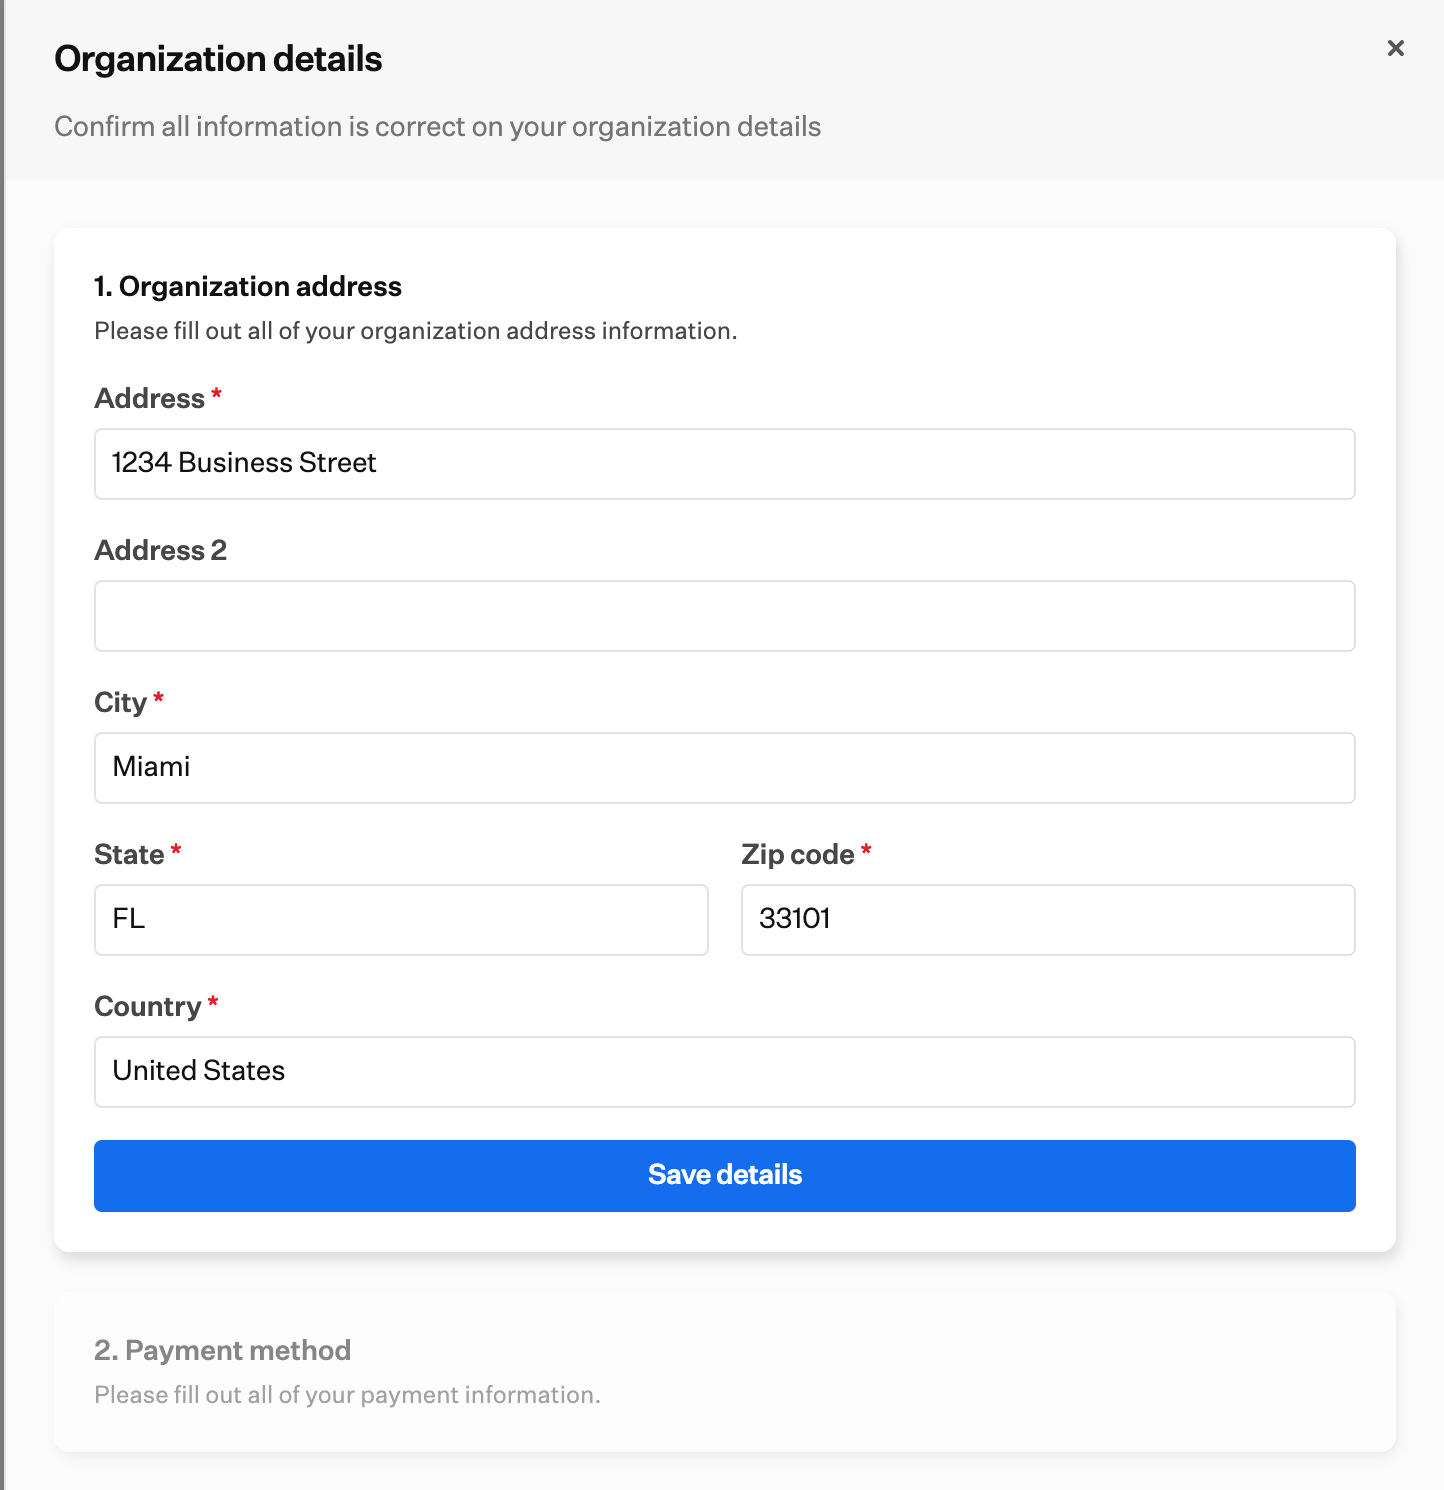
The message We could not save your organization address. Try again. means the address could not be validated. Check that it was entered correctly, then try again.
4
Enter payment method
Enter Email, Full name, and bank information, then select Save details. By providing your payment information, you authorize Iru to debit this bank account for future payments.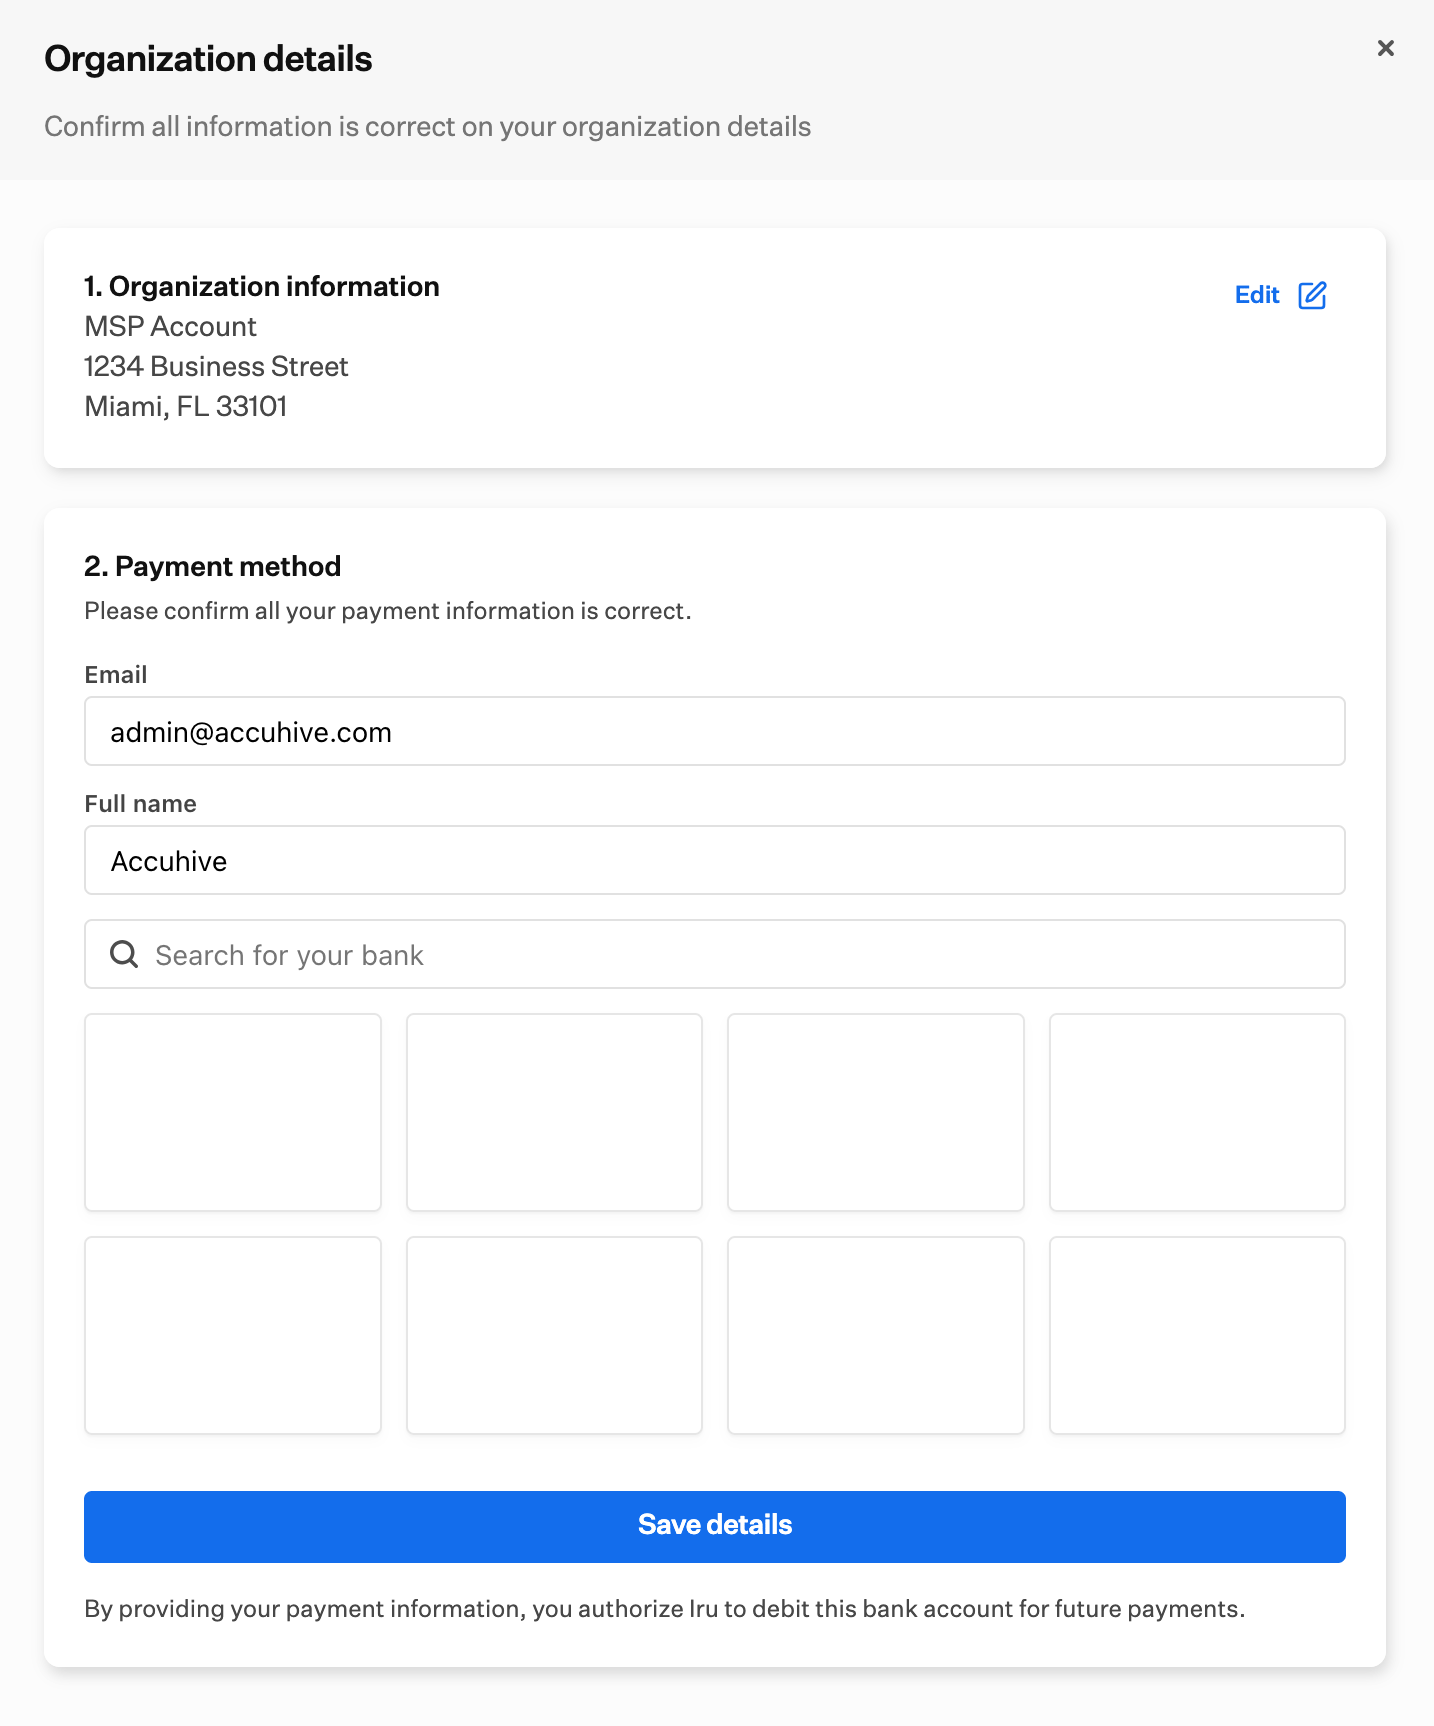
5
Select Done
Confirm the organization information and payment method, then select Done. Automatic payment is on from that point, and you can create a tenant right away.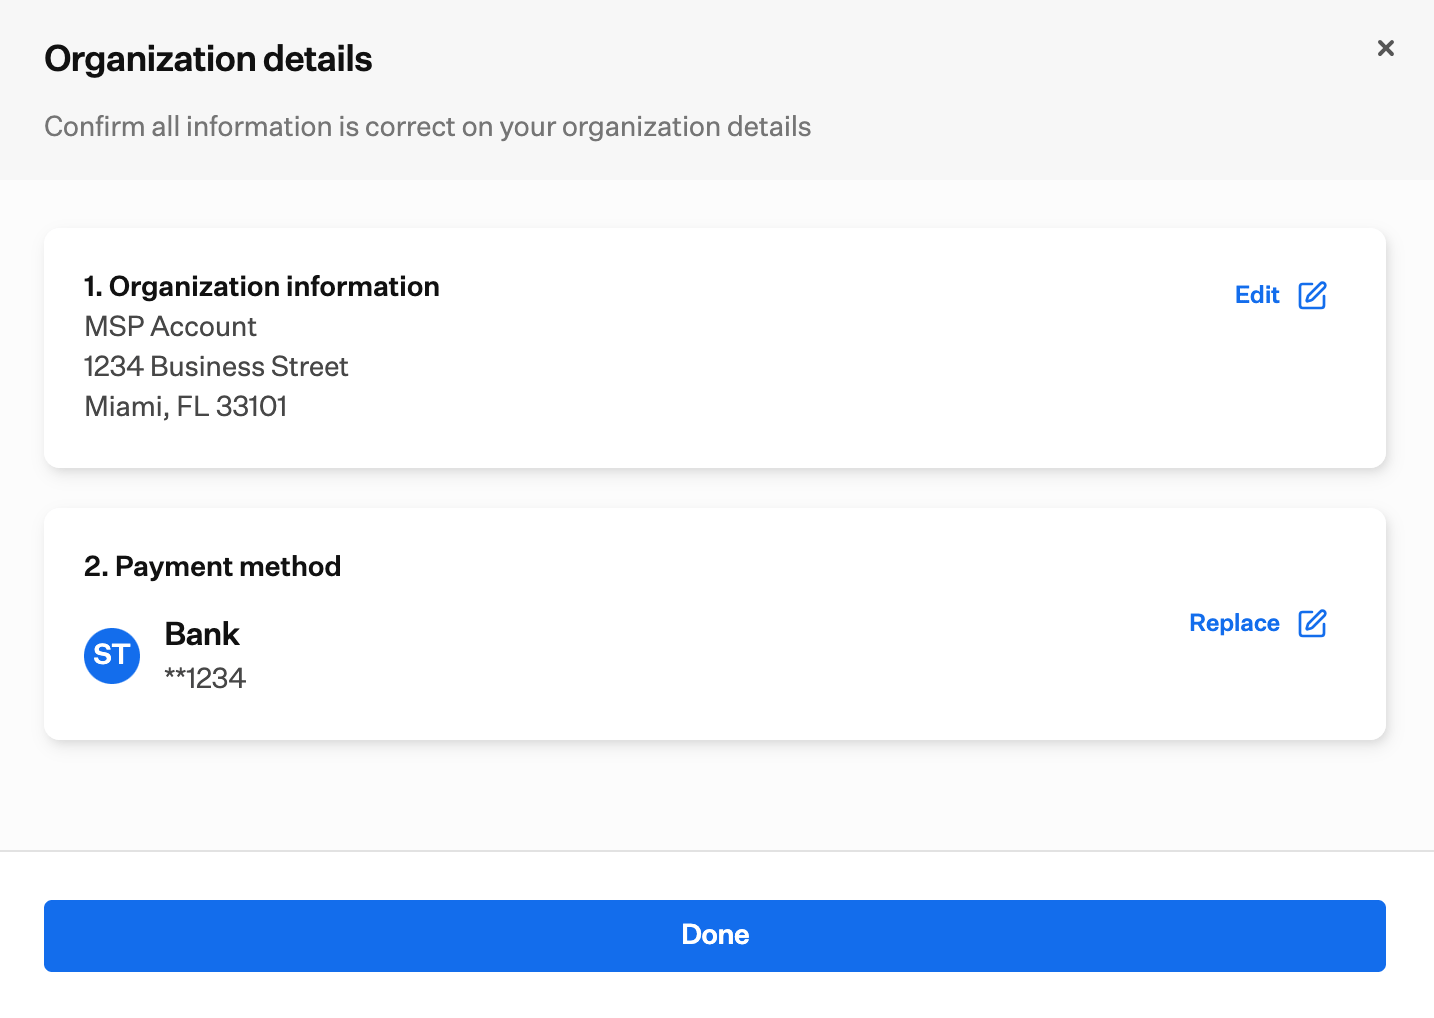
After setup, it can take up to 12 hours for billing data to populate.
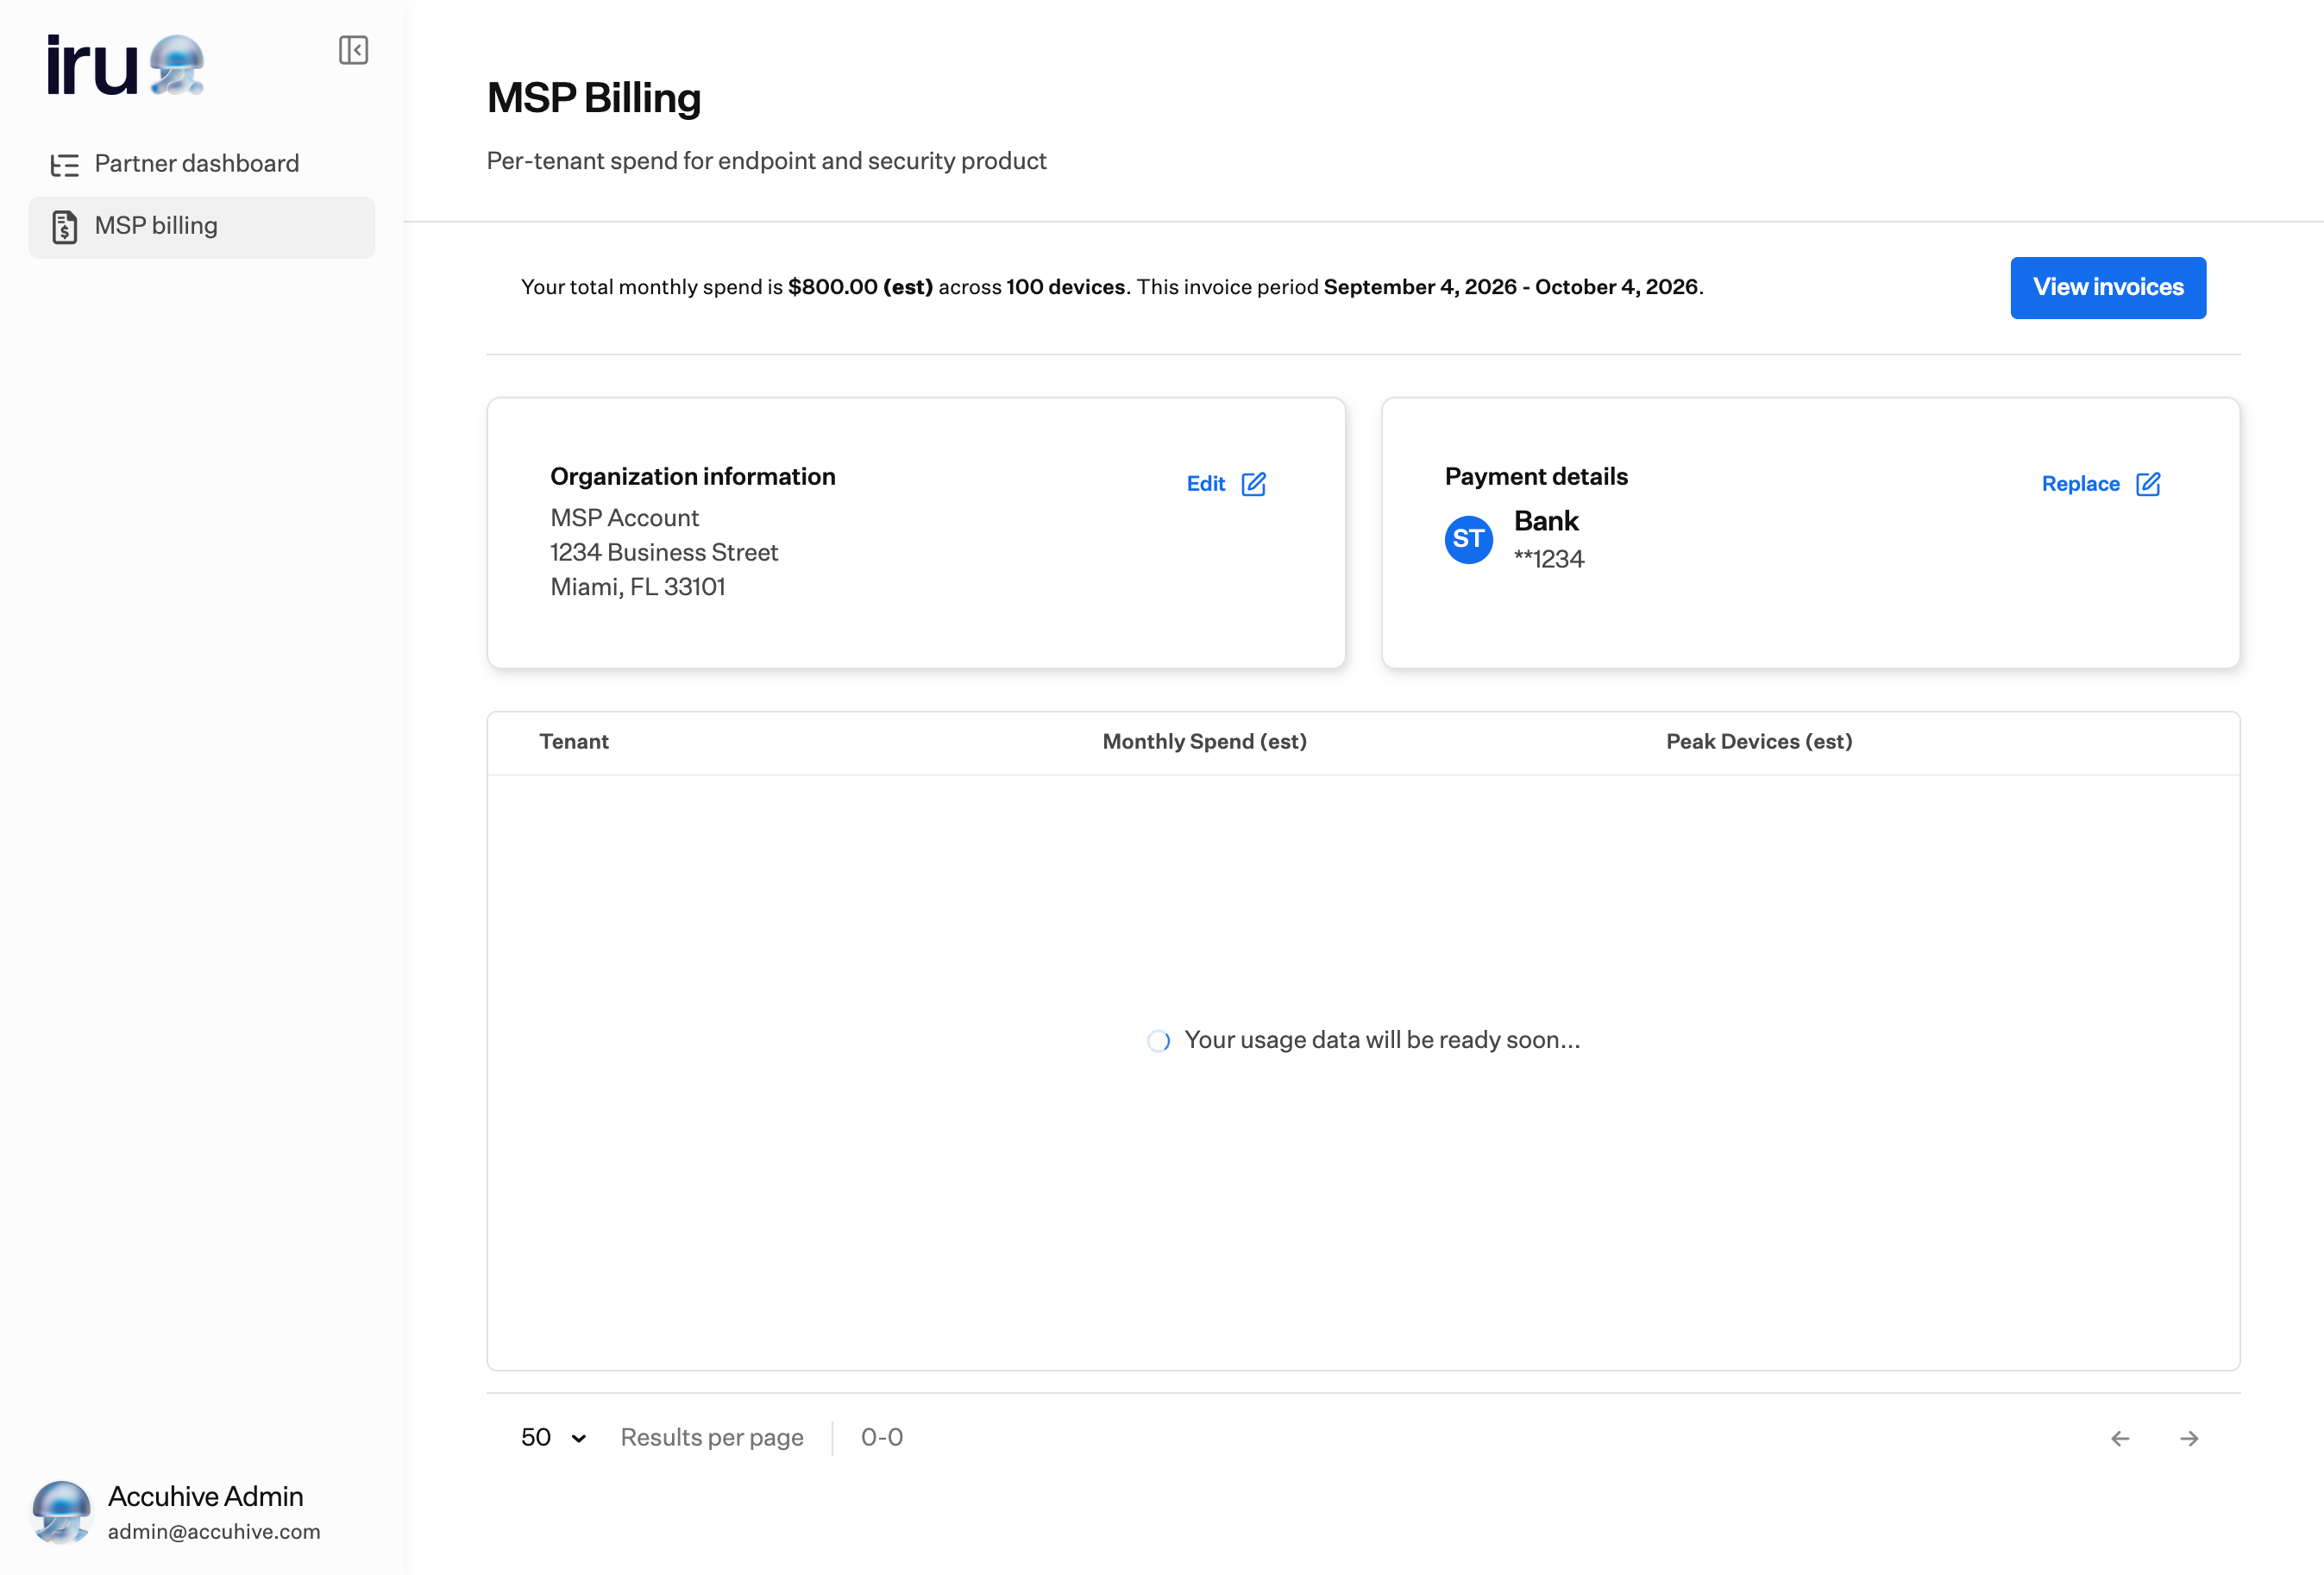
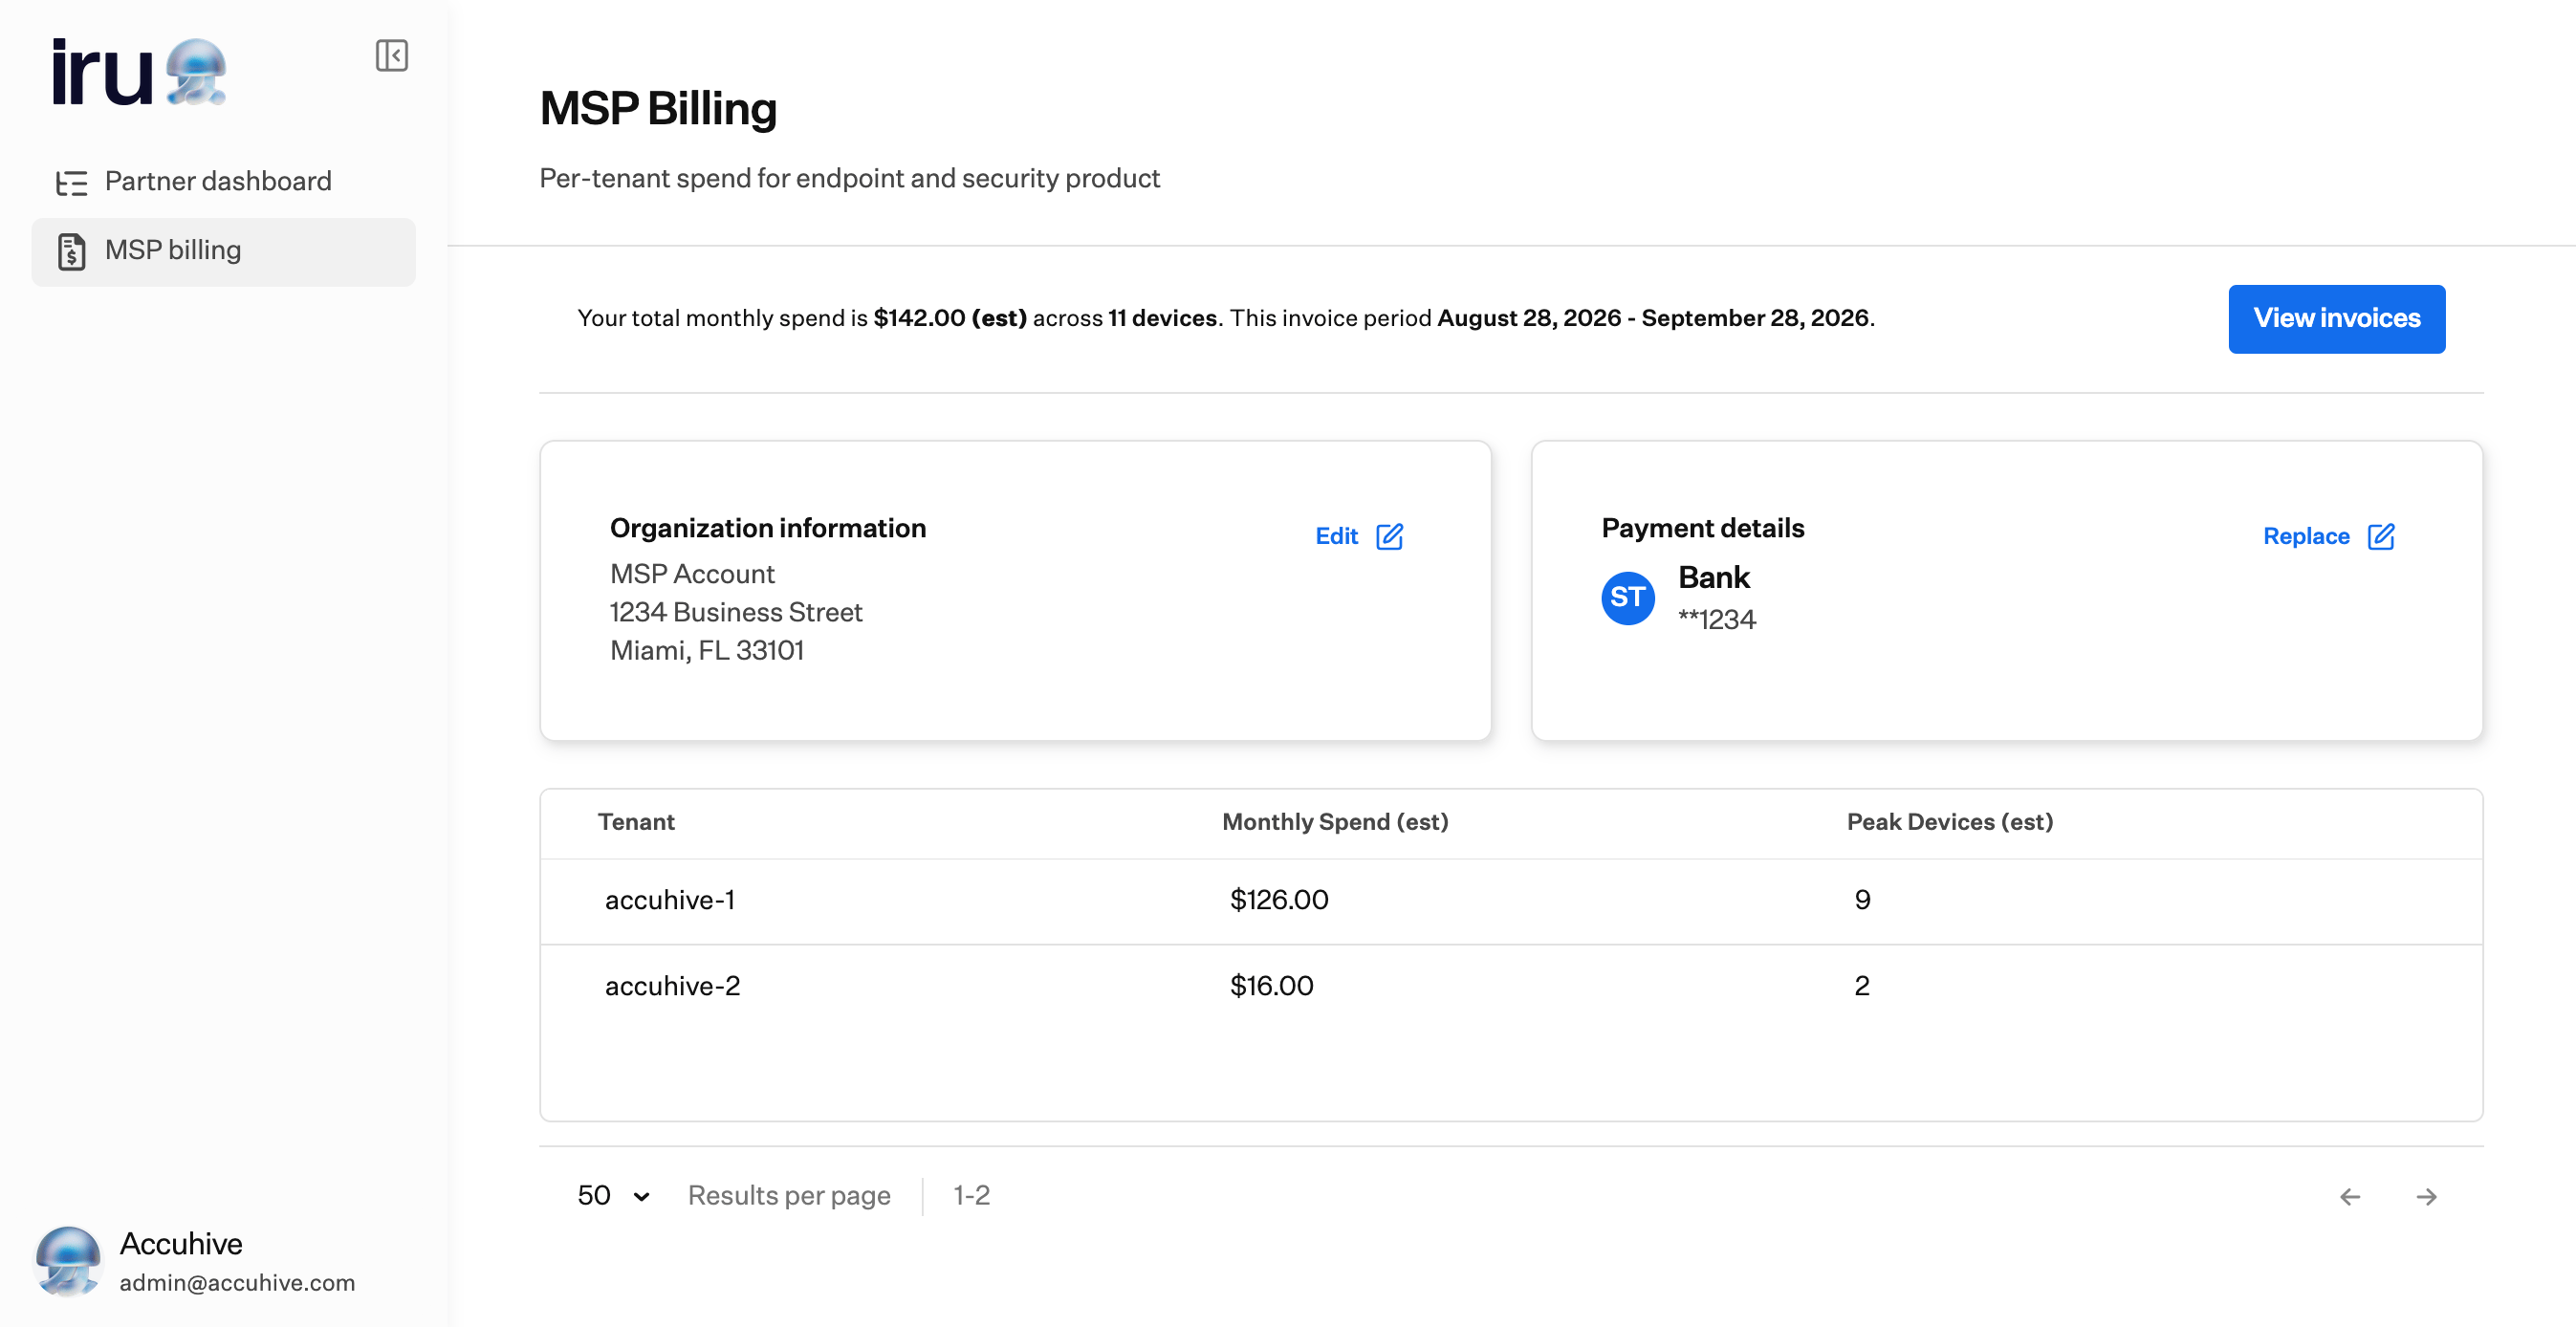
Edit Organization Information
After billing is set up, you can update the company name and address from MSP Billing.1
Open MSP billing
In the Partner portal, select MSP billing in the left-hand navigation.
2
Select Edit
Select Edit on Organization information.
3
Update organization details
Update the company name and address in Organization details, then select Save details. Select Cancel to discard.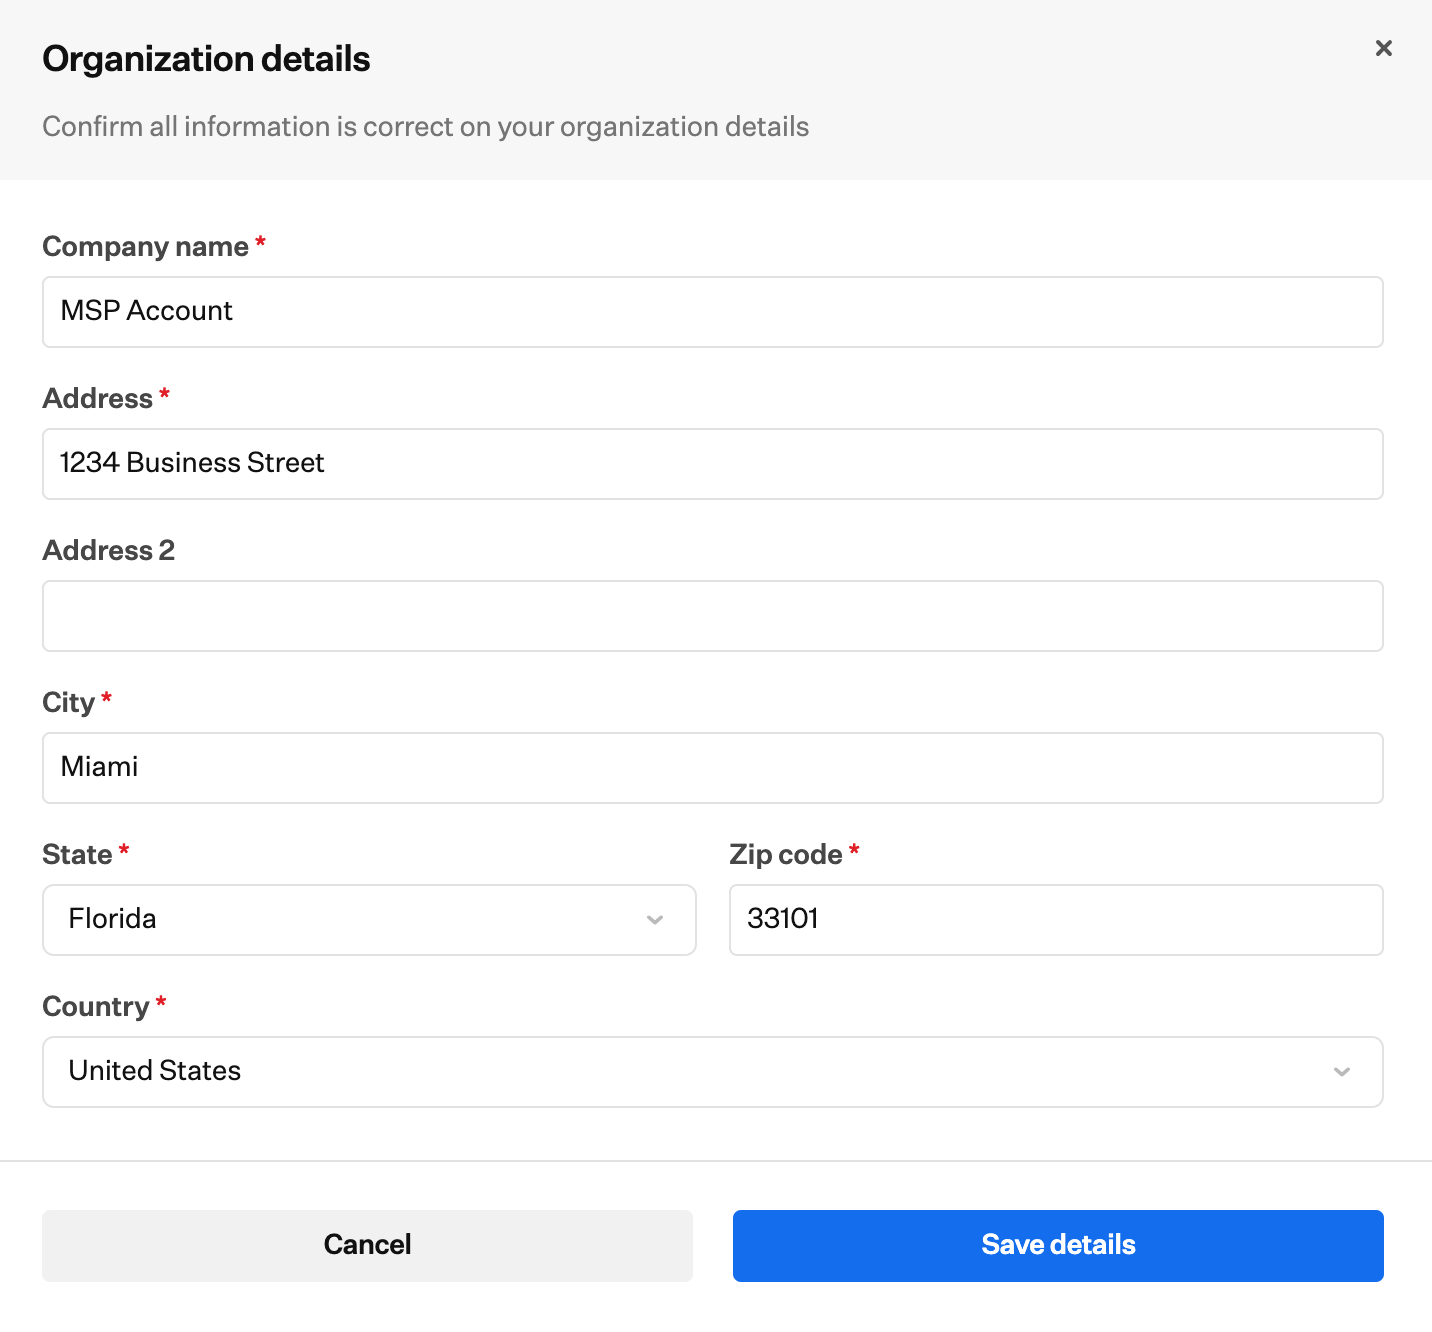
The message We could not save your organization address. Try again. means the address could not be validated. Check that it was entered correctly, then try again.
Replace Payment Details
After billing is set up, you can replace the bank account on MSP Billing.1
Open MSP billing
In the Partner portal, select MSP billing in the left-hand navigation.
2
Select Replace
Select Replace on Payment details.
3
Enter payment method
Enter Email and Full name, then search for your bank or select it from the list. Select Save details, or Cancel to discard. By providing your payment information, you authorize Iru to debit this bank account for future payments.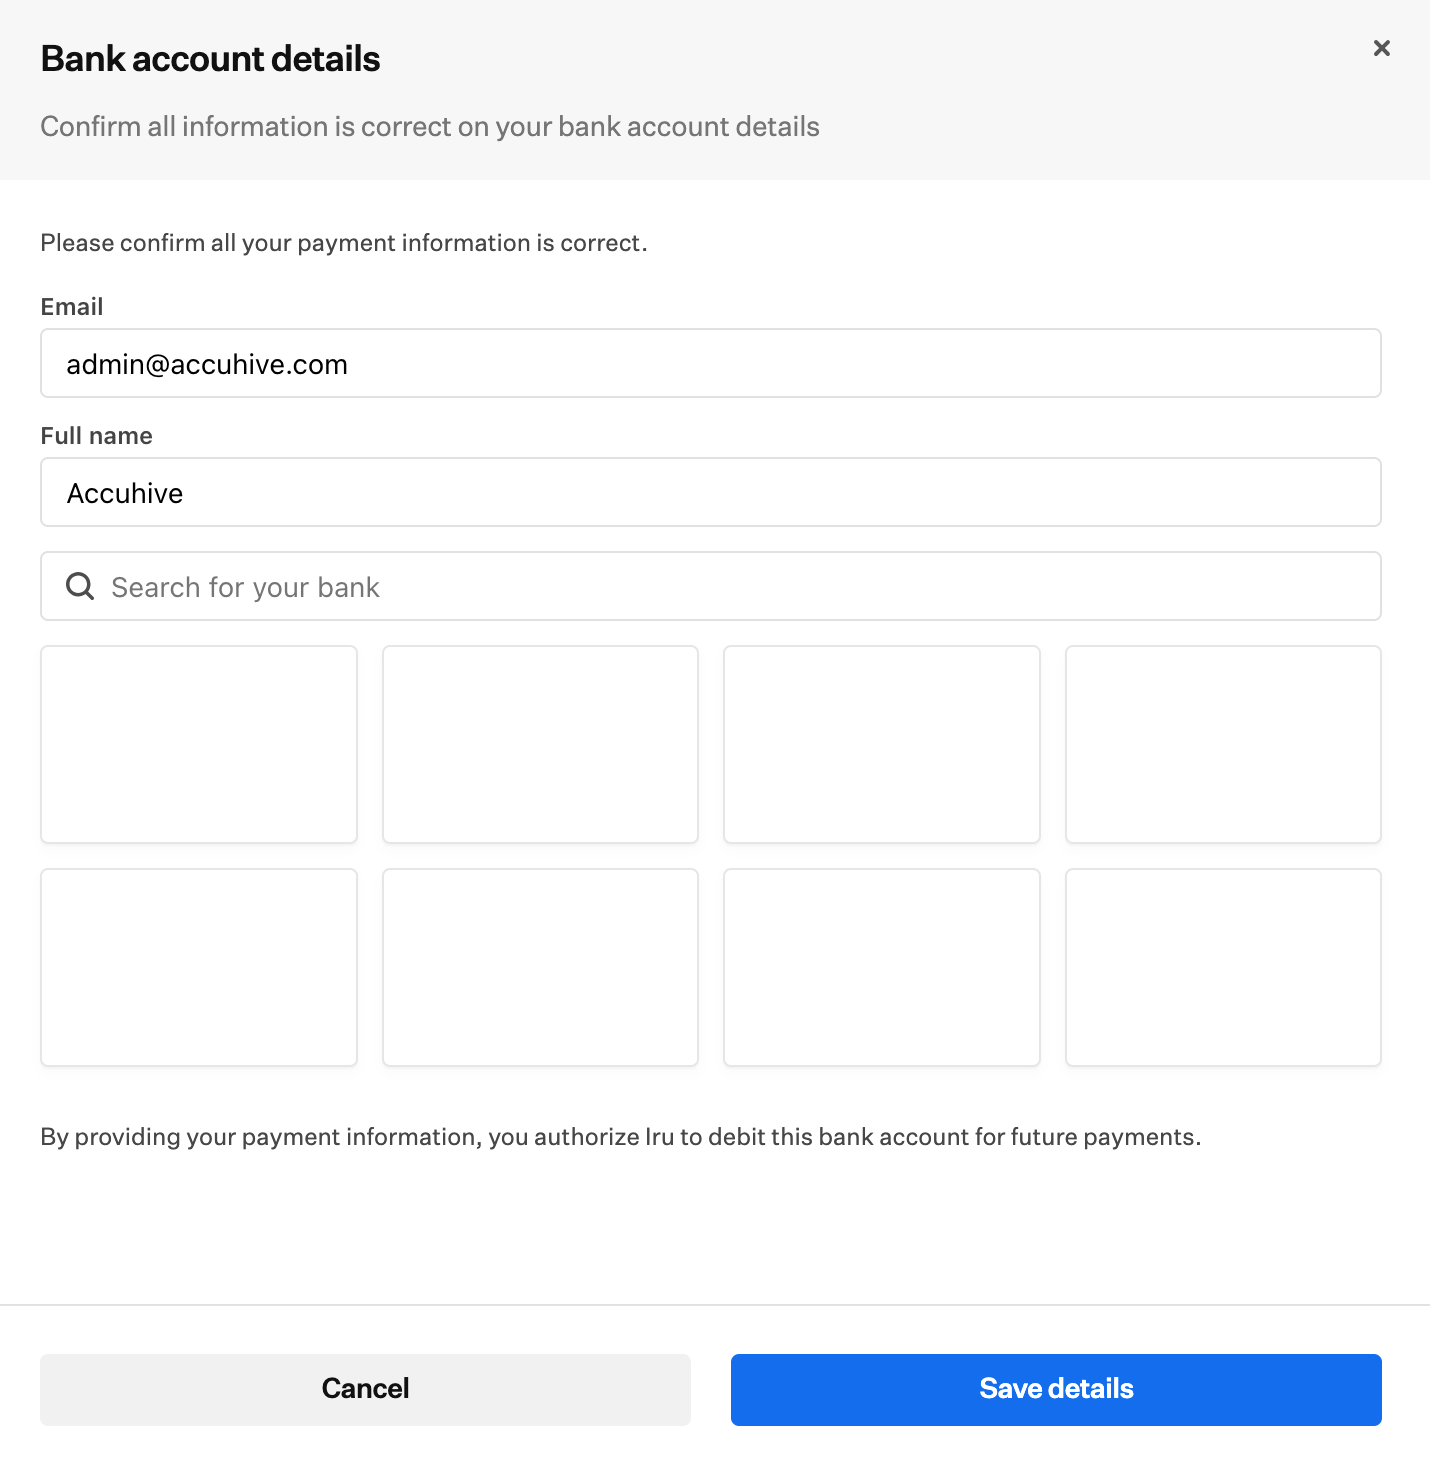
View Invoices
After billing is set up, you can view and download invoices from MSP Billing.1
Open MSP billing
In the Partner portal, select MSP billing in the left-hand navigation.
2
Select View invoices
Select View invoices. Invoices lists each invoice so you can see or download it.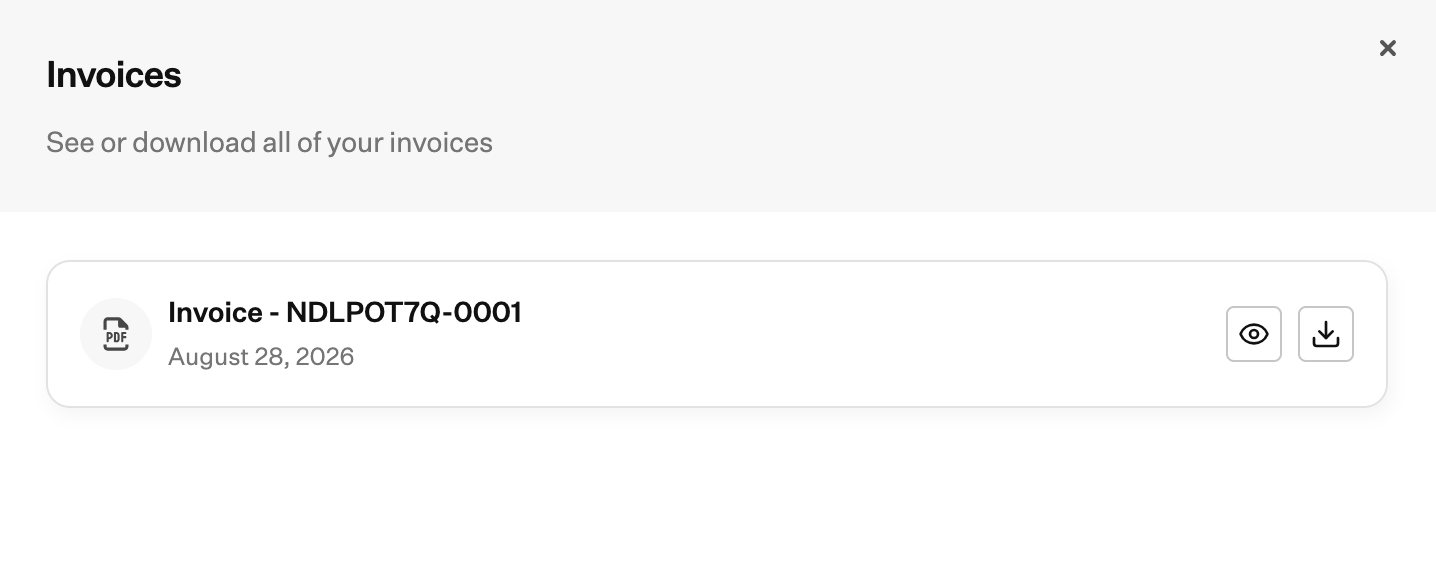
3
View or download an invoice
On an invoice tile, use the eye icon to view the invoice, or the download icon to download a PDF.
4
Review the invoice
Viewing an invoice opens it in a new browser tab. From there you can:
- Download the PDF
- View invoice and payment details, which opens a side panel with a breakdown of the invoice
- Choose a payment option and select Pay
- Choose a payment method and schedule a payment
Automatic payment
Adding your payment method sets up automatic renewal, so invoices are paid without any action needed from you. If a bank account is already on file, automatic payment continues at renewal and does not switch back to paying each invoice manually.Considerations
Parent tenant access only
Parent tenant access only
MSP billing is part of the Partner portal, which is available only from your MSP parent tenant. You cannot open it from a child tenant’s account menu. See Partner Portal.
Child tenant Billing page
Child tenant Billing page
On a child tenant, Billing shows that license management for that tenant is handled by the MSP admin. Review spend and invoices from the parent tenant instead.
Tenant creation requires billing
Tenant creation requires billing
You can use the rest of the Partner portal before billing is set up. Creating a child tenant waits until billing setup is complete. See Create a Tenant.
Related Articles
Partner Portal
Open the Partner portal and return to your parent tenant with Home.
Partner Dashboard
List tenants, provision products, and open customer environments.
Billing Page
License management on a tenant, including the message on child tenants.
Account Menu
Open Partner portal from the Account Menu Button.