This guide applies to Mac computers
Prerequisites
You will first need to obtain your desktop image(s) and compress the file(s).Create Custom App Library Item
To add this Library Item to your Iru Endpoint Library, follow the steps outlined in the Library Overview article.Deploy Your Desktop Image
Assign to Blueprints
Assign to the desired Blueprints.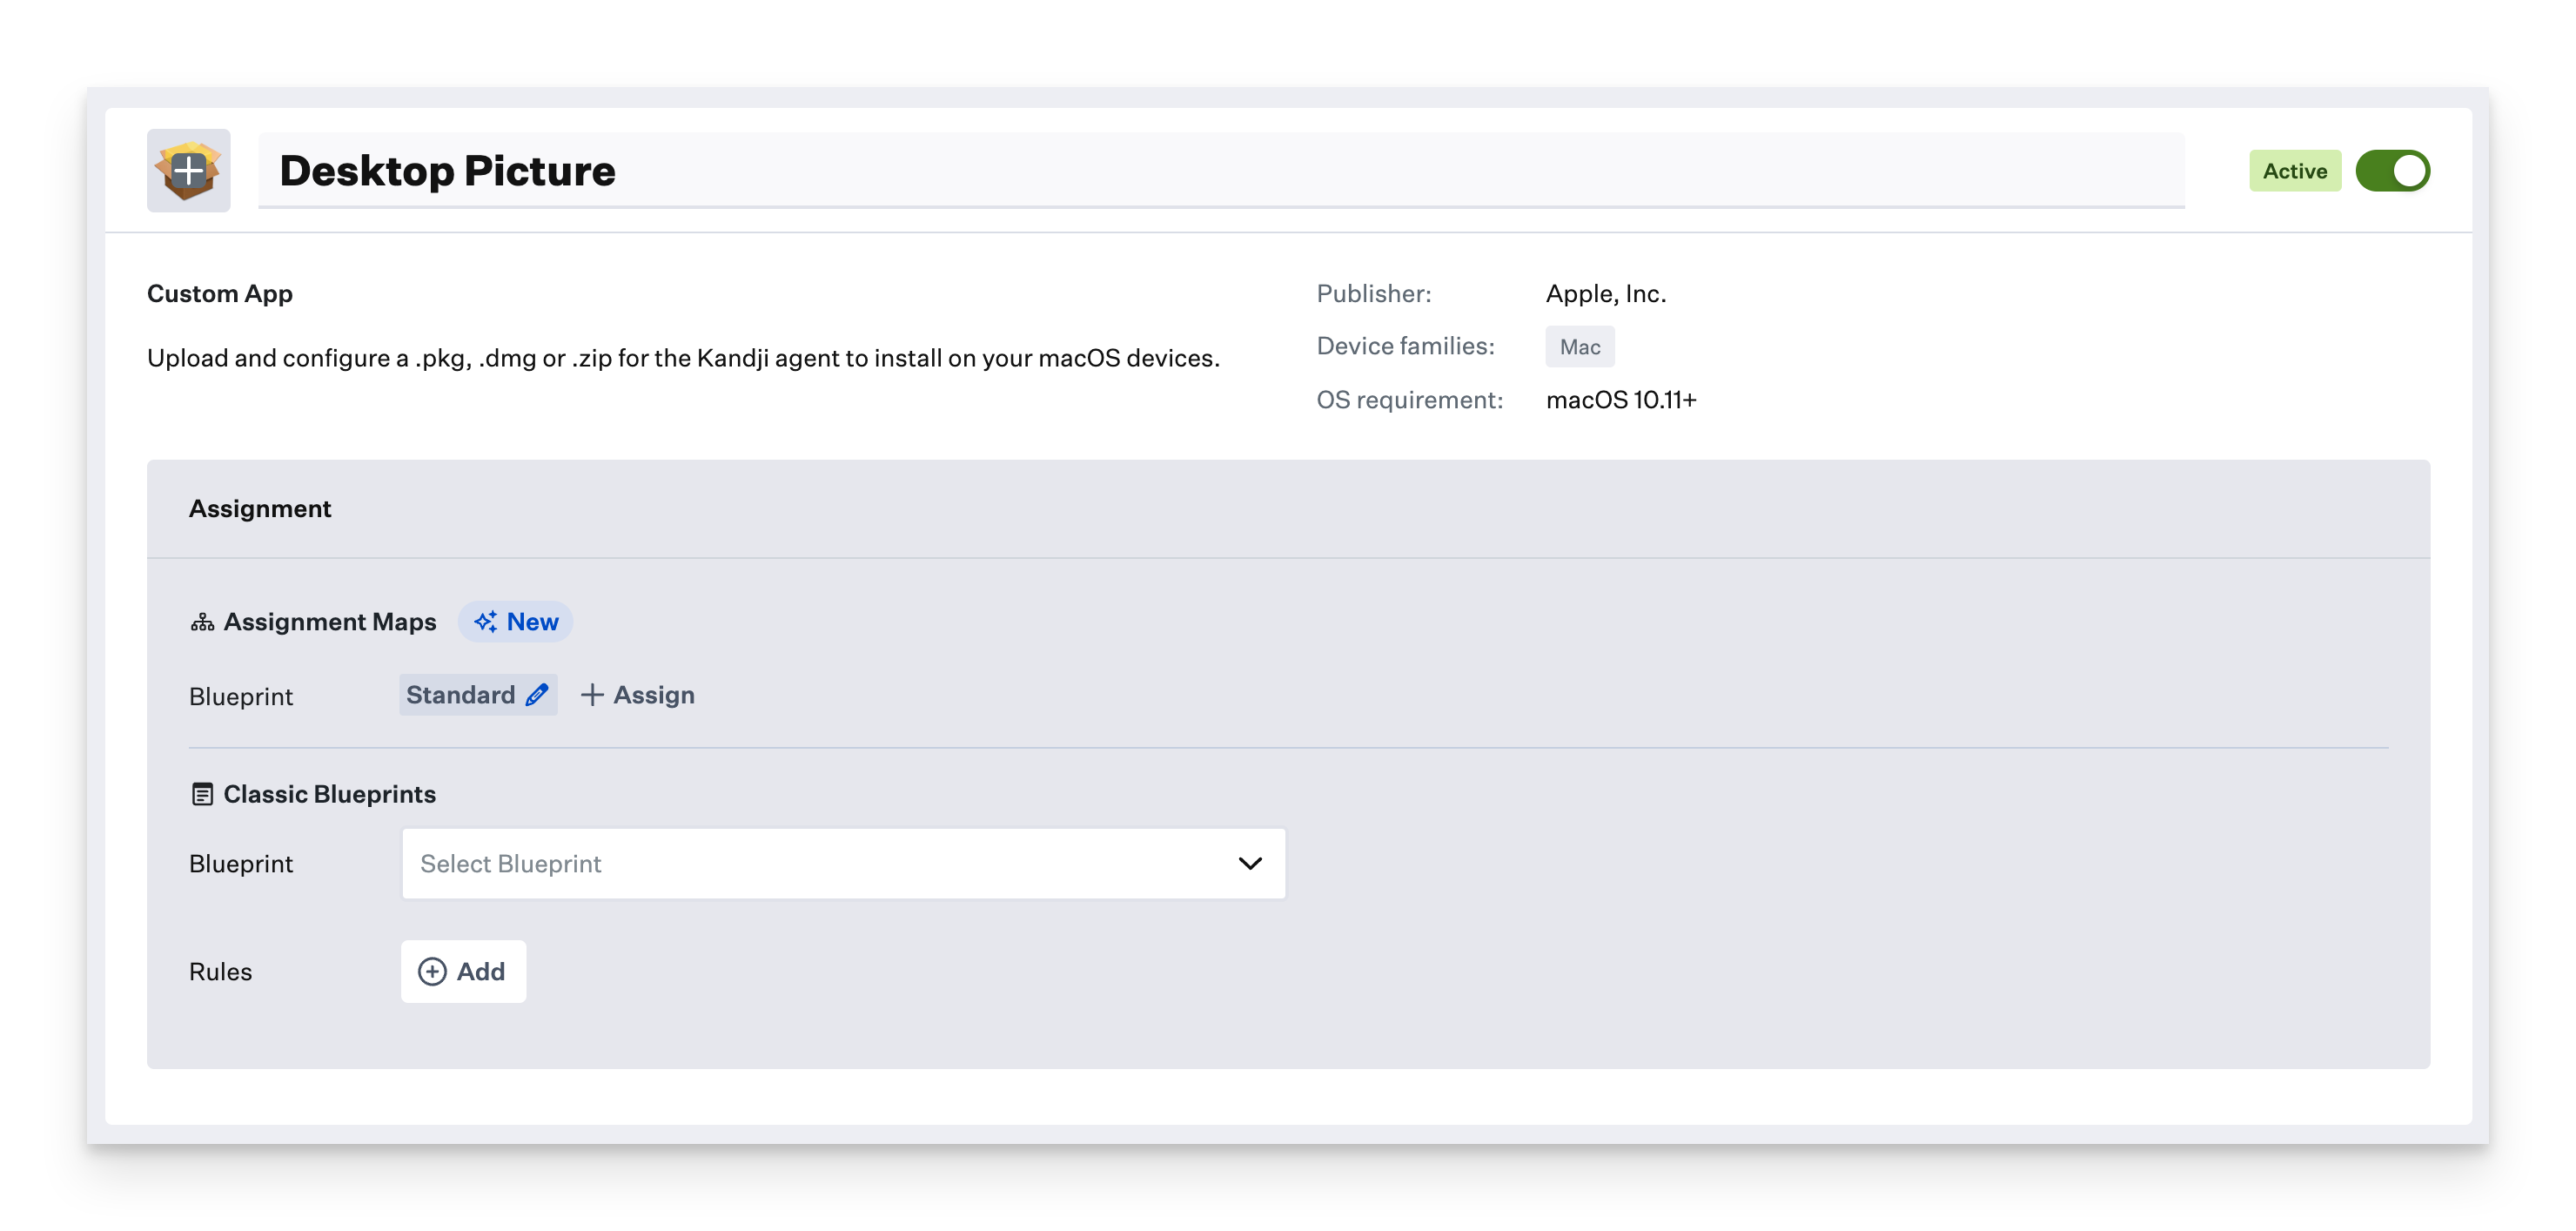
Configure Unzip Location
Provide an Unzip Location that will match the desktop picture path in your profile.
.png?fit=max&auto=format&n=pUBITYqXyIJ1c1A_&q=85&s=161af97c8f0f5586ed6393cfd915e1ee)
Download and install iMazing Profile Editor
Download iMazing Profile Editor
Download iMazing Profile Editor from the Mac App Store or their website. iMazing Profile Editor is also available as an Auto-App.
Create Your Desktop Picture Profile
Once you have iMazing Profile Editor open, follow these steps:Configure General Settings
Select the General domain on the left side and configure the basic profile settings:
- Set Name to whatever you would like the profile name to be
- Set Identifier to a unique string
- Set Organization to your Organization’s name
- Set Payload Description to describe the profile’s purpose
Set Payload Scope and Target
Configure the payload scope and target device: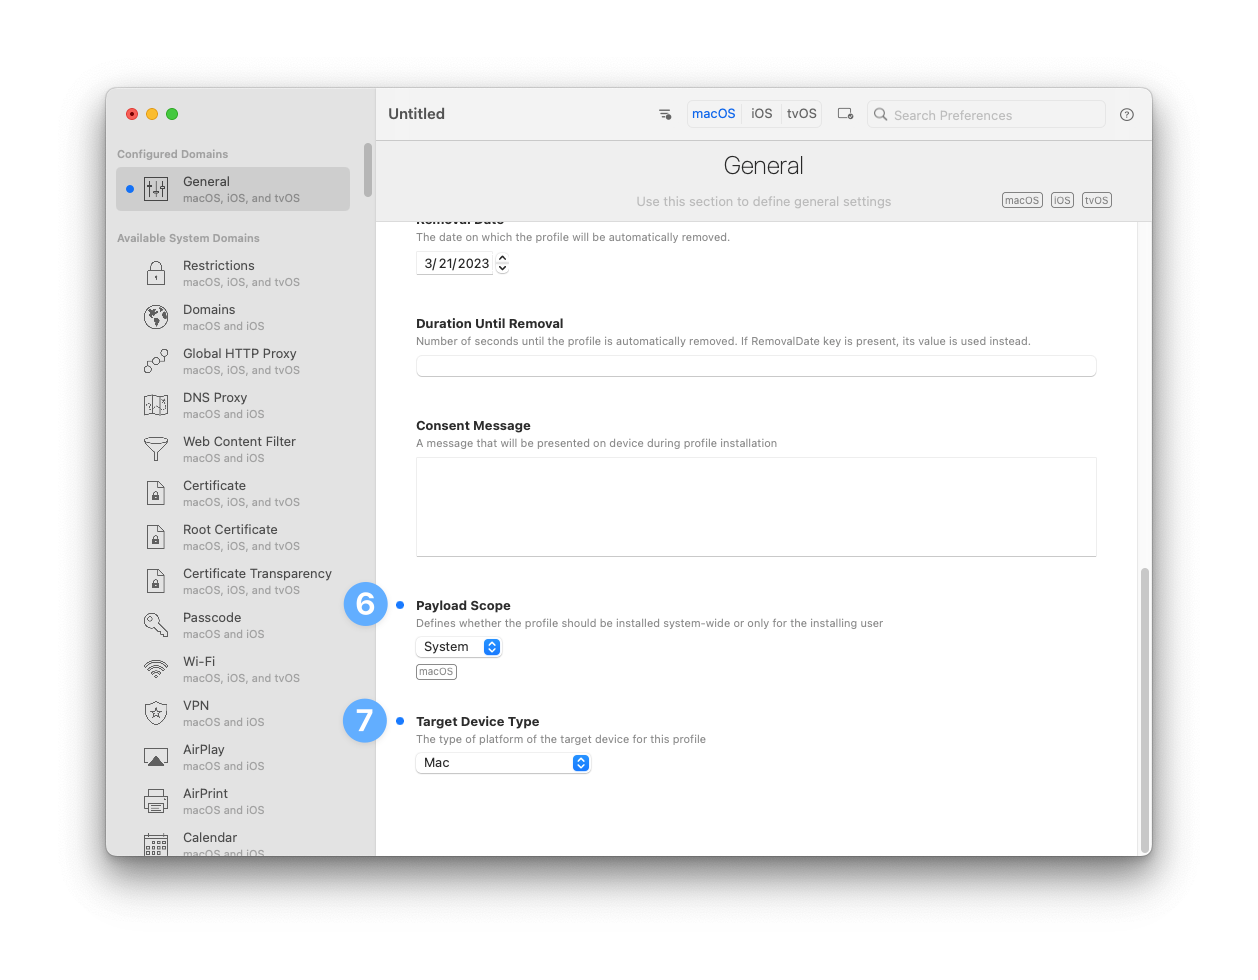
- Set Payload Scope to System
- Set Target Device Type to Mac
Add Desktop Picture Payload
In the upper right-hand search box, search for Desktop Picture, and Add the Configuration Payload.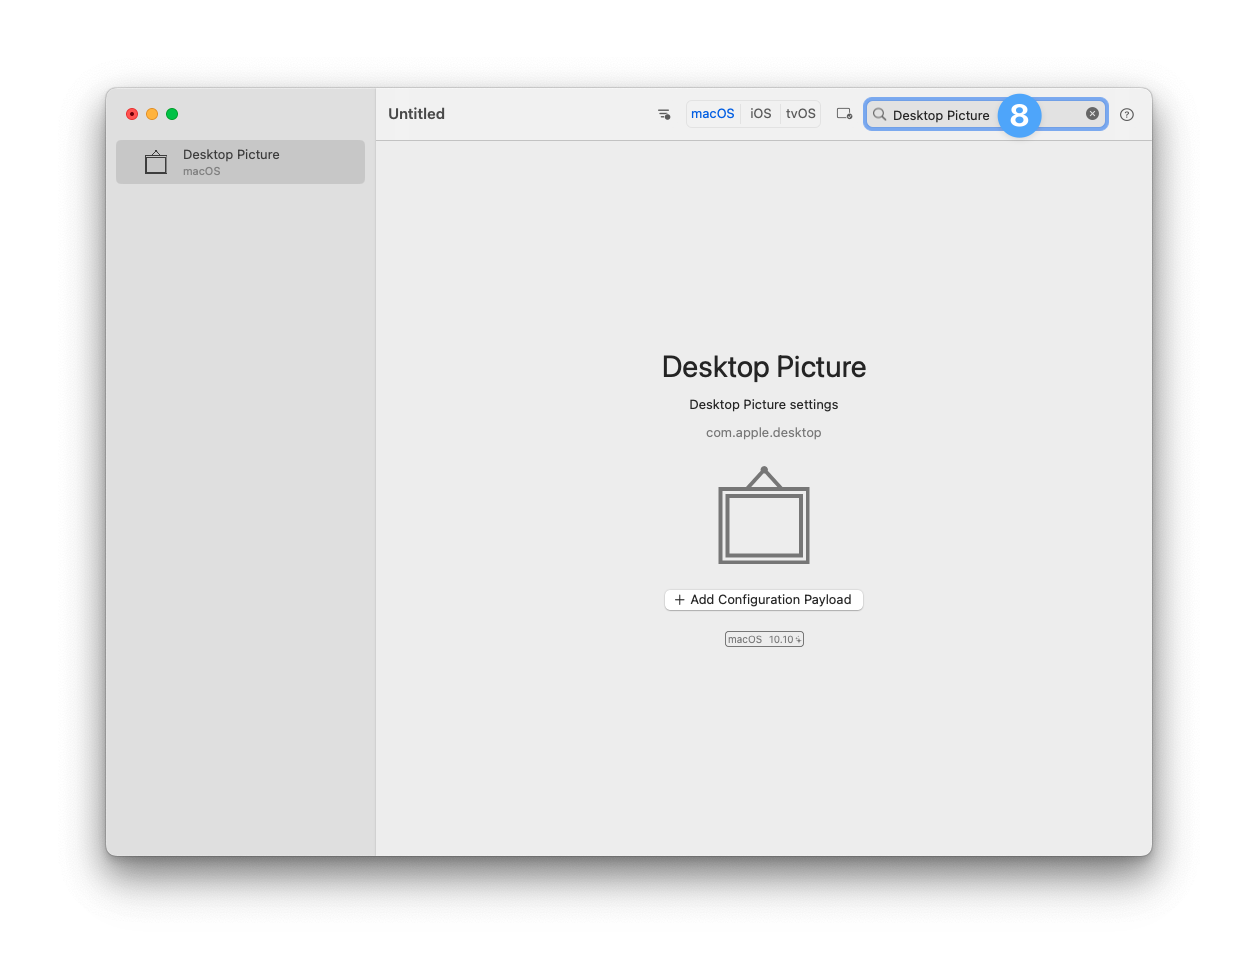
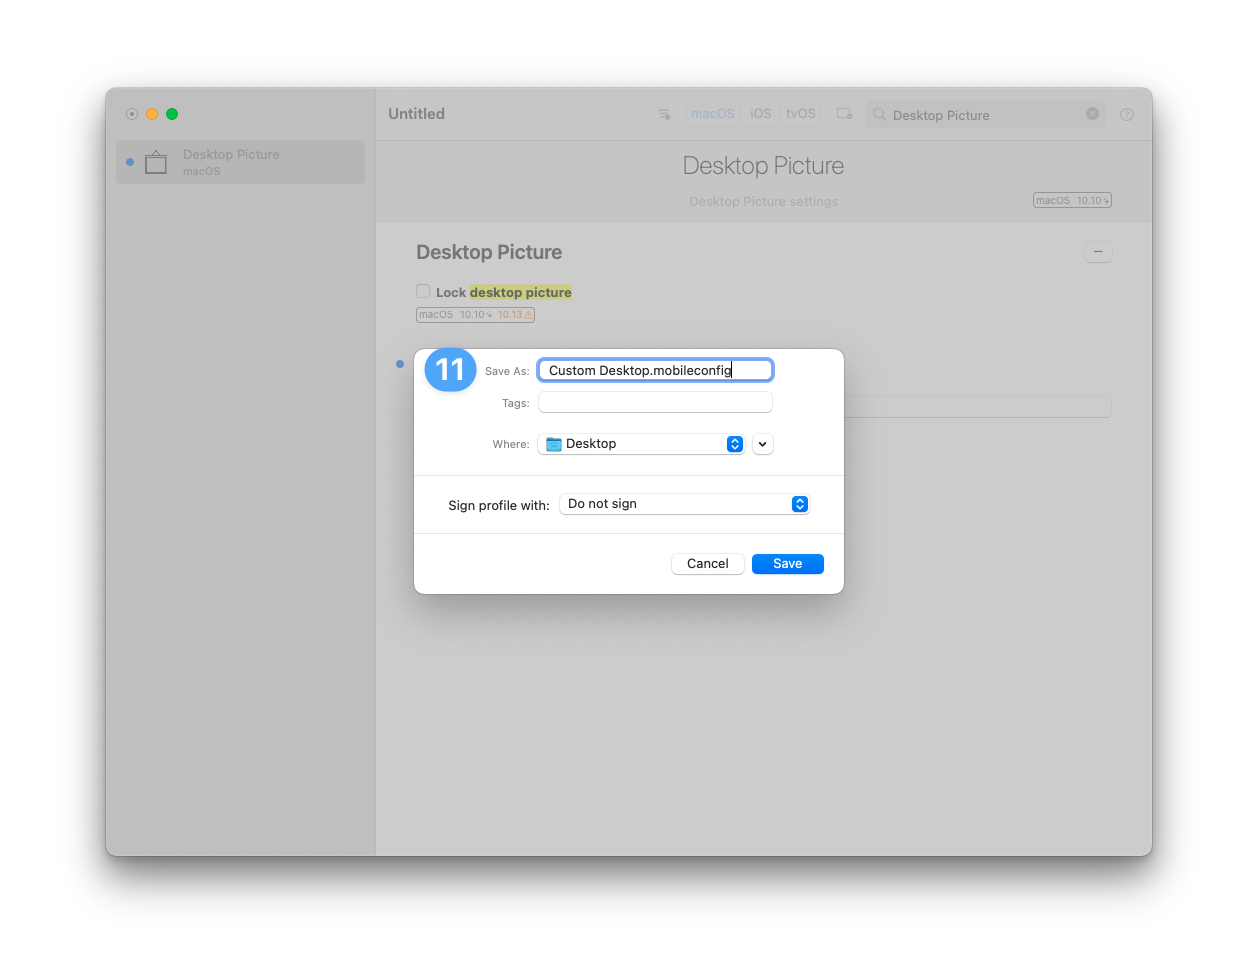
Configure Desktop Picture Options
Configure the appropriate options inside of the Desktop Picture payload.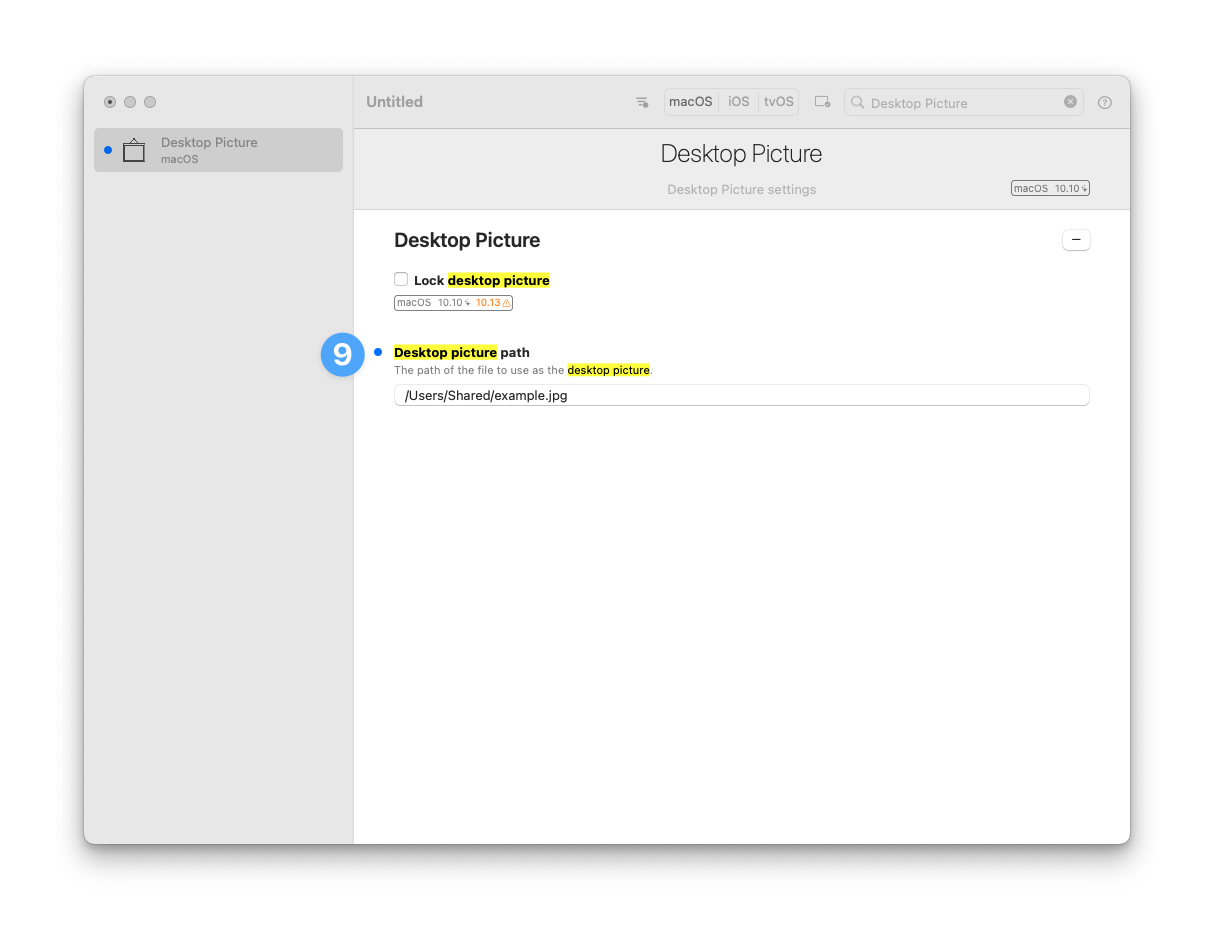
Upload Your Custom Desktop Picture Profile to Iru Endpoint
To add this Library Item to your Iru Endpoint Library, follow the steps outlined in the Library Overview article.Assign to Blueprints
Assign to the desired Blueprints..png?fit=max&auto=format&n=pUBITYqXyIJ1c1A_&q=85&s=92c49a57f20ef6ad7606d22ba9b60a10)
.png?fit=max&auto=format&n=pUBITYqXyIJ1c1A_&q=85&s=28aee8d5cccbc2e030767d926bd463b2)