This page covers managing individual users by hand. To add many people at
once, see Importing users or sync
them from an HR system with
Directory Sync.
Create a user
Enter the essentials
Give the user a name, a username, and at least one email address. The
username and a domain together form how the person signs in.
Fill in the rest of the profile
Add any other built-in details - phone numbers, addresses, a role - and fill
in the custom attributes you have defined in your
schema.
The user profile
A profile is a collection of facets. Some are built in; the rest are the custom attributes you define. Built-in facets include:| Facet | Notes |
|---|---|
| Name | The person’s name, used to build their display name. |
| Emails | One or more email addresses, each with a label such as work or personal. One is the primary email. |
| Phone numbers | Zero or more numbers, each labeled. |
| Addresses | Zero or more addresses, each labeled. |
| Username and domain | Together, the identifier the person signs in with. |
| Role | The role the user holds, which governs what they can do in Iru. See Administrators & roles. |
| Status | Where the user is in their lifecycle - pending, active, or suspended. |
| Source | Where the user originated - added manually, imported, or synced from an HR system. |
The attributes on a profile are the raw material that applications and
policies use. An application maps profile attributes into the identity details
it receives, and an Auto Group can
compute its membership from an attribute’s value.
Find and filter users
The users list can be filtered, searched, and saved as reusable views - useful once your directory grows beyond a handful of people.Filters
Add a filter to narrow the list by any attribute - built-in (status, domain, role, created date) or a custom attribute you have defined. Pick the attribute, choose an operator such as equals, and set the value; add more than one filter to combine conditions.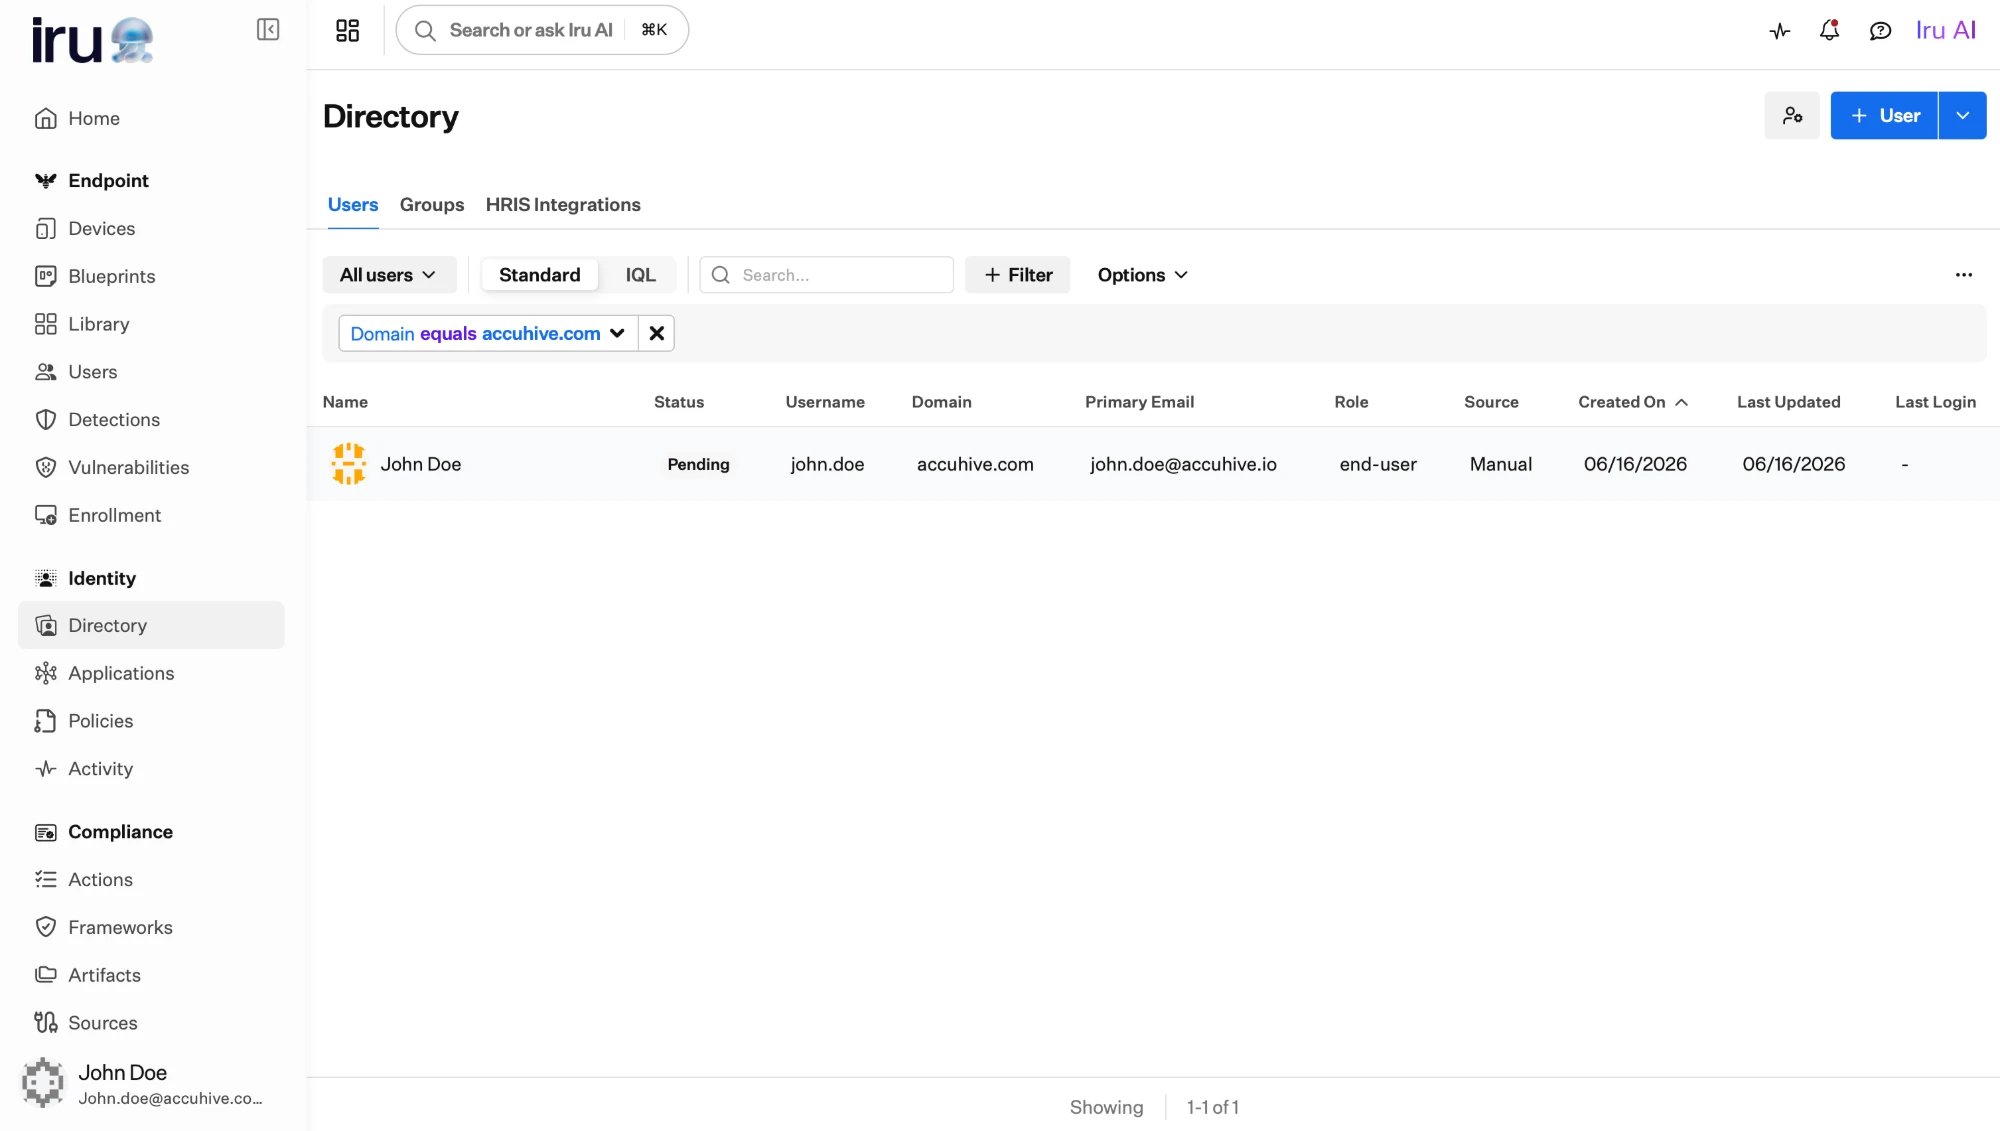
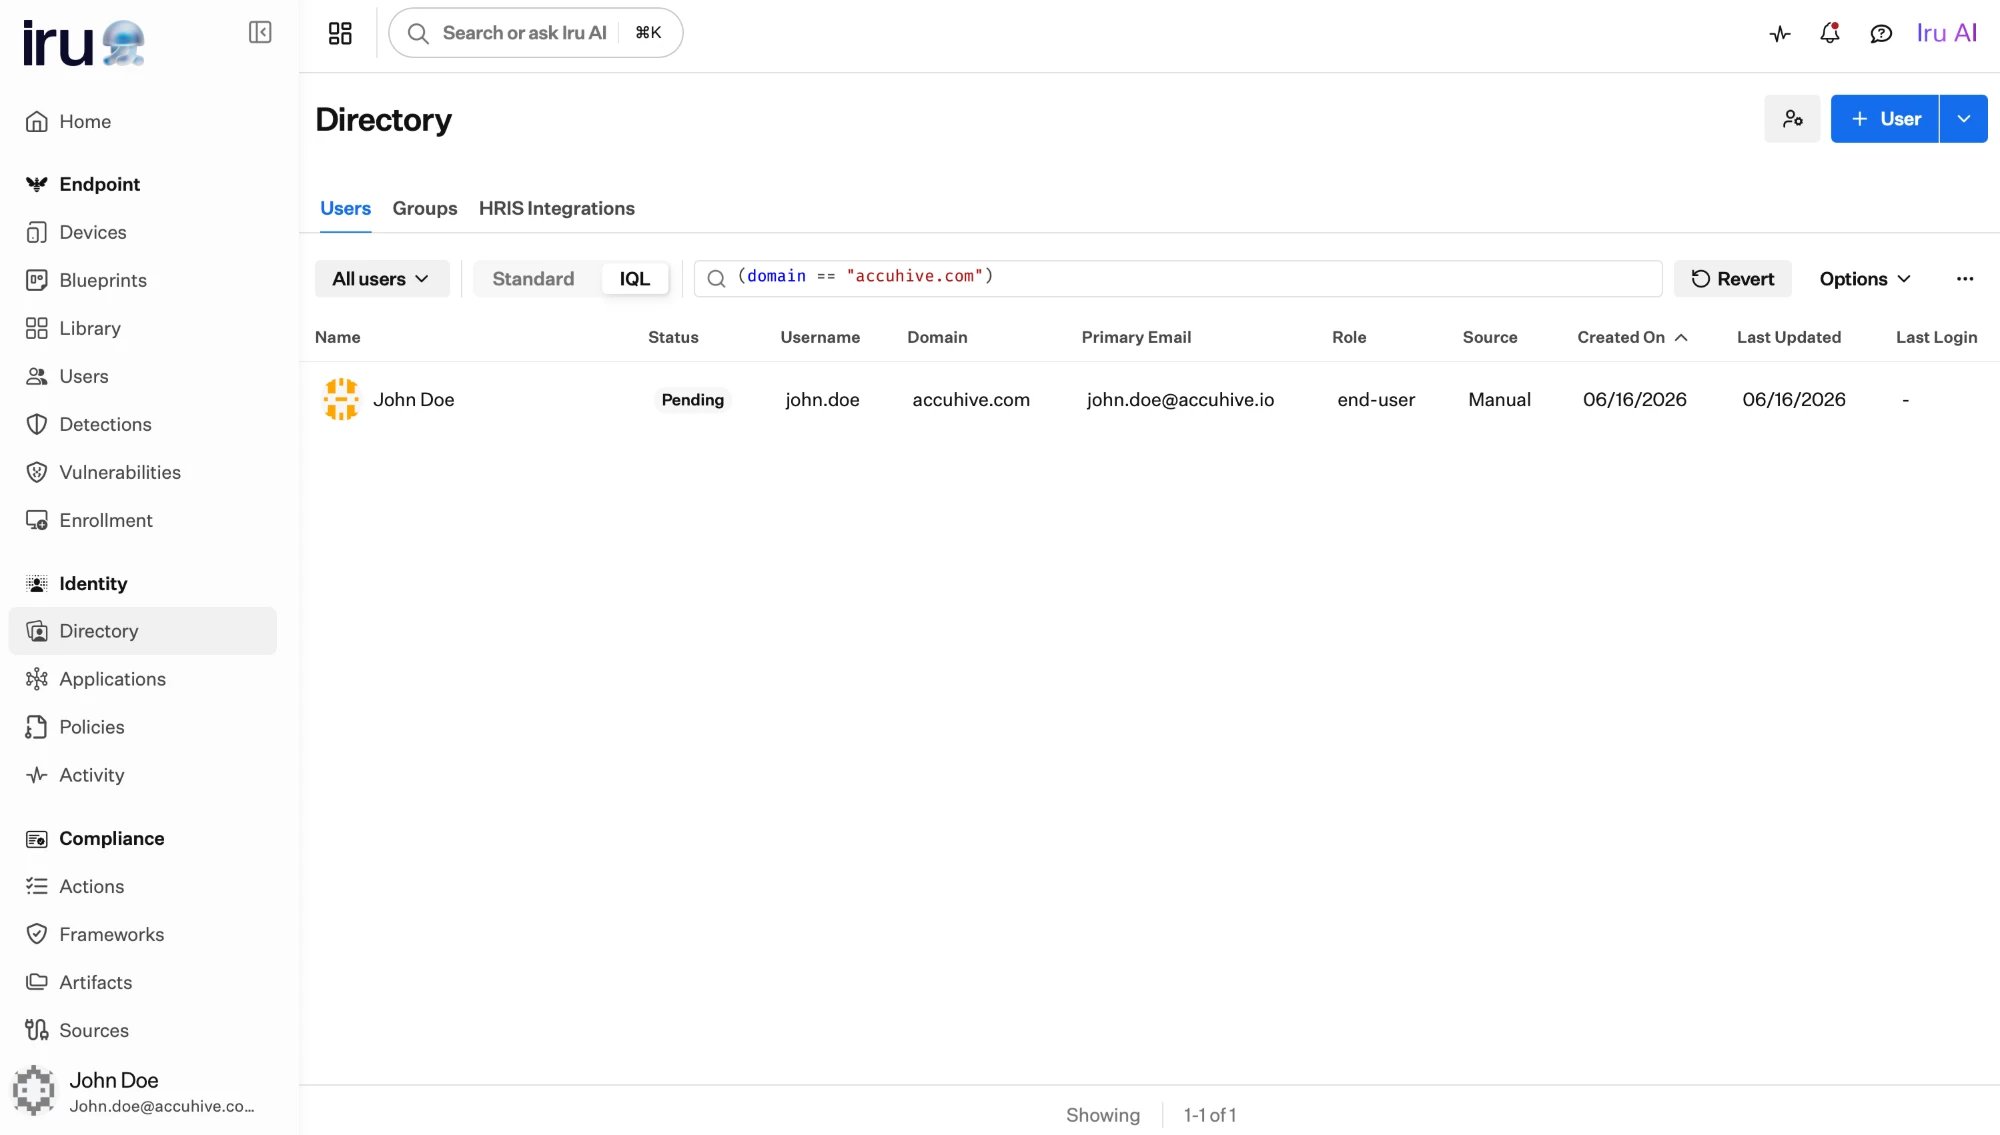
IQL filters
For more precise queries, switch the list from Standard to IQL and write the filter as an IQL expression - for exampledomain == "accuhive.com". This is the same expression language that
powers Auto Group rules and mapping.
Saved views
Once you have built a filter you will reuse, open Options → Create view, give it a name, and save it. The view remembers your filters, so you can return to the same slice of the directory in one click.
User statuses
A user is always in one of three statuses, and you can filter the users list by status.Pending
Created but not yet active. This is where a freshly added or imported person
starts, before they finish setting up their account.
Active
Fully enabled. The person can sign in and reach the applications assigned to
them.
Suspended
Access is blocked, but the record and history are preserved. The person
cannot sign in until they are reinstated.
Suspending vs. removing
Both stop a person from signing in, but they are different tools for different situations.Suspend - reversible
Suspend - reversible
Suspending blocks a user’s access while keeping their record, profile, and
history intact. Reinstating a suspended user returns them to the status they
held before, so this is the right choice when someone is on leave, under
investigation, or being offboarded but not yet fully gone. You can suspend a
user whether they are active or still pending.
Remove - permanent
Remove - permanent
Removing a user deletes their directory record. Reach for this only when a
person has left for good and you no longer need to keep their identity. When
your HR system is connected, an offboarding there can remove people from the
directory automatically - see
Directory Sync.
Inviting users
A newly created user is pending until they finish setting up their account. Inviting a user sends an invitation to their email with a secure link to complete first-time setup, including registering an authenticator such as a passkey.- You can invite a single user from their profile, or invite your pending users in bulk from the users list.
- Invitations expire 48 hours after they are sent. You can resend one if it was missed or has expired; sending a new invitation supersedes any earlier one for that user.
- Invitations are sent to the user’s primary email address.
Next steps
Shape your profiles
Define the custom attributes every user profile can hold.
Organize people into groups
Assign access to groups instead of individuals so it scales.
Import in bulk
Add many users at once from a CSV file.
Automate the lifecycle
Let your HR system create, update, and remove users for you.