Iru Access vs. a standalone passkey
Iru offers two kinds of authenticator, and you may have both. They appear together in your in-app Authenticators list.| Authenticator | What it is | In the app it’s labeled |
|---|---|---|
| Iru Access | The Iru Access app registered to a specific device. Each device is its own authenticator. | ”Iru Access on This Device” (this one) or “Iru Access” (another of your devices) |
| Passkey | A standalone passkey you created in your browser or operating system and also use with Iru. | ”Passkey” |
You create a standalone passkey in your browser or operating system, not
inside Iru Access - creating new passkeys through the app isn’t supported. Iru
Access can use a passkey you already have to set itself up on a device (below).
Add another device or a backup
Another device with Iru Access
Install Iru Access on the new device, open it, and choose “Register with
Existing Authenticator.” Then either enter the 6-digit code shown on your
existing device’s “Add New Device” screen (the existing device approves
with its biometric over Bluetooth), or confirm with a passkey you already have.
On Windows, the entry point is labeled “Register with existing passkey”
and asks for your Iru domain (for example
yourcompany.iru.com). Once the
device is registered, turn on its passkey plugin once under Settings ▸
Accounts ▸ Passkeys ▸ Advanced options so your browser can use Iru Access to
sign in.Manage your authenticators
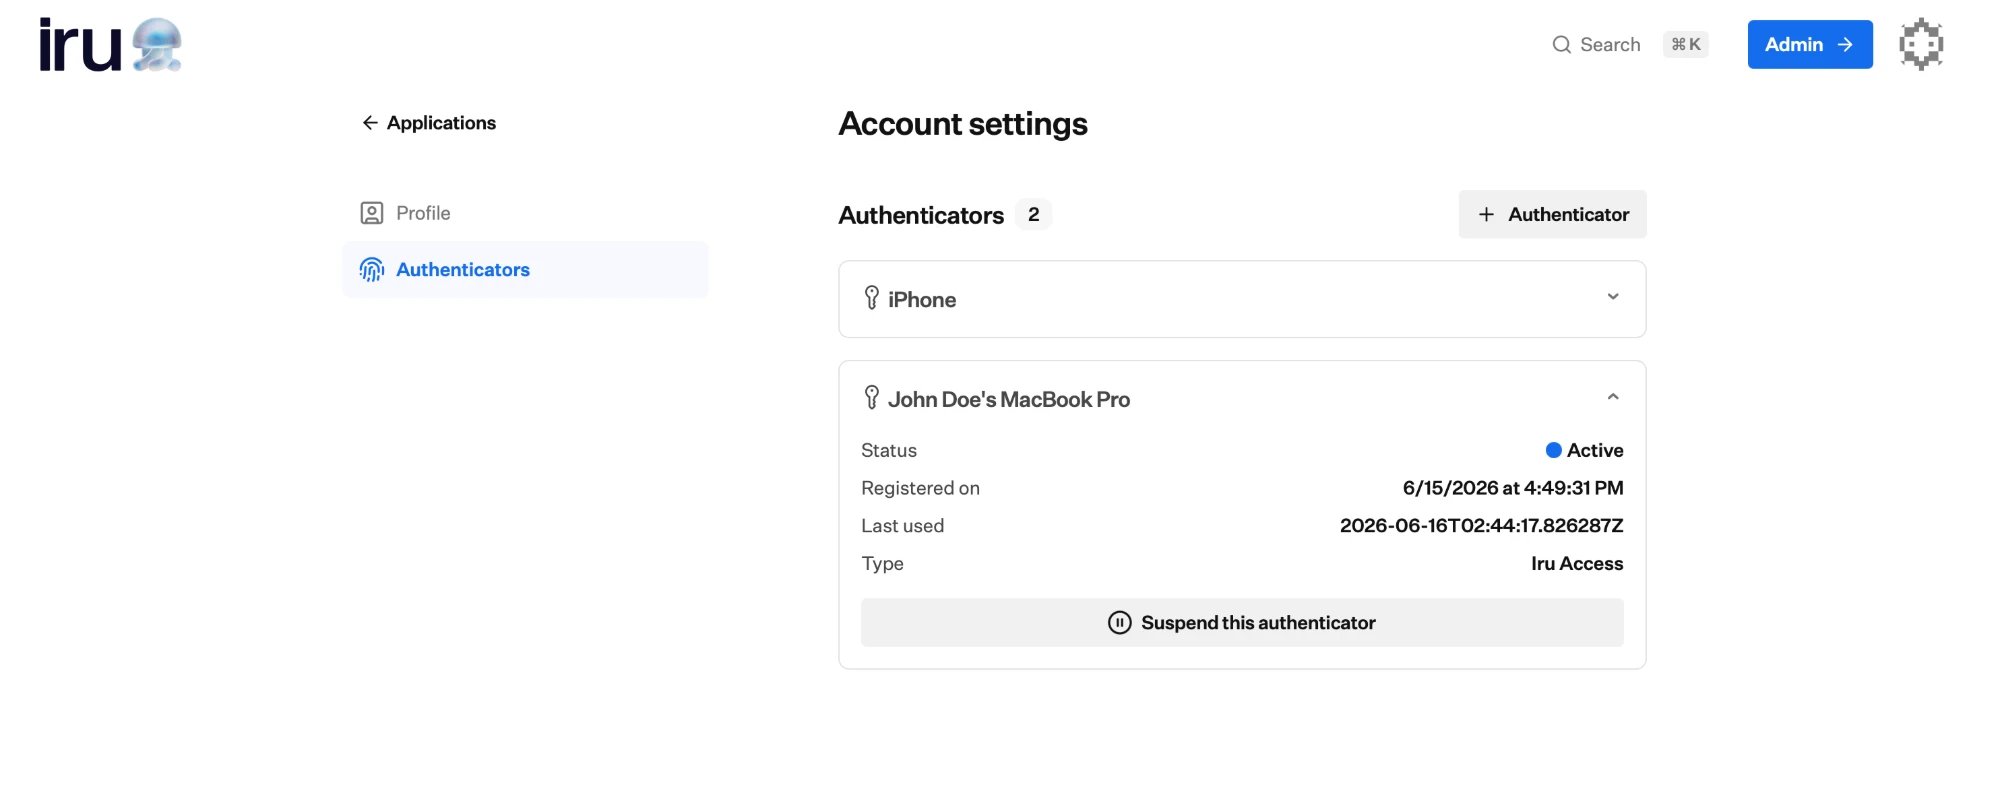
See everything registered to you - in the Iru Access app, or in your Account settings on the web (open Account from the avatar menu on your app dashboard, then Authenticators) - with when each was added and last used. From there you can:- Suspend an authenticator to block it temporarily, Activate it again, or Delete one you no longer use.
- You can’t suspend or delete the authenticator securing your current session - a safeguard against locking yourself out.
If you lose a device
There’s no self-service reset. If you still have another registered device, set up your replacement from it using the steps above. If a lost device was your only authenticator, ask your administrator to reset your account - that clears your old authenticators and ends your active sessions - and then send you a fresh invitation to register a new device. For a detailed, screen-by-screen passkey walkthrough, see Passkeys and social login.Where to go next
Installing Iru Access
Set up the app that holds your credential.
Accessing your apps
Open your apps once you’re set up.