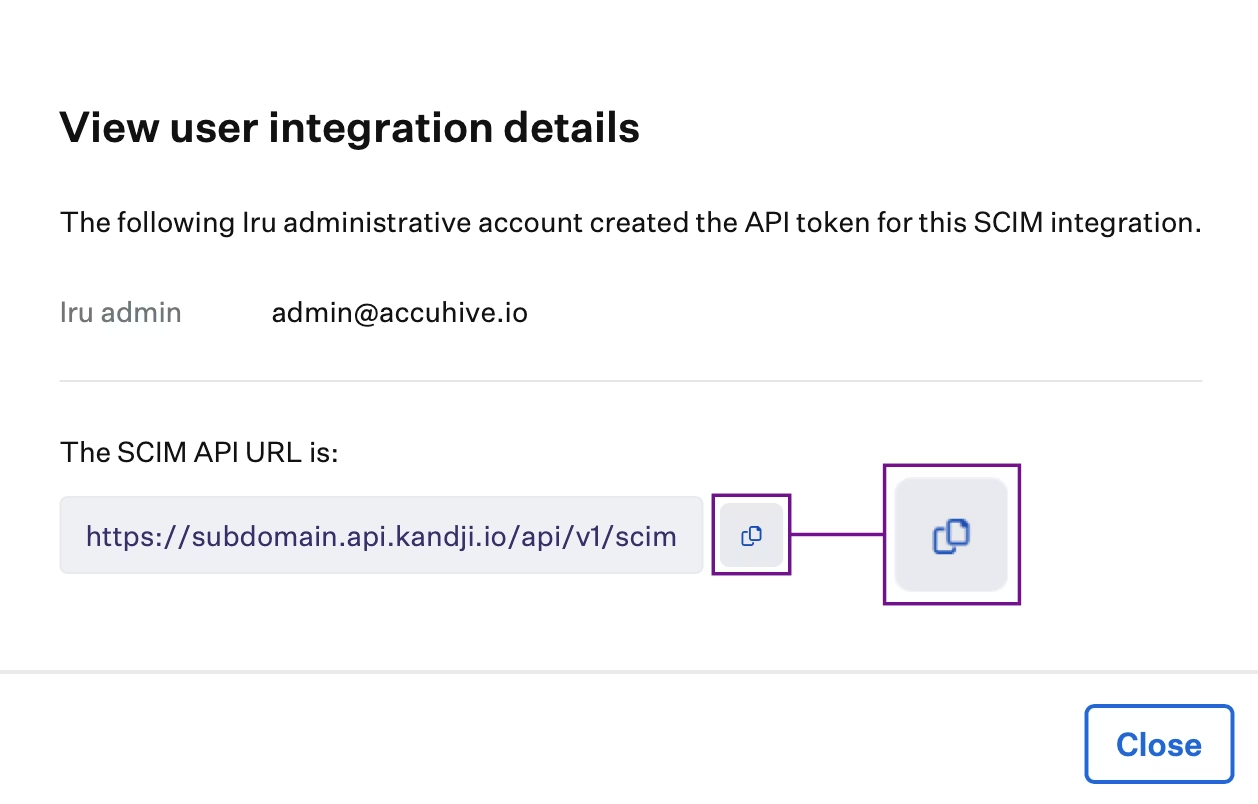
Complete the Iru Endpoint tab first to obtain the SCIM token and API URL. You will enter these in the steps below.
Creating the SCIM Integration in Microsoft Entra ID
Access Microsoft Entra Admin Center
Navigate to Entra ID
Open the portal menu and then select Entra ID.
Access Enterprise Apps
On the Entra ID menu, select Enterprise apps.
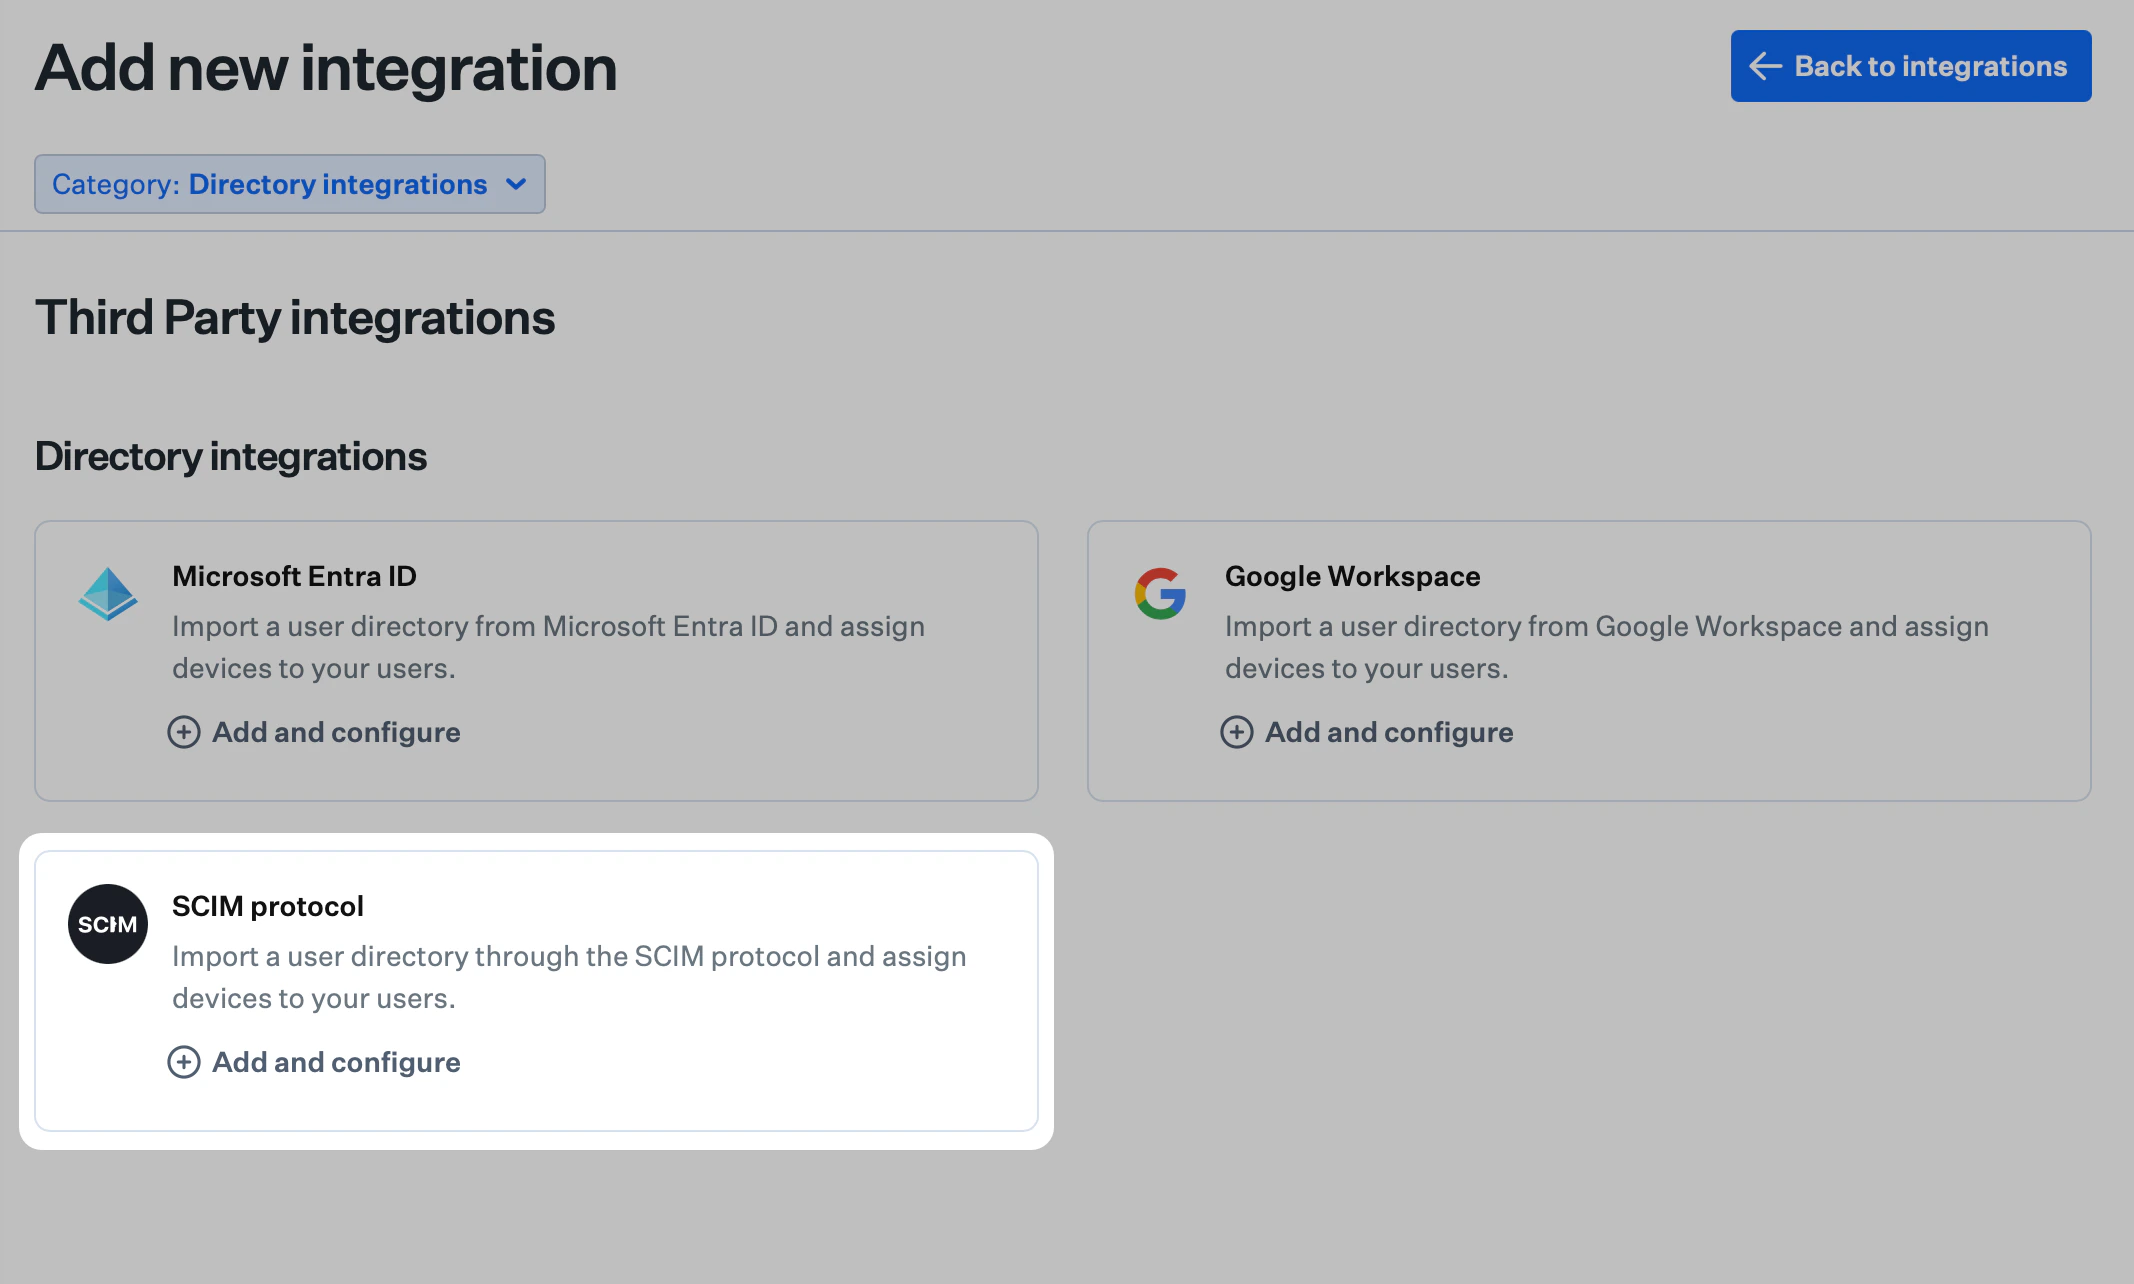
Create New Application
Select New application.If you have already created a SAML single sign-on application, you can select that application and add SCIM.
Choose Application Type
Select Create your own application. Name the Application
Give the application a name.
Select Integration Type
Select Integrate any other application you don’t find in the gallery (Non-gallery).
Access Provisioning
You will be taken to the Overview page for the newly created app.
Under Manage, select Provisioning. Select Authentication Method
In the Select authentication method dropdown, choose Bearer authentication. Configure SCIM Connection
Paste the SCIM API URL you copied from the Iru Endpoint tab into the Tenant URL field.
Add Secret Token
Paste the token you obtained in the Iru Endpoint tab into the Secret token field.
Test Connection
Click Test connection. You should see a successful test notification. Create Configuration
Click Create.
Access Provisioning Settings
In the Manage section, click Provisioning. Configure Mappings
Expand the Mappings reveal triangle and ensure that both Groups and Users are enabled.
Configure Settings
Expand the Settings reveal triangle.
Set Scope
For Scope, choose Sync only assigned users and groups.
Enable Provisioning
Set the Provisioning Status to On.
Close Settings
Click the X in the upper-right corner to close the settings.
Assigning Users and Groups
Access Users and Groups
Under Manage, select Users and groups.
Add Users and Groups
On the menu, select Add user/group.
Select Users and Groups
On the Add Assignment dialog, select the link under Users and groups.
Choose from List
A list of users and security groups is displayed. You can search for a specific user or group or select multiple users and groups that appear in the list.
Select Assignments
Select the user(s) and group(s) you would like to be assigned.
Confirm Selection
Click Select.
Complete Assignment
Select Assign to finish assigning users and groups to the app.
Verify Assignment
Confirm that the users and groups you added appear in the Users and groups list.
If you see a message indicating that a free tier is being used, it means you can only add users (not groups) to the SCIM Enterprise App.
Considerations
Syncing
User syncing is one-way, meaning the Microsoft Entra ID SCIM app will send user information to Iru Endpoint only when new information is needed. If a user or group is added to the SCIM app in Microsoft Entra ID after the app was created, a sync will happen every 40 minutes (set by Microsoft Entra ID). If you want the sync to happen sooner, you can stop/start the provisioning in the SCIM app on the Microsoft Entra ID. This will not impact existing users/groups in Iru Endpoint.Removing Users
- If Entra ID sets a user to inactive, the user will be set as inactive in your Iru Endpoint tenant.
- If Entra ID deletes a user, the user will be deleted from your Iru Endpoint tenant.
Blueprint Conditional Logic
If you use Assignment Map conditional logic with groups, you must explicitly add each group you want to have provisioned in Iru Endpoint to the SCIM app. Groups will not sync automatically by adding users that happen to be members of the group.AD CS Strong Certificate Mapping
If you use Microsoft Active Directory Certificate Services for certificate-based authentication, ensure your SCIM attribute mappings support strong certificate mapping requirements. For required mapping and certificate updates, see Active Directory Strong Certificate Mapping Configuration.Microsoft Device Compliance
If you are using an Entra ID SCIM user directory integration and the Microsoft Device Compliance integration, ensure that the user and group attribute mappings for the externalId attribute in your SCIM application map to objectId as listed below. The objectId is used by Iru Endpoint to map user and group resources in Intune.| User Attribute | User Value |
|---|
| externalId | objectId |
| Group Attribute | Group Value |
|---|
| externalId | objectId |
Updating User Mappings and Group MappingsOpen Provisioning
Select Provisioning.
Access Attribute Mapping
Select the Attribute mapping (Preview) section.
Choose User or Group Mapping
If you are updating user attributes, click on Provision Microsoft Entra ID Users.
If you are updating group attributes, click on Provision Microsoft Entra ID Groups.
Verify External ID Mapping
Verify that externalId is mapped to objectId.
Update Mapping if Needed
If it is not, click the Edit button to the right of the attribute and select objectId from the list.
Return to Overview
Click the X to go back.
Restart Provisioning
Once back on the Provisioning overview page, if any values were changed, you need to push the updated values to Iru Endpoint immediately by stopping and then starting the provisioning service.
Pause Provisioning
Click the Pause provisioning button.
Start Provisioning
Click the Start provisioning button.