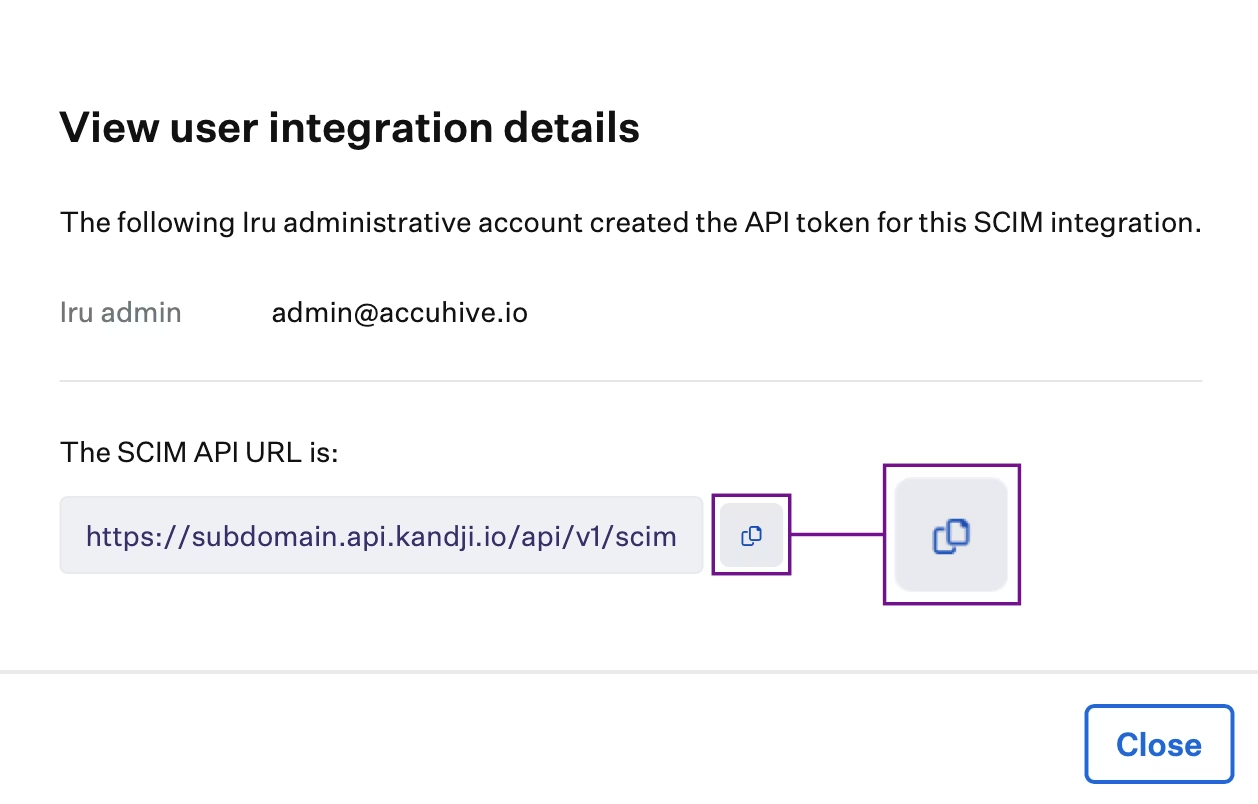
Complete the Iru Endpoint tab first to obtain the SCIM token and API URL. You will enter these in the steps below.
Creating the SCIM Integration in OneLogin
Access OneLogin Admin Console
Navigate to Applications
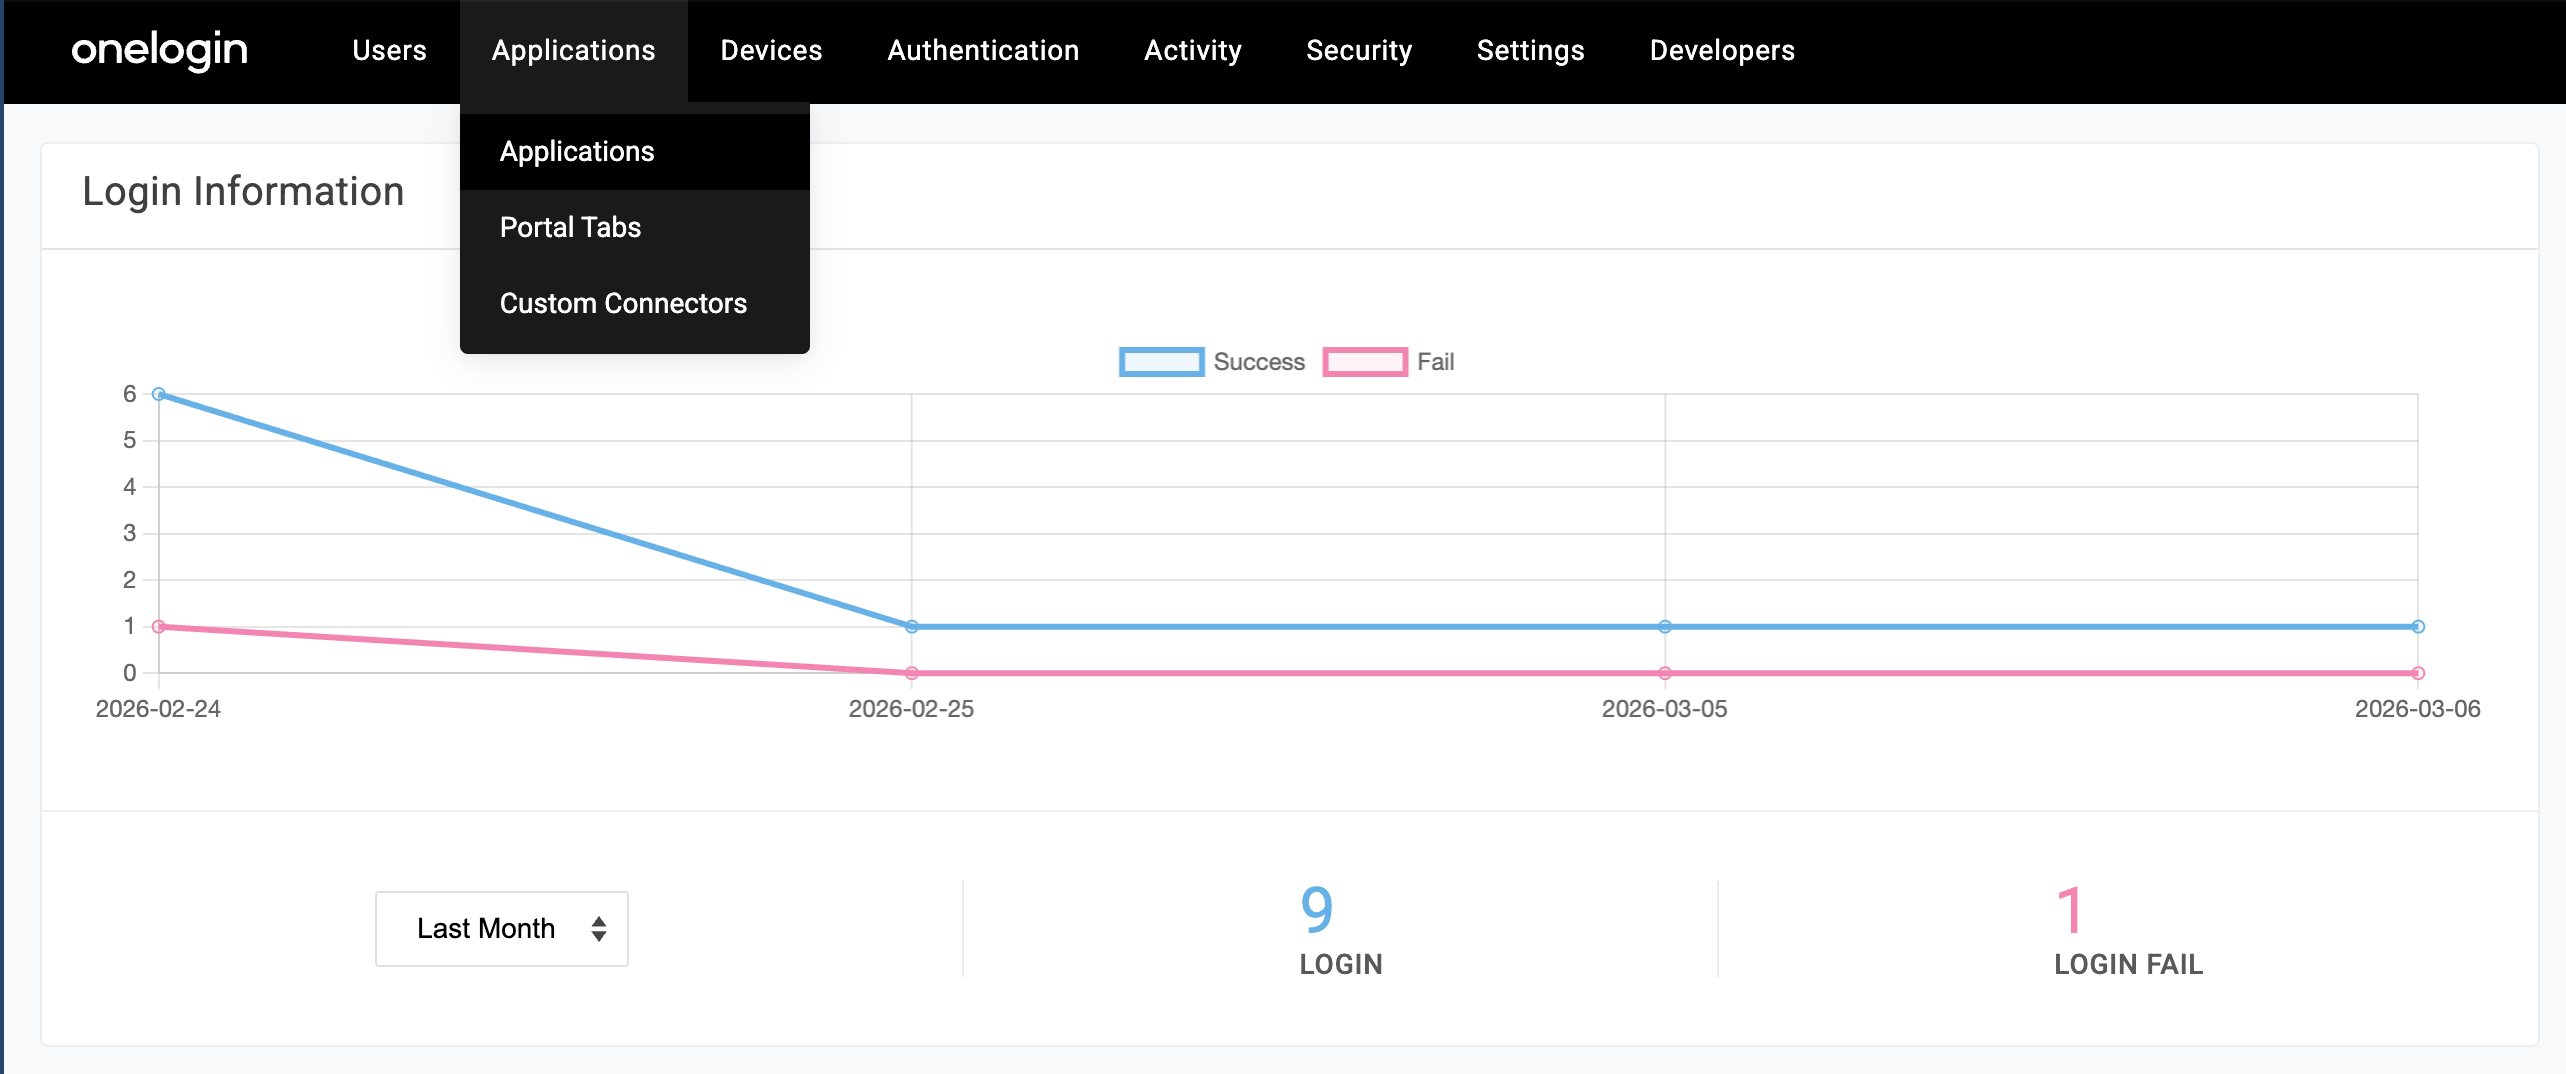
In the top navigation, hover over Applications.
Open Applications Menu
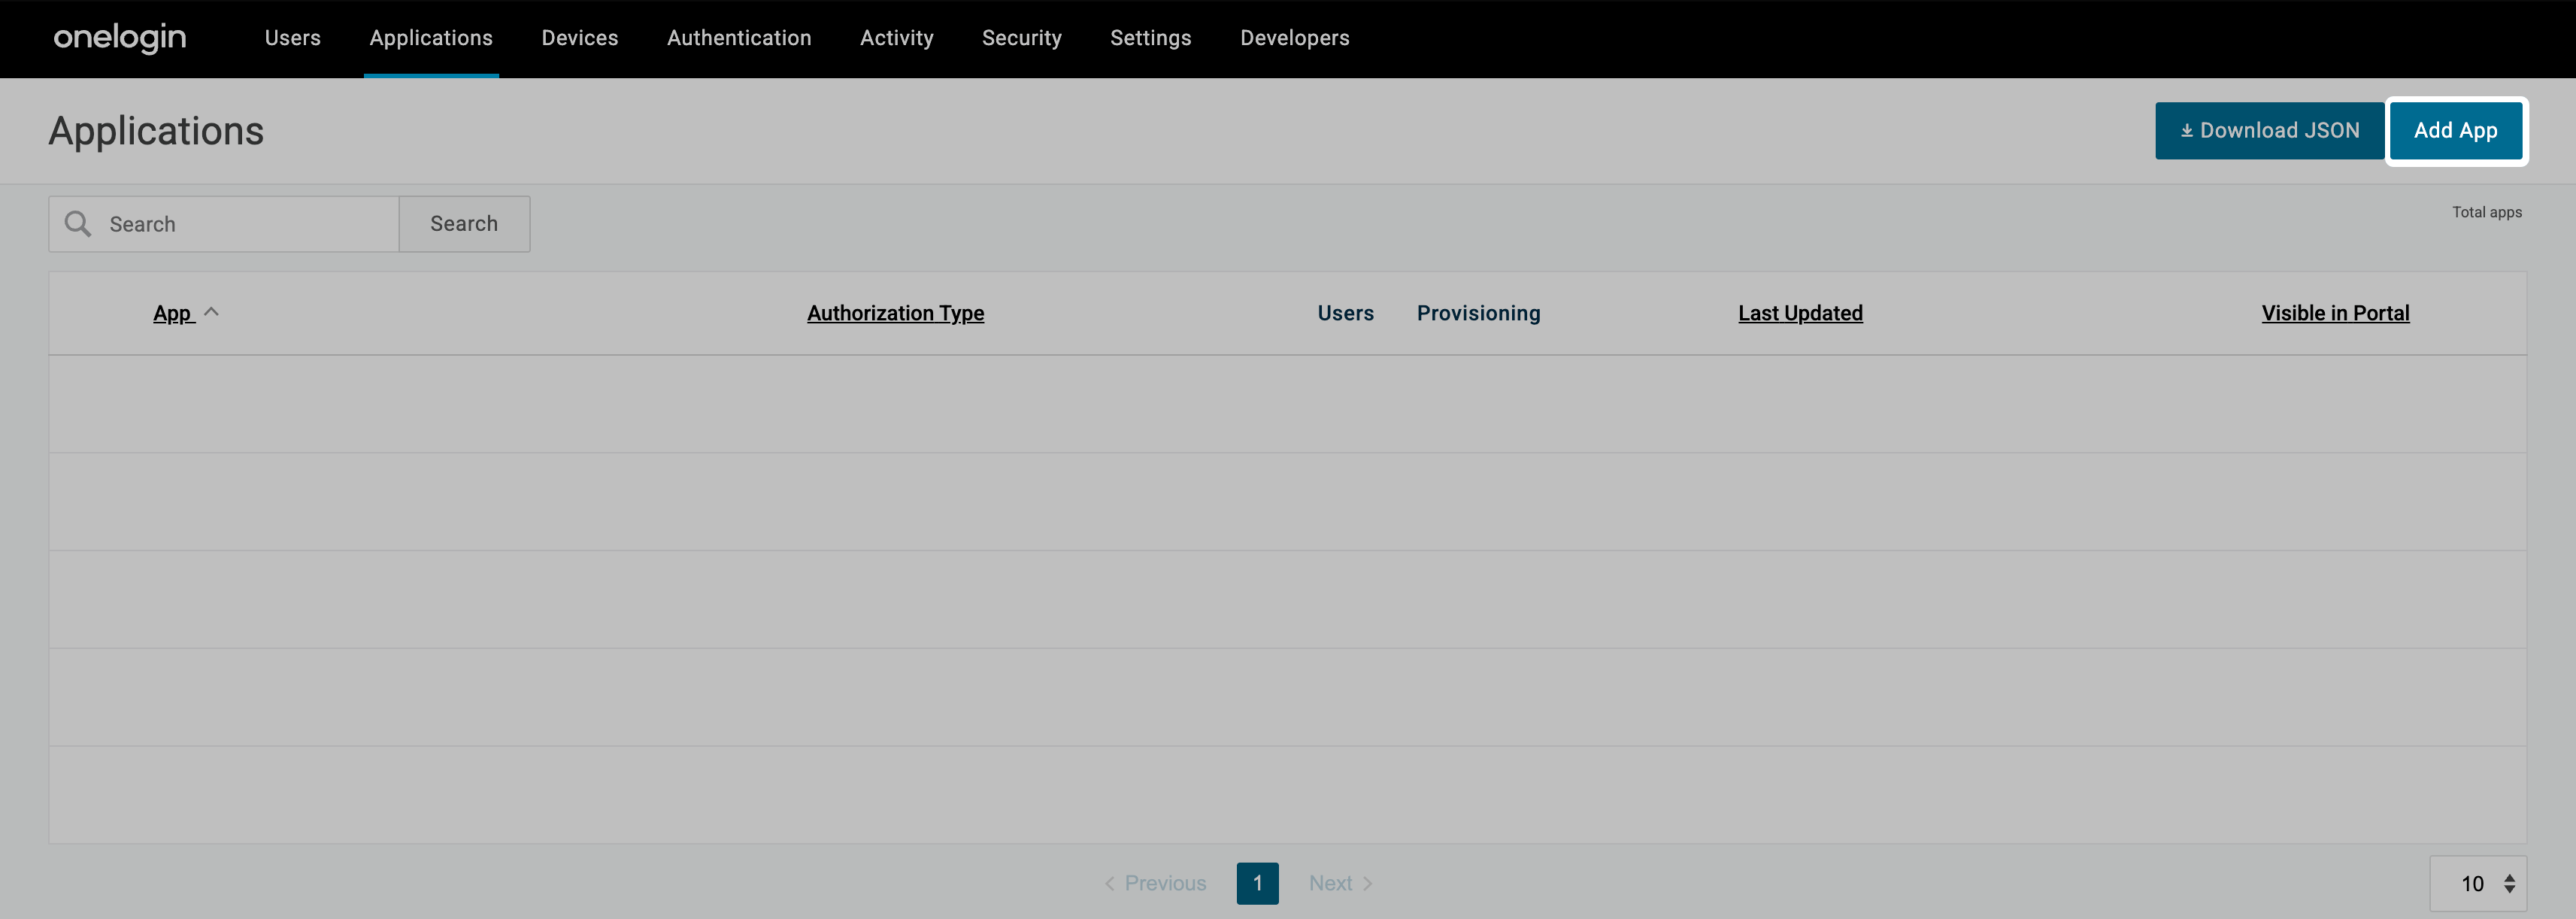
Click Applications in the dropdown menu. Add New Application
Near the top-right, click Add App. Search for SCIM Provisioner
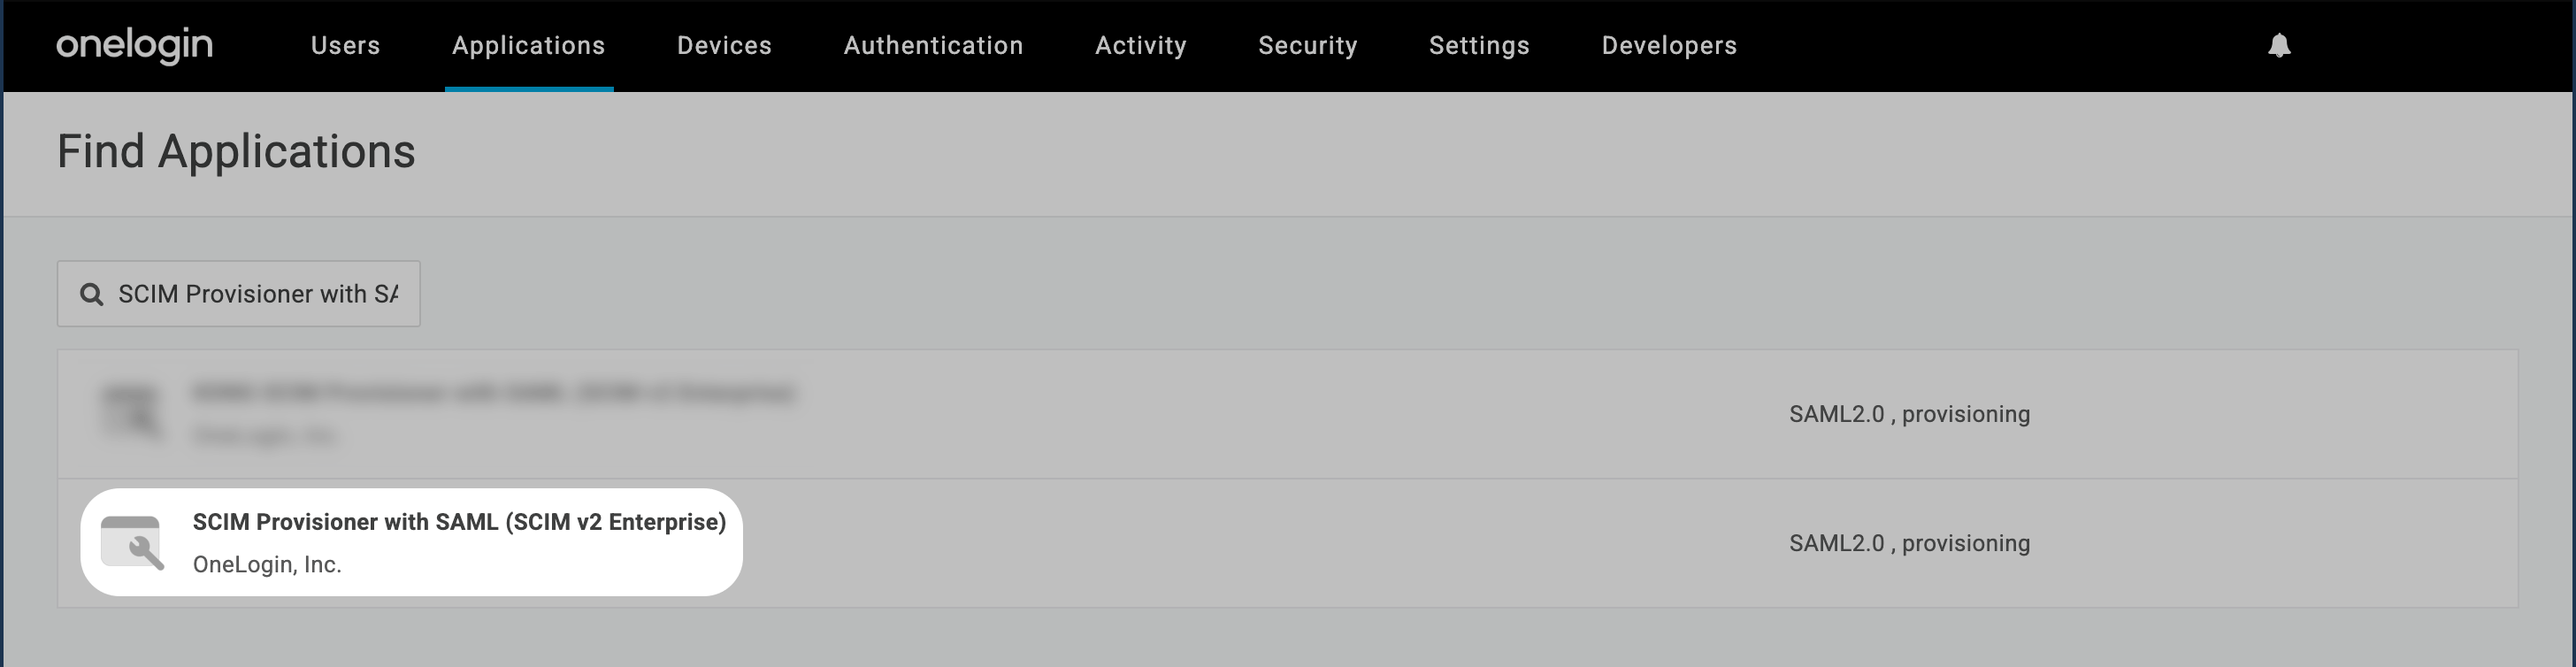
In the text field, enter SCIM Provisioner with SAML (SCIM v2 Enterprise).
Select SCIM Provisioner
Click on SCIM Provisioner with SAML (SCIM v2 Enterprise). Configuring SCIM Settings
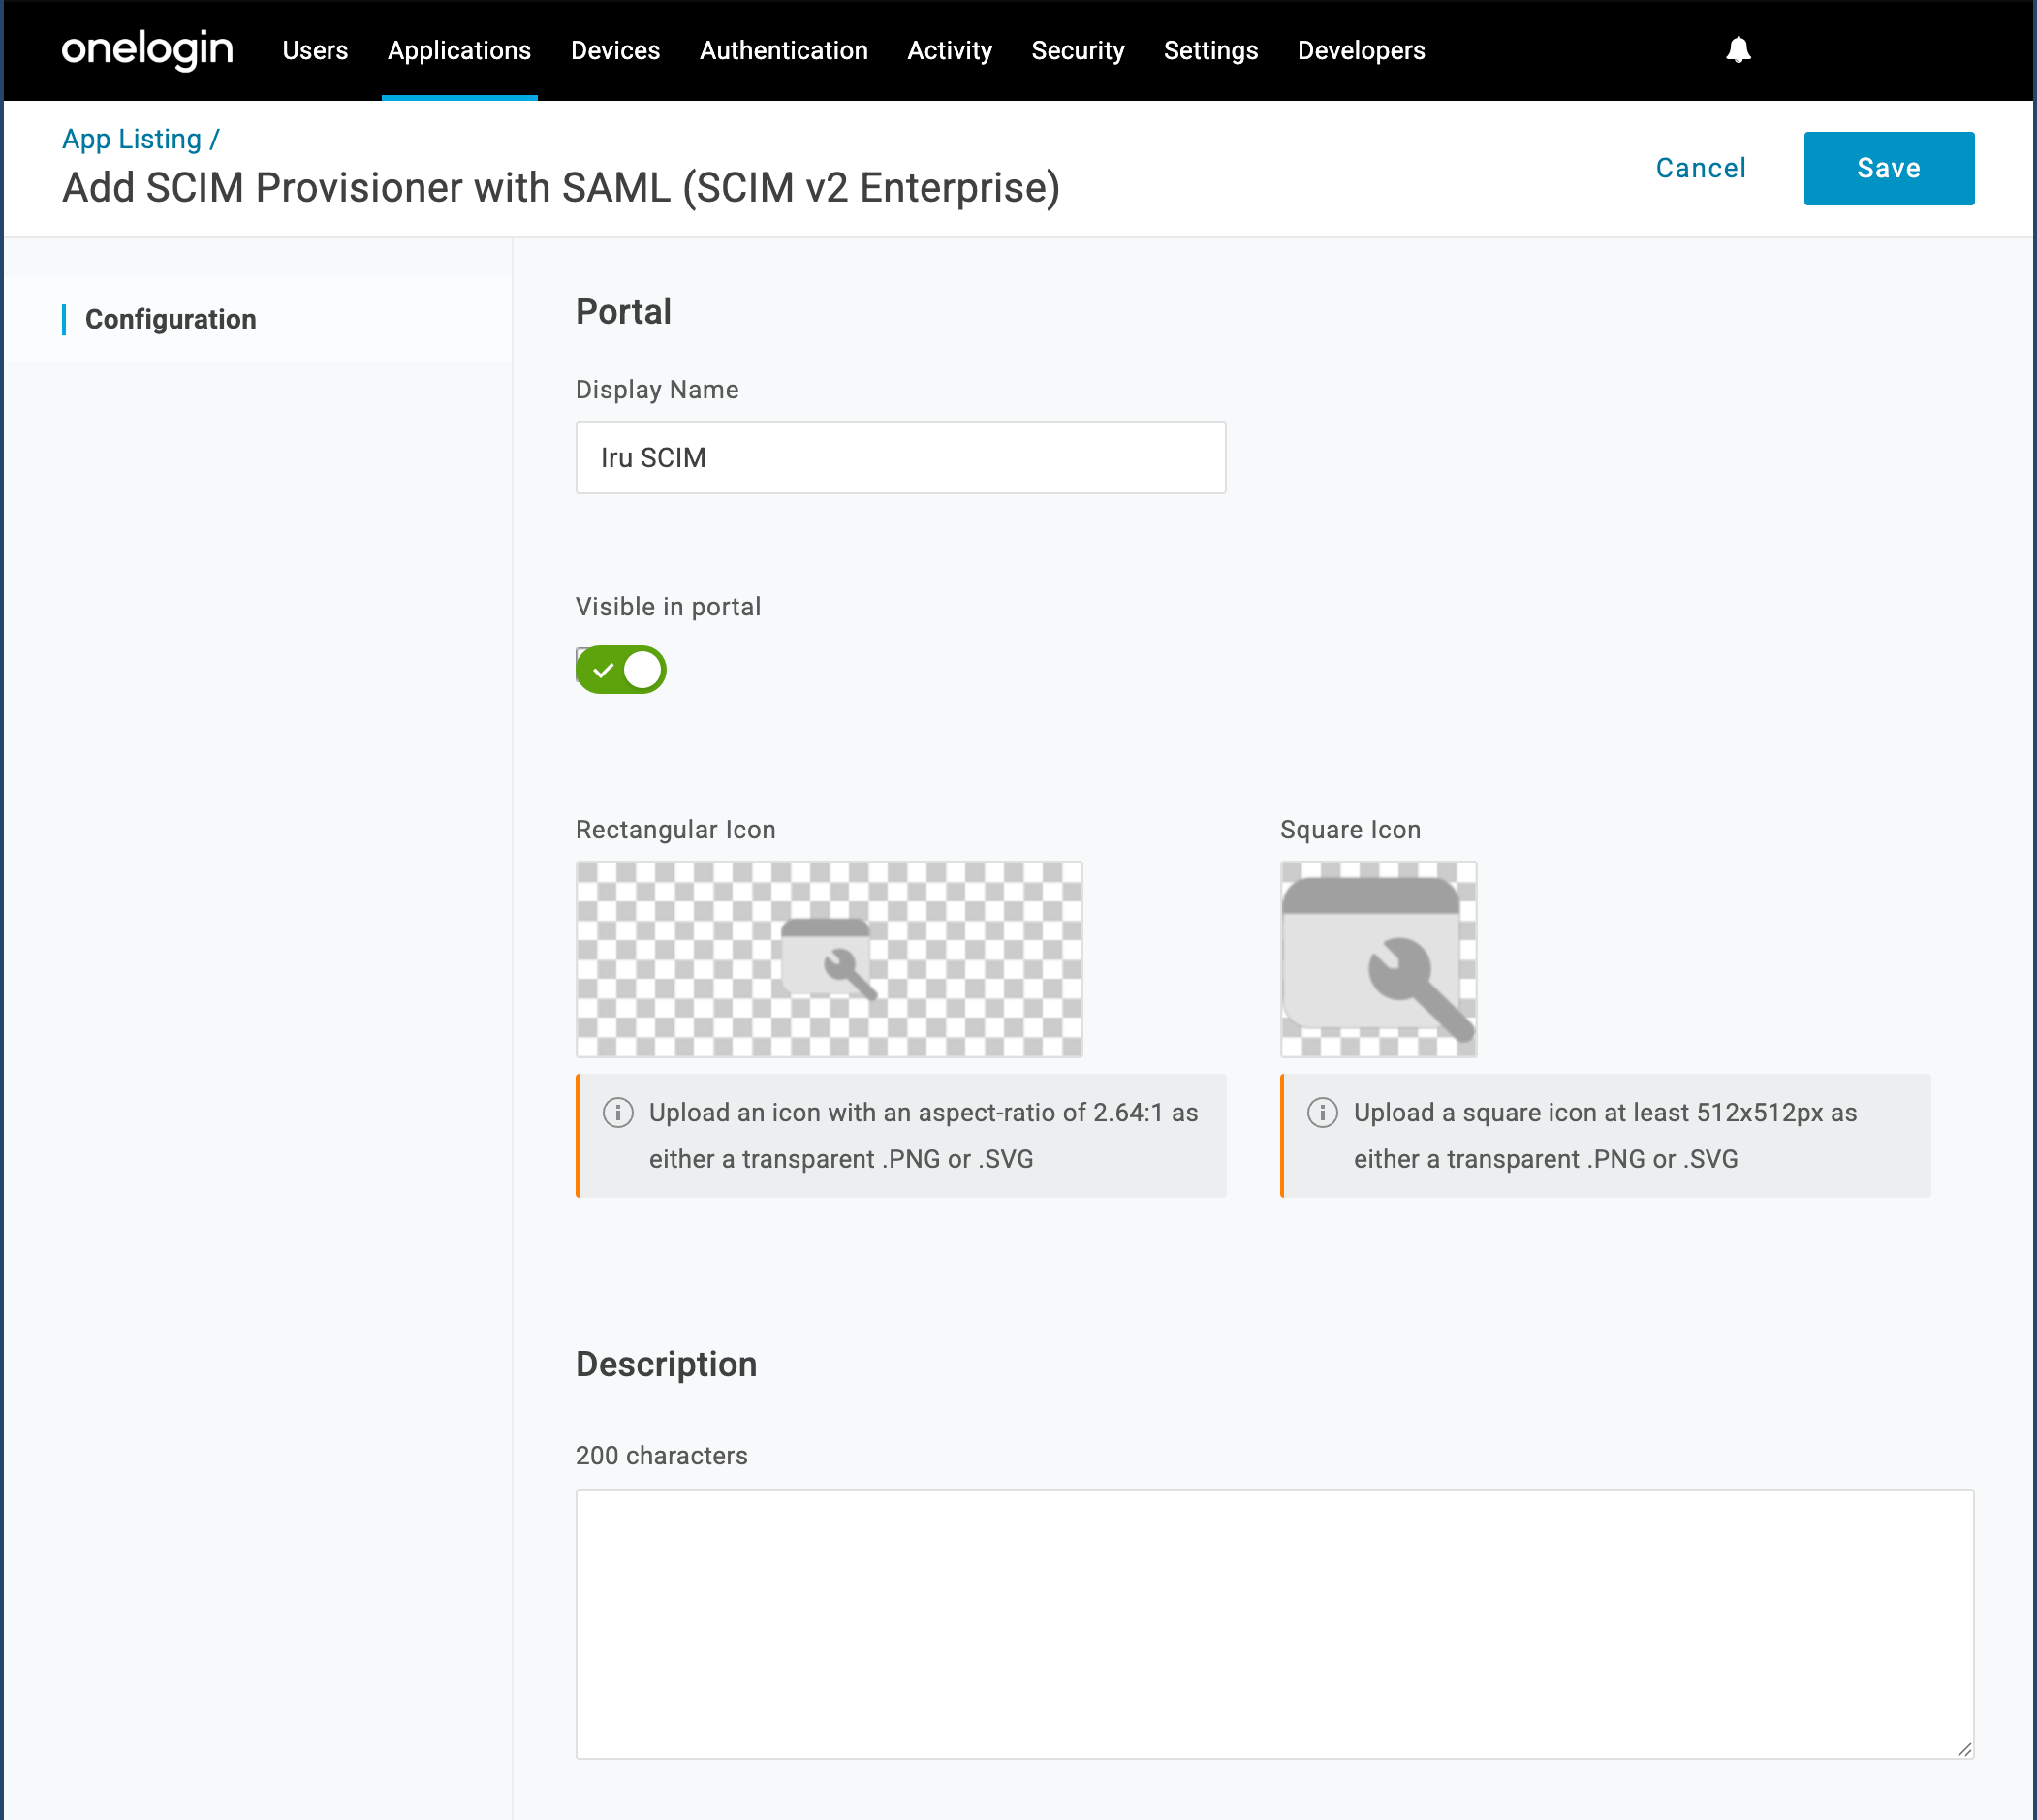
Once in the SCIM Provisioner with SAML (SCIM v2 Enterprise) application, use the following steps to configure the SCIM settings. The following steps include provisioning users and groups (roles).Update Display Name
(optional) Update the app Display Name to something like Iru Endpoint SCIM Provisioner
Configure Portal Visibility
(optional) Choose whether to make the app visible in the OneLogin portal.
Add Application Icon
(optional) Add an icon.
Add Description
(optional) Add a description.
Save Configuration
After completing the basic configuration, click Save. Parameters
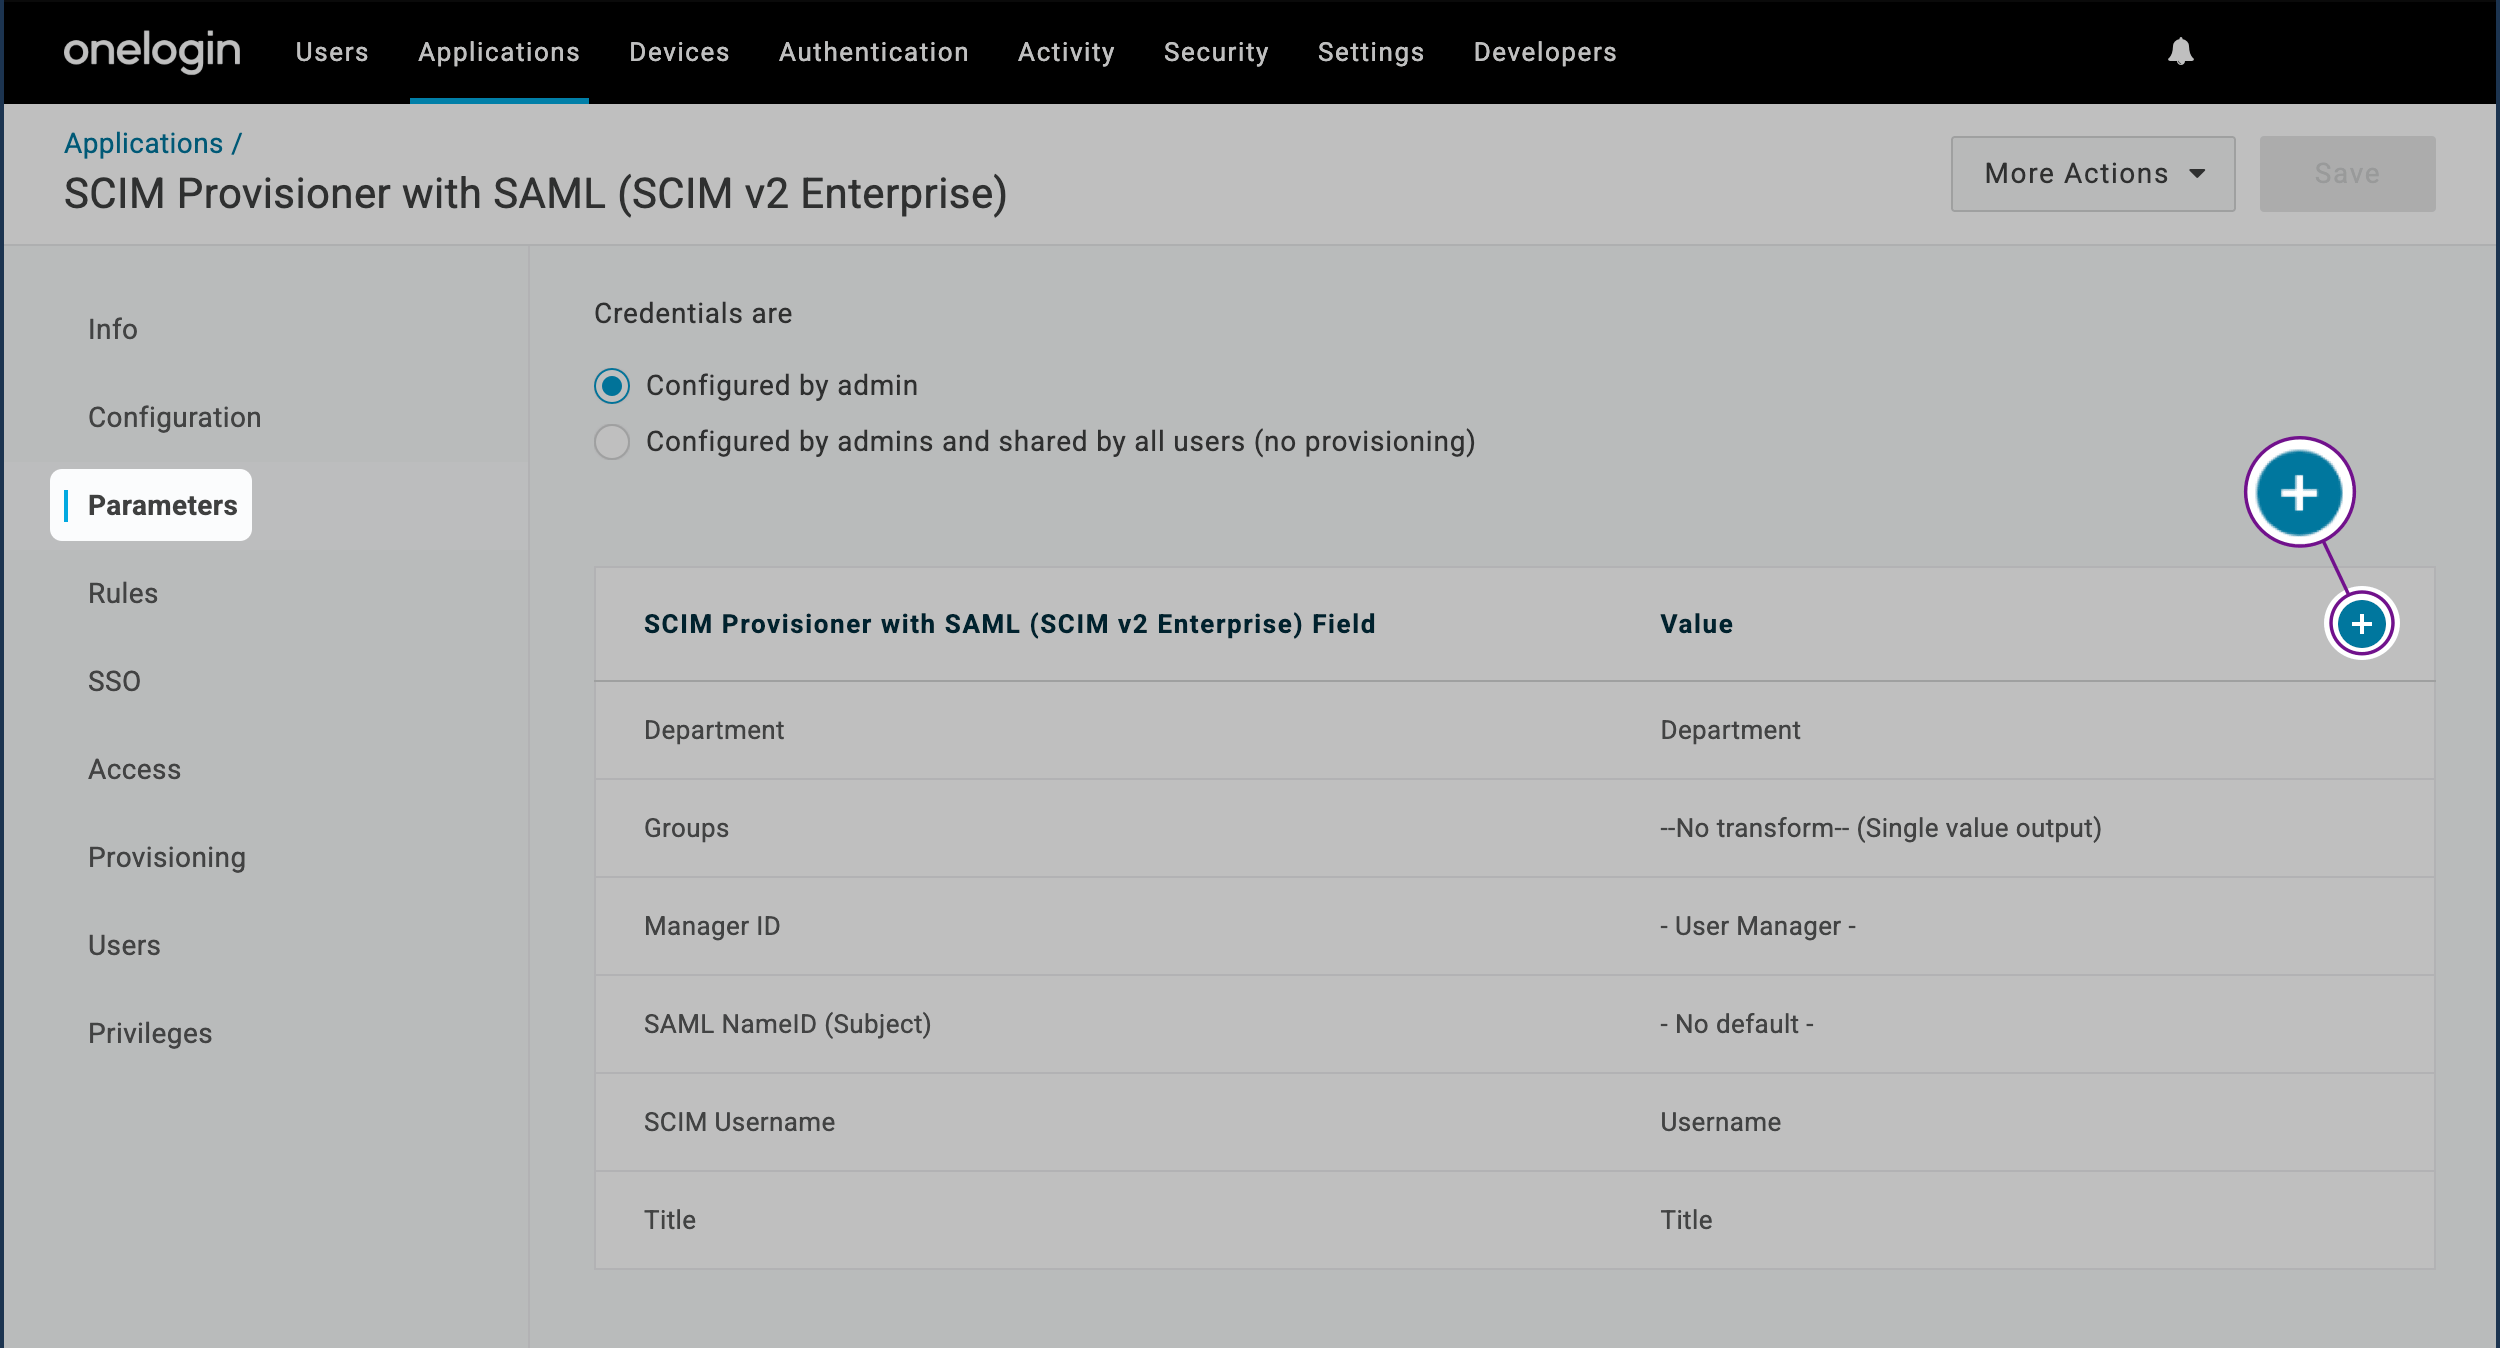
Navigate to Parameters
Navigate to the Parameters page.
Add New Parameter
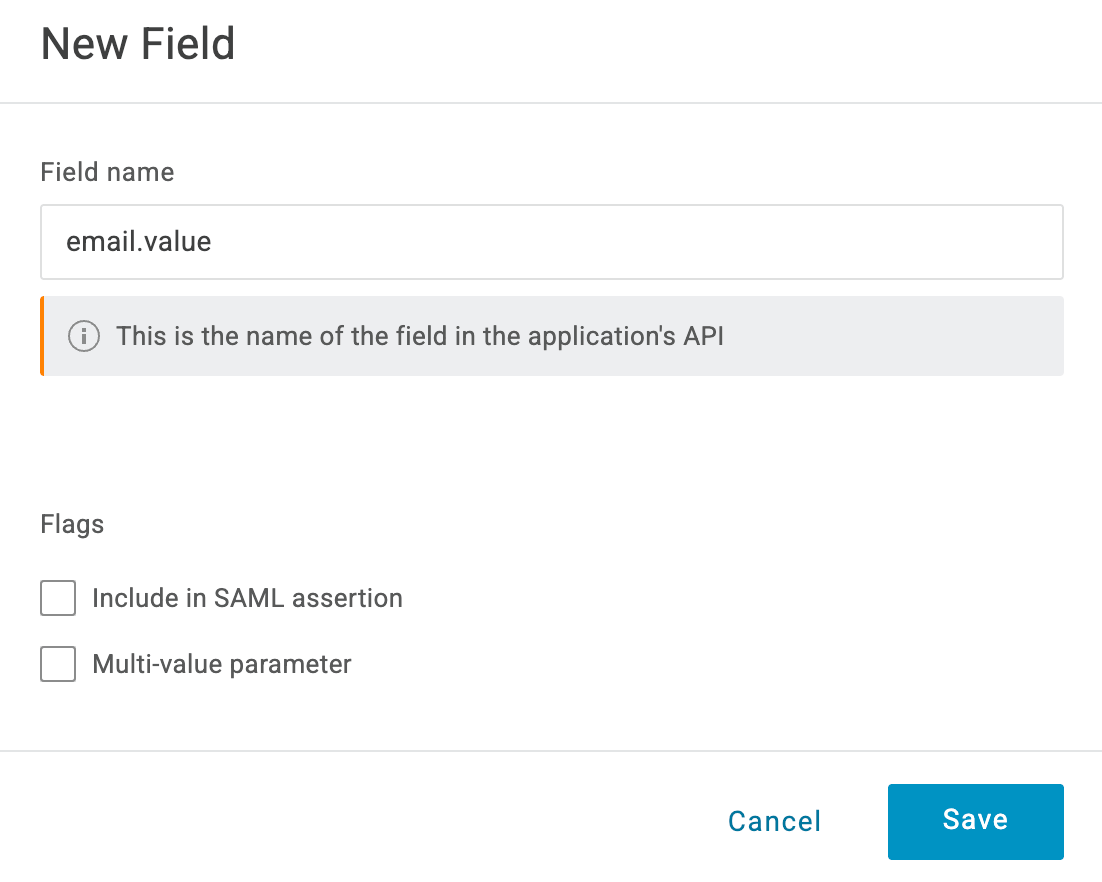
Click the add (+) button on the right. Enter Field Name
Enter email.value into the Field name. Save Parameter
Click Save.
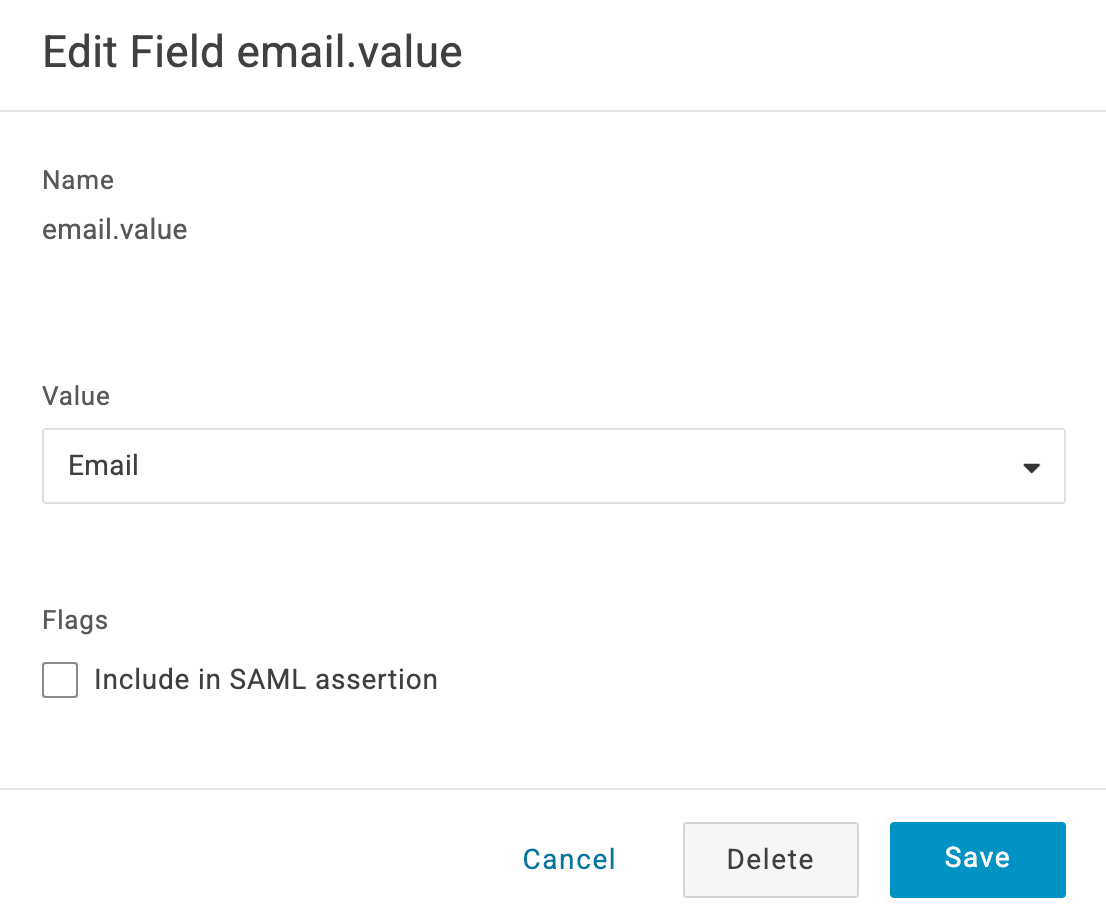
Configure Parameter Value
Select Email from the Value dropdown. Save Configuration
Click Save.
Configuration
Navigate to Configuration
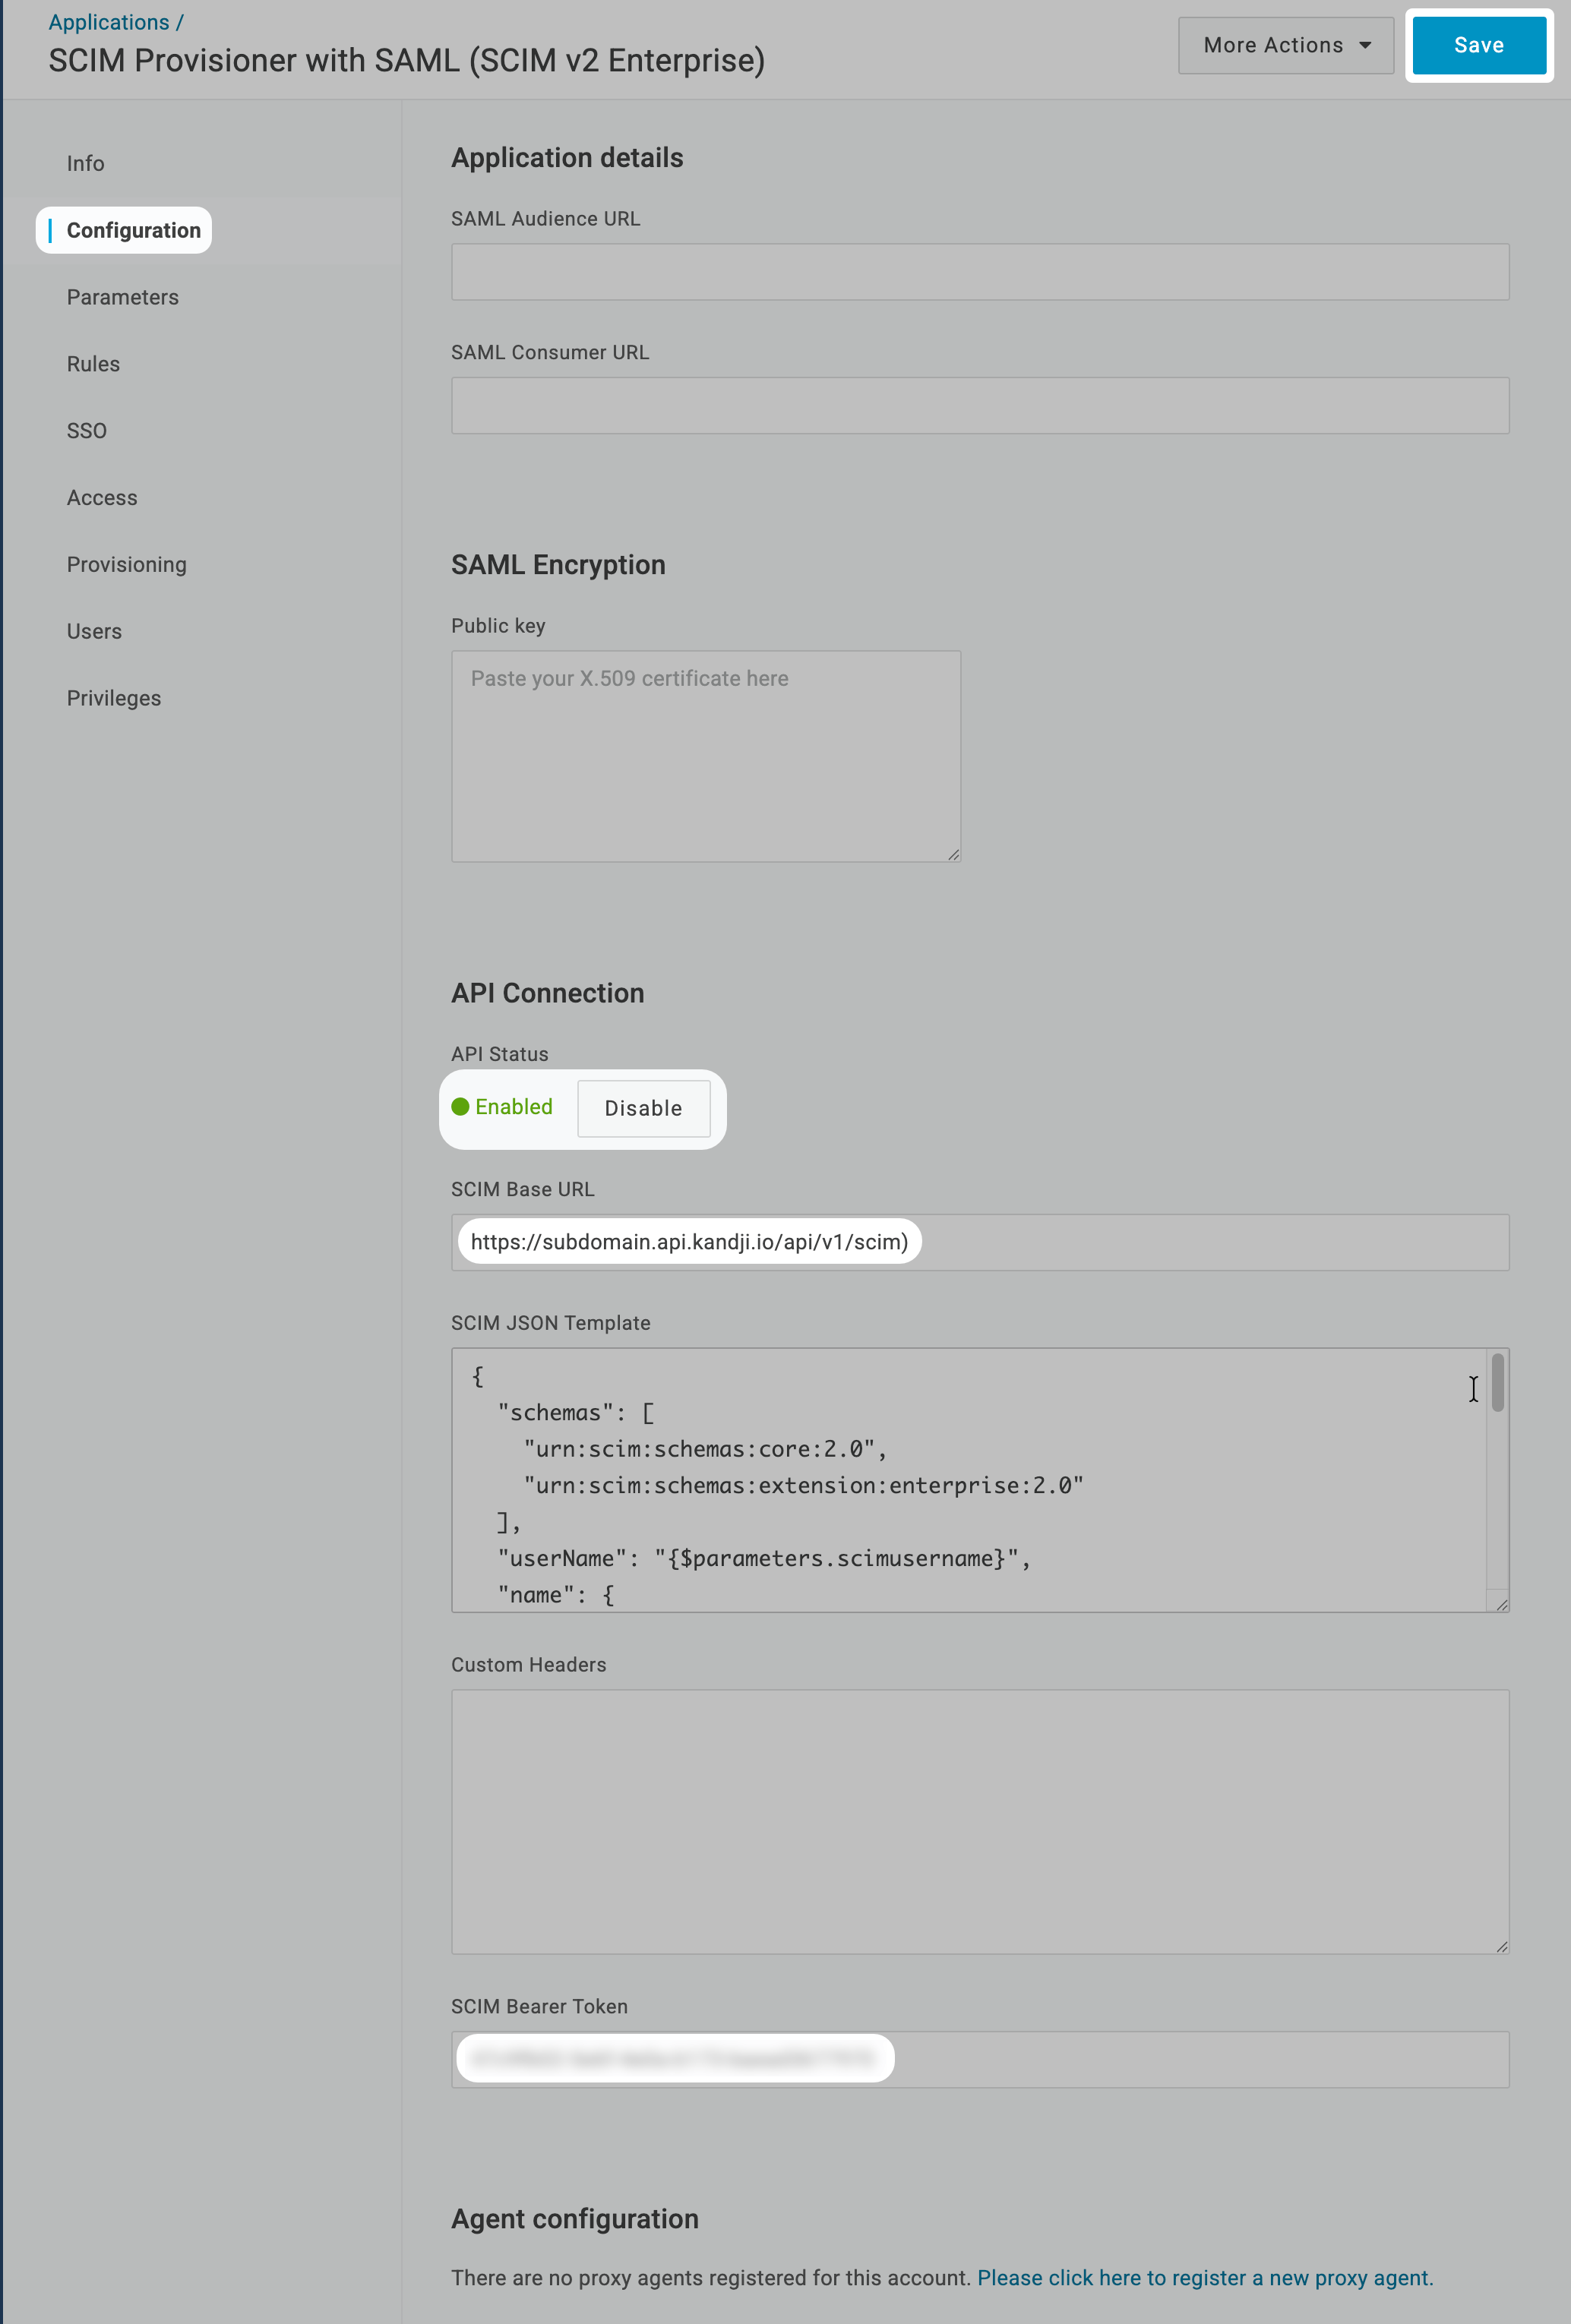
Navigate to the Configuration page.
Enter Bearer Token
In the SCIM Bearer Token field, paste the token you obtained in the Iru Endpoint tab.
Enable API Connection
Click Enable to turn on the API Connection.
Provisioning
Access Provisioning Page
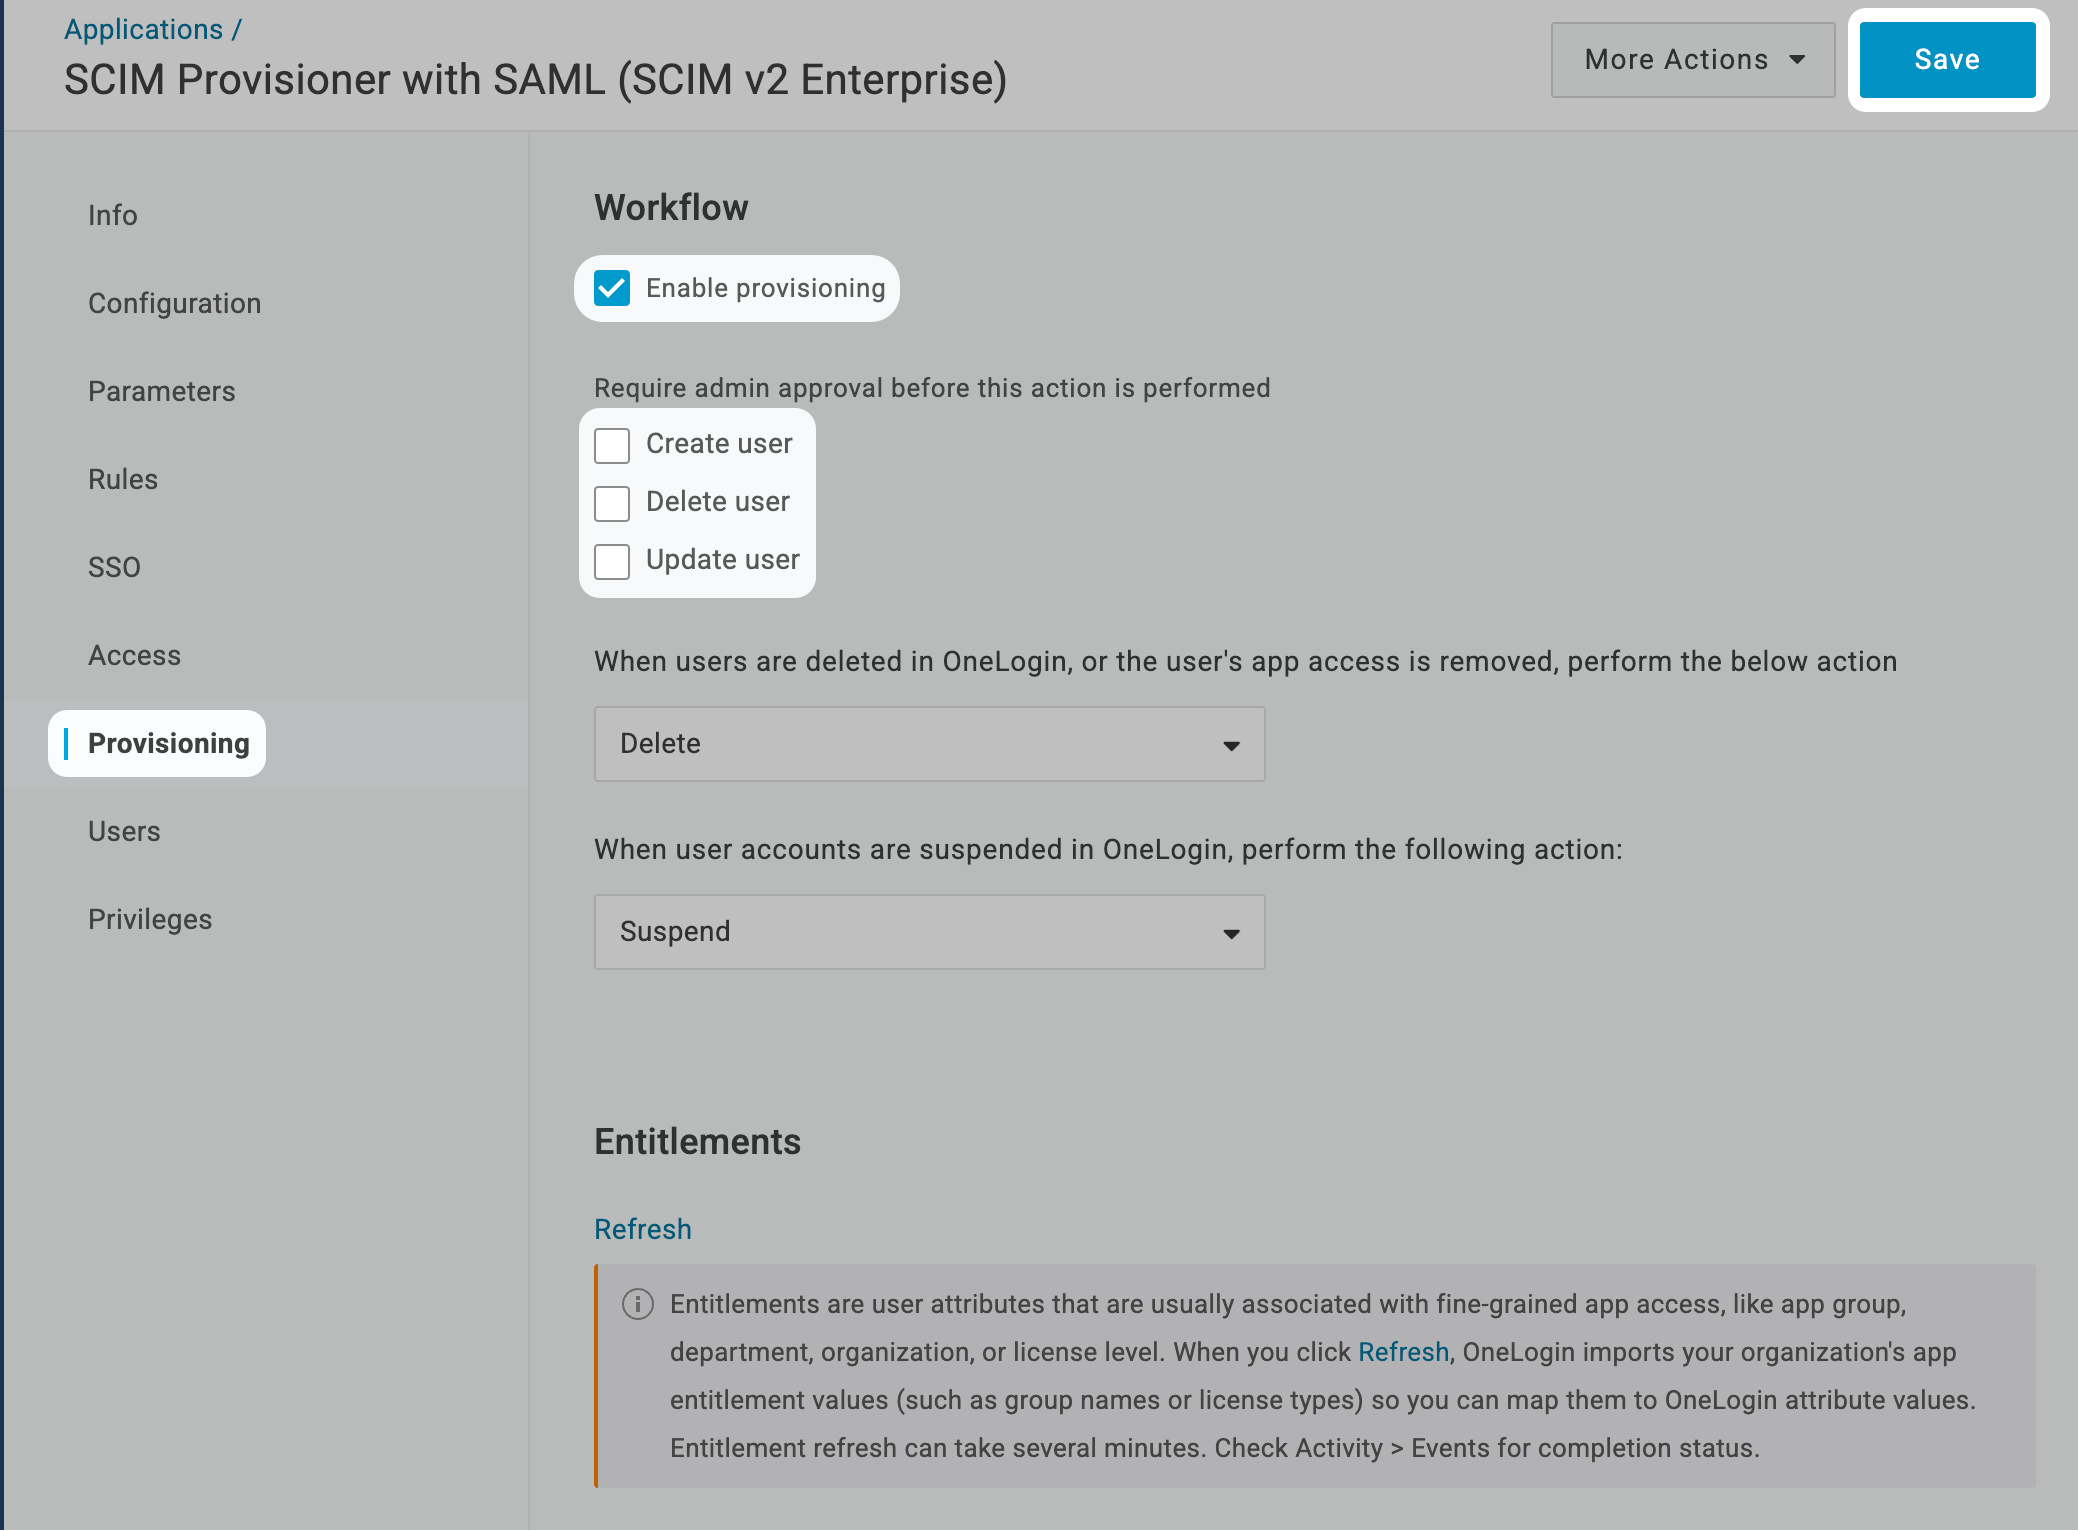
Go to the Provisioning page.
Enable Provisioning
Select the box to Enable provisioning.
Configure User Operations
Uncheck the boxes next to Create user, Delete user, and Update user.
Set Deletion Policy
For the option When users are deleted in OneLogin, or the user’s app access is removed…, choose Delete.
Set Suspension Policy
For the option When user accounts are suspended in OneLogin…, choose Suspend.
Save Configuration
Now, in the top-right, click Save to keep the initial configuration. Provisioning Users and Roles to Iru Endpoint
Use the following steps to send users and OneLogin roles to Iru Endpoint via the SCIM integration.OneLogin roles are synonymous to groups in Iru Endpoint, and are assigned to the SCIM configuration. When users are assigned to roles in OneLogin, they are then pushed to Iru Endpoint. Additionally, any roles assigned to the SCIM app are pushed to Iru Endpoint as groups.
Creating a Role
Navigate to Users
In the top navigation, hover over Users.
Access Roles
In the dropdown menu, click Roles.
Create New Role
Click New Role.
Name the Role
Give the Role a name.
Assign Apps to Role
Select the apps that should be assigned to the role. In this case, we selected the SCIM app.
Assigning Users to the Role
Access Created Role
Click back into the role that was just created.
Navigate to Users
Click Users.
Create New Mapping
Under Users Added Automatically, click New Mapping.
Name the Mapping
Give the Mapping a name.
Configure Conditions
Create the conditions that meet your needs. For this example, choose Group membership as the criteria, but you can use other criteria like department.
Select Role Action
Under Actions, choose the role that should be applied.
OneLogin only allows a user to be member of one group, so you can think of OneLogin groups like an attribute that describes the user similar to department or location. Use OneLogin roles if a user needs to be a member of more than one “group”.
If desired, users can also be added to the SCIM apps manually from each user’s record.
Adding a Rule to the SCIM App
Use the steps below to push one or more roles (Iru Endpoint groups) to Iru Endpoint in the OneLogin SCIM app.Access Rules
In the SCIM app, click Rules.
Add New Rule
Click Add Rule.
Name the Rule
Give the rule a name.
Configure Action
Under Actions, choose Set Groups in from the first dropdown.
Select Mapping Source
Select Map from OneLogin.
Configure Role Mapping
In the For each field, choose role from the dropdown.
Set Role Value
In the with value that matches field, enter the SCIM Role to push to Iru Endpoint as a group.
Pushing Updates
Syncing: User and group syncing is one-way, meaning the SCIM app will send user information to Iru Endpoint only when there is new or updated information to be sent. For this reason, a “Sync Now” option is not needed in the Iru Endpoint web app.
Access More Actions
Hover over the More Actions menu.
Reapply Entitlement Mappings
Click on the Reapply entitlement mappings option.