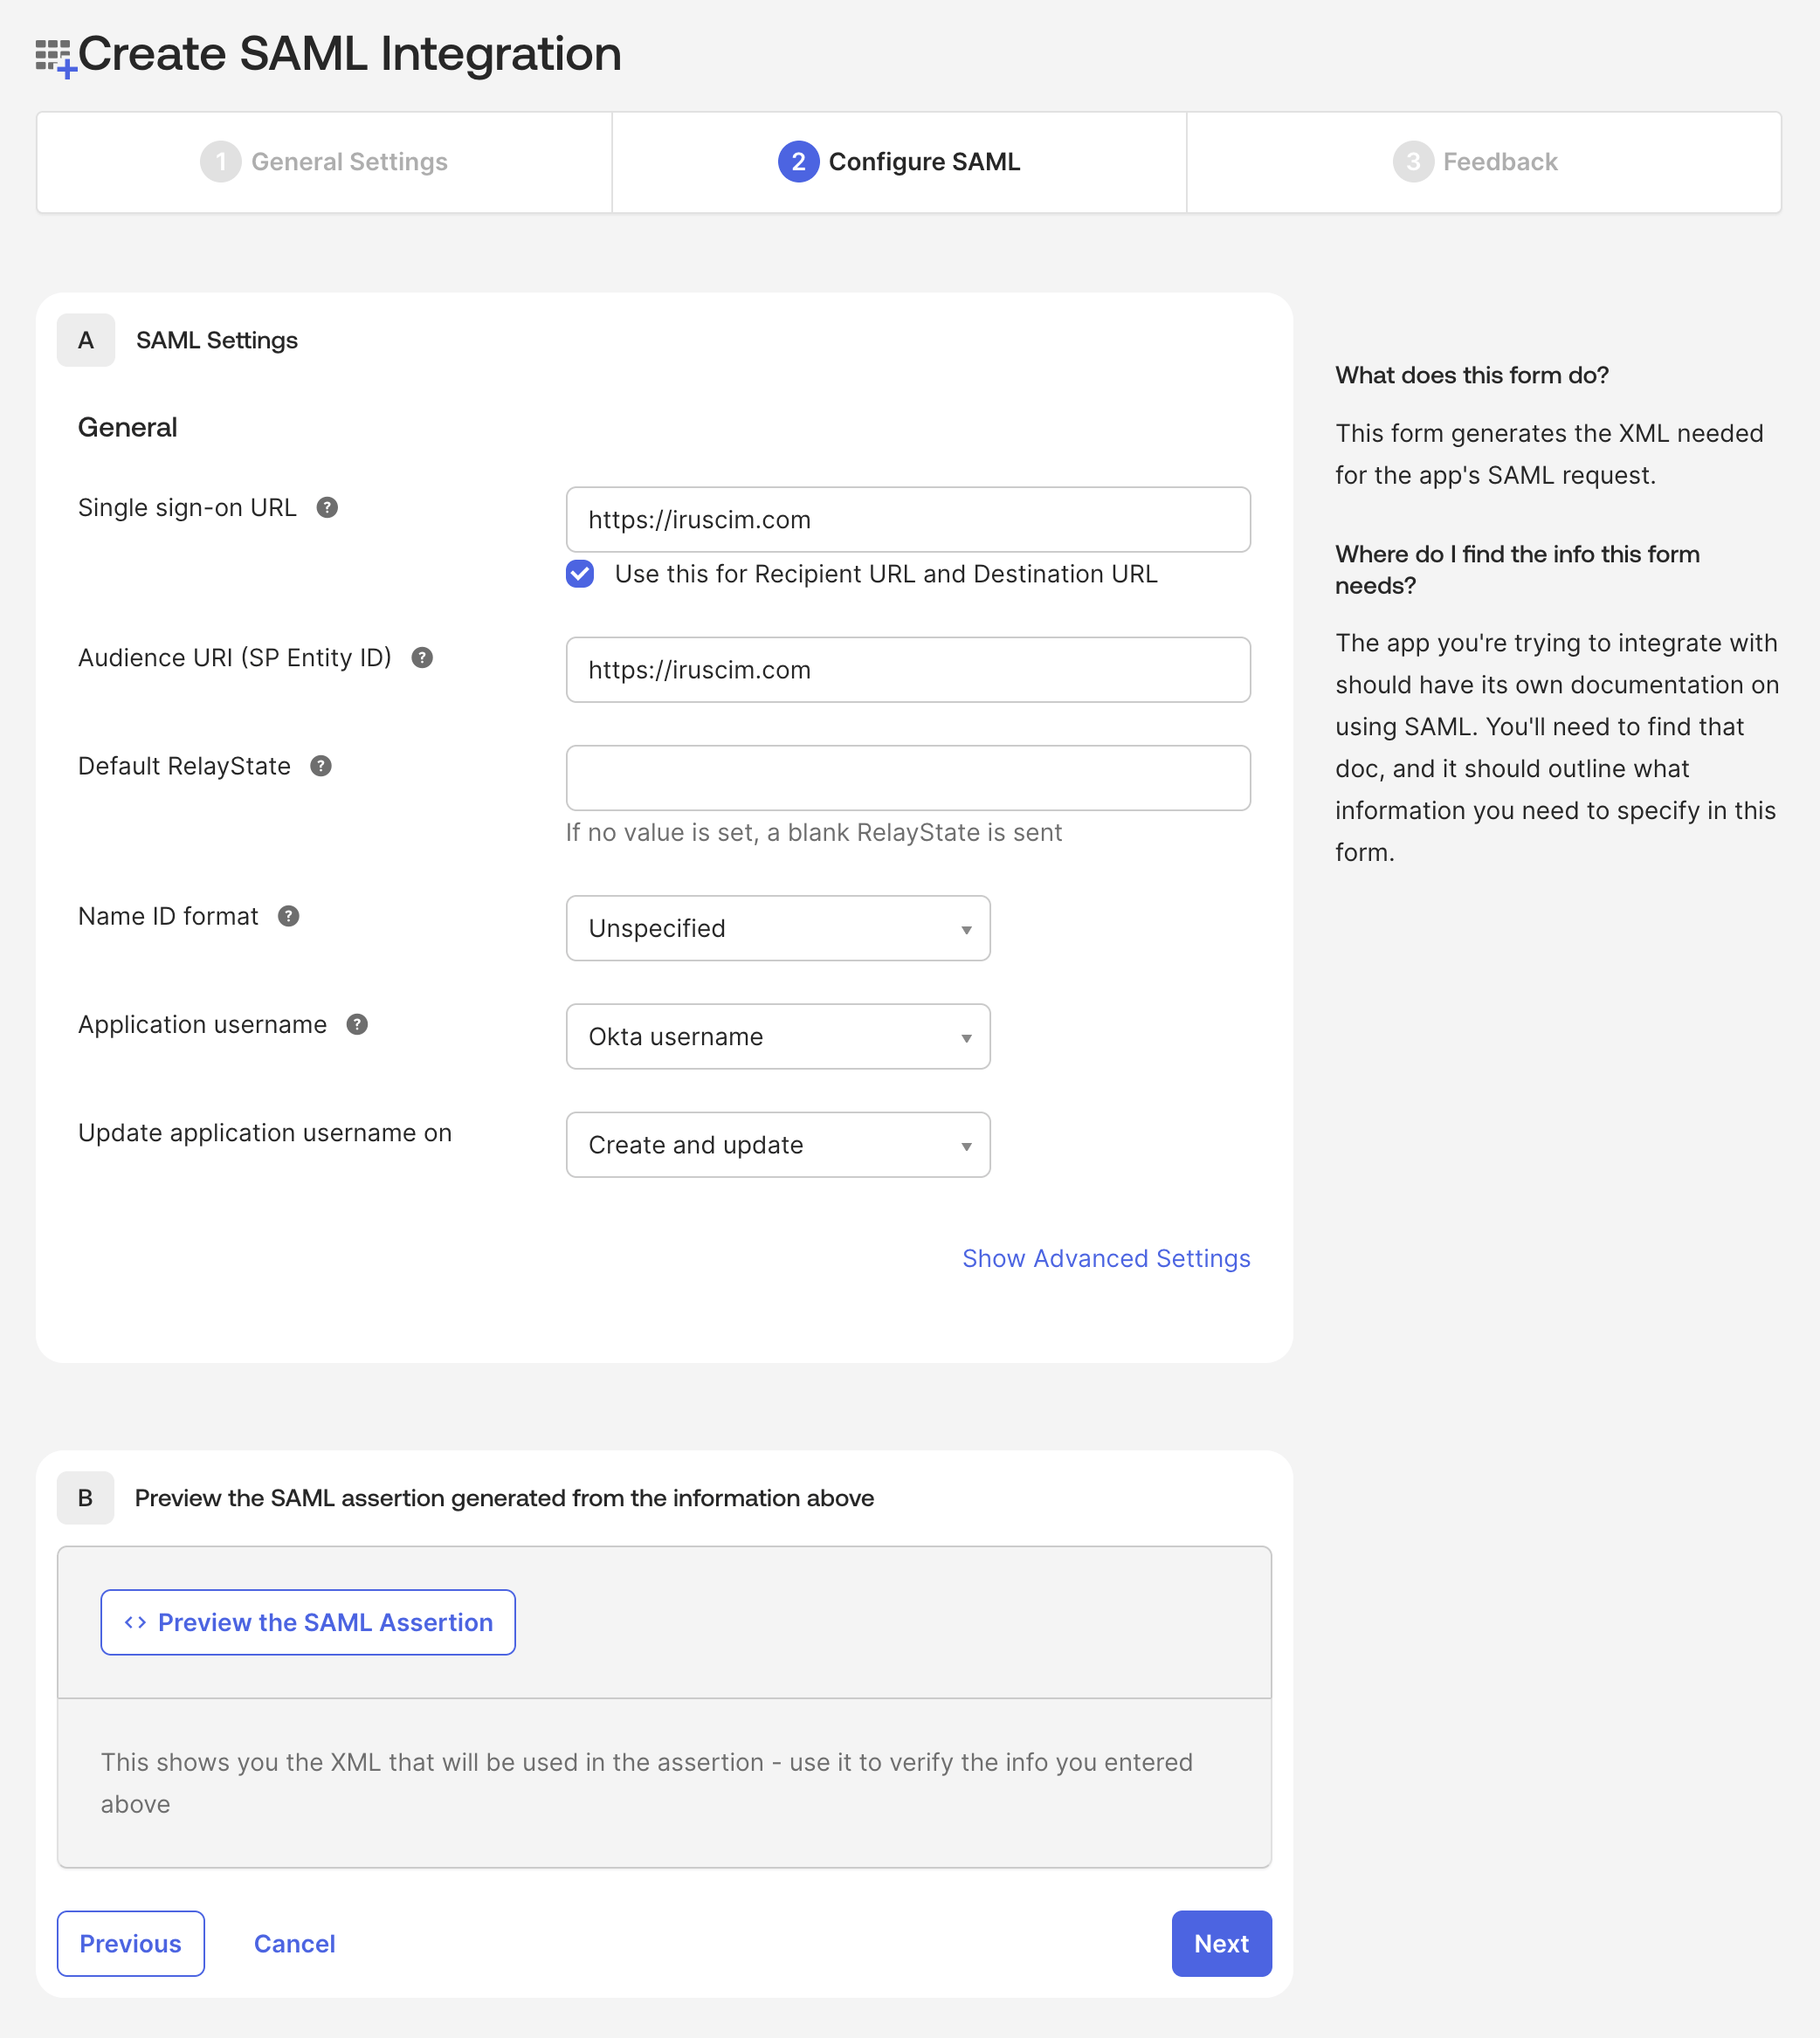
About SCIM Directory Integration with Okta
SCIM Directory Integration with Okta in Iru Endpoint allows you to set up SCIM-based user directory synchronization between Okta and Iru Endpoint, enabling automatic user and group provisioning and deprovisioning.How It Works
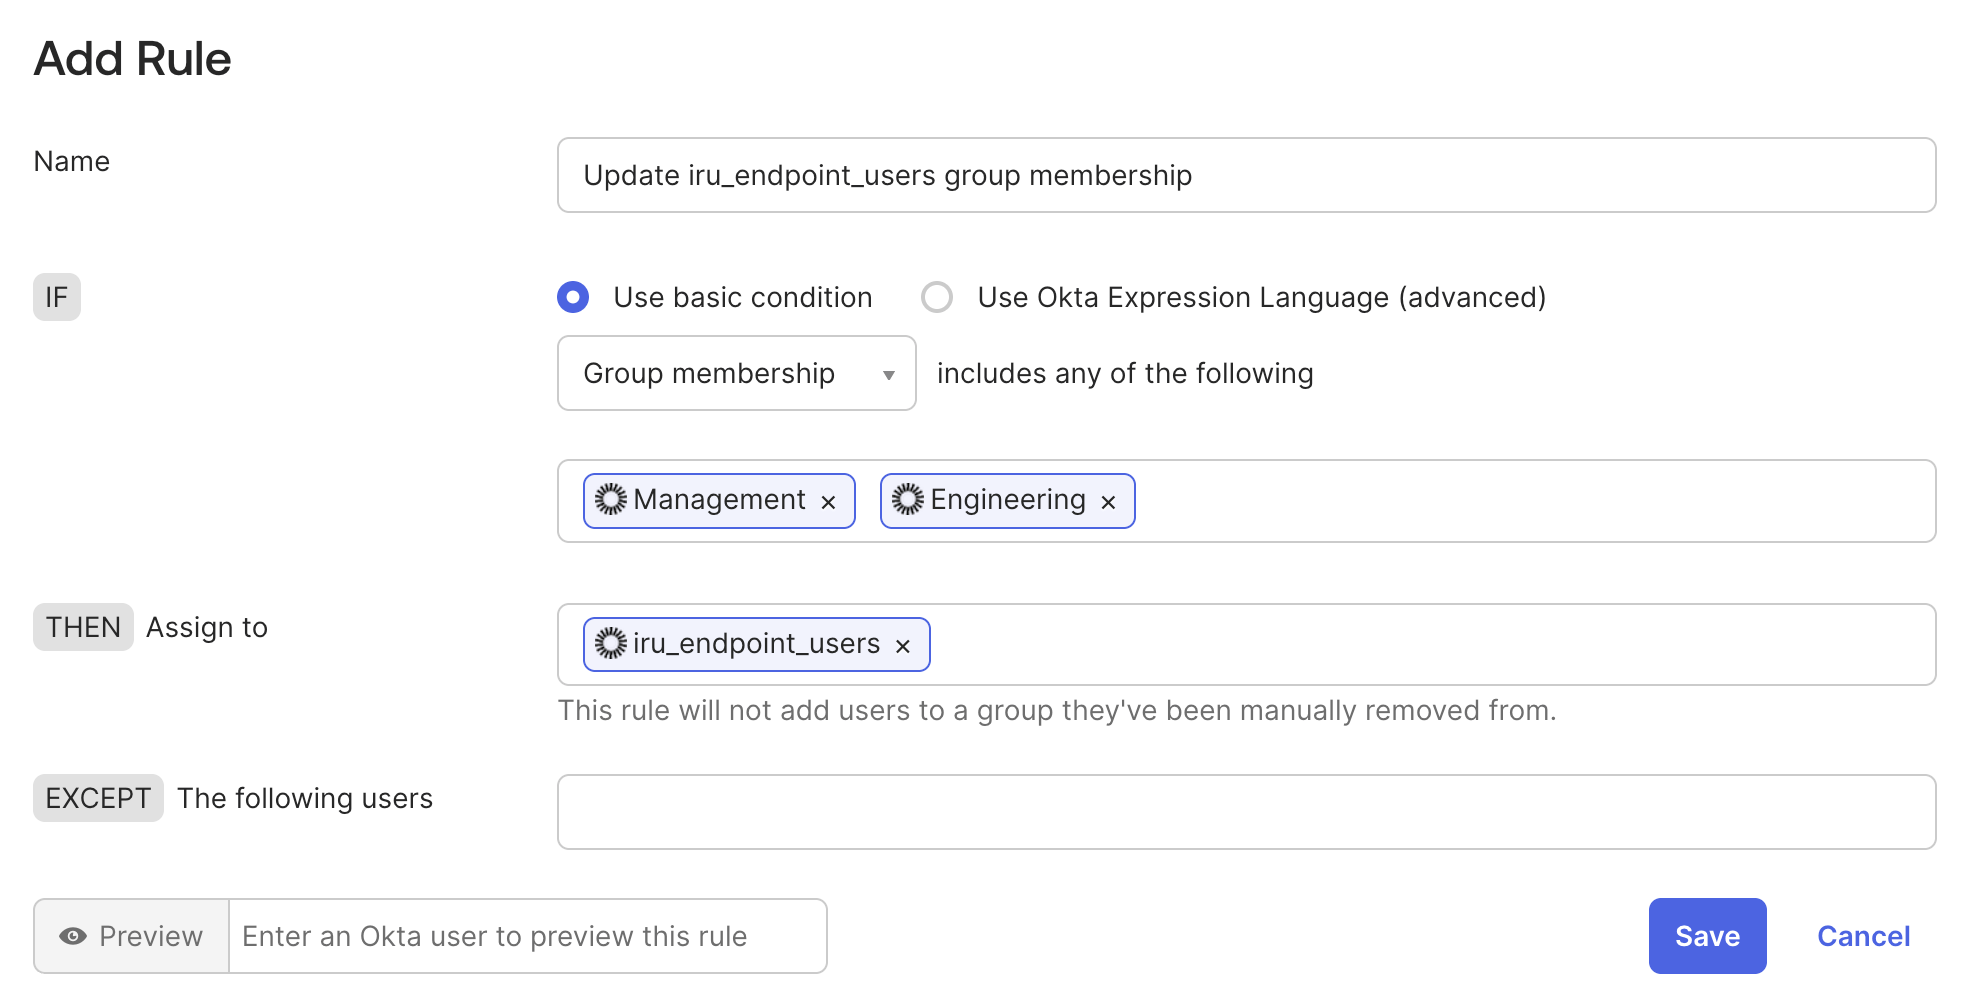
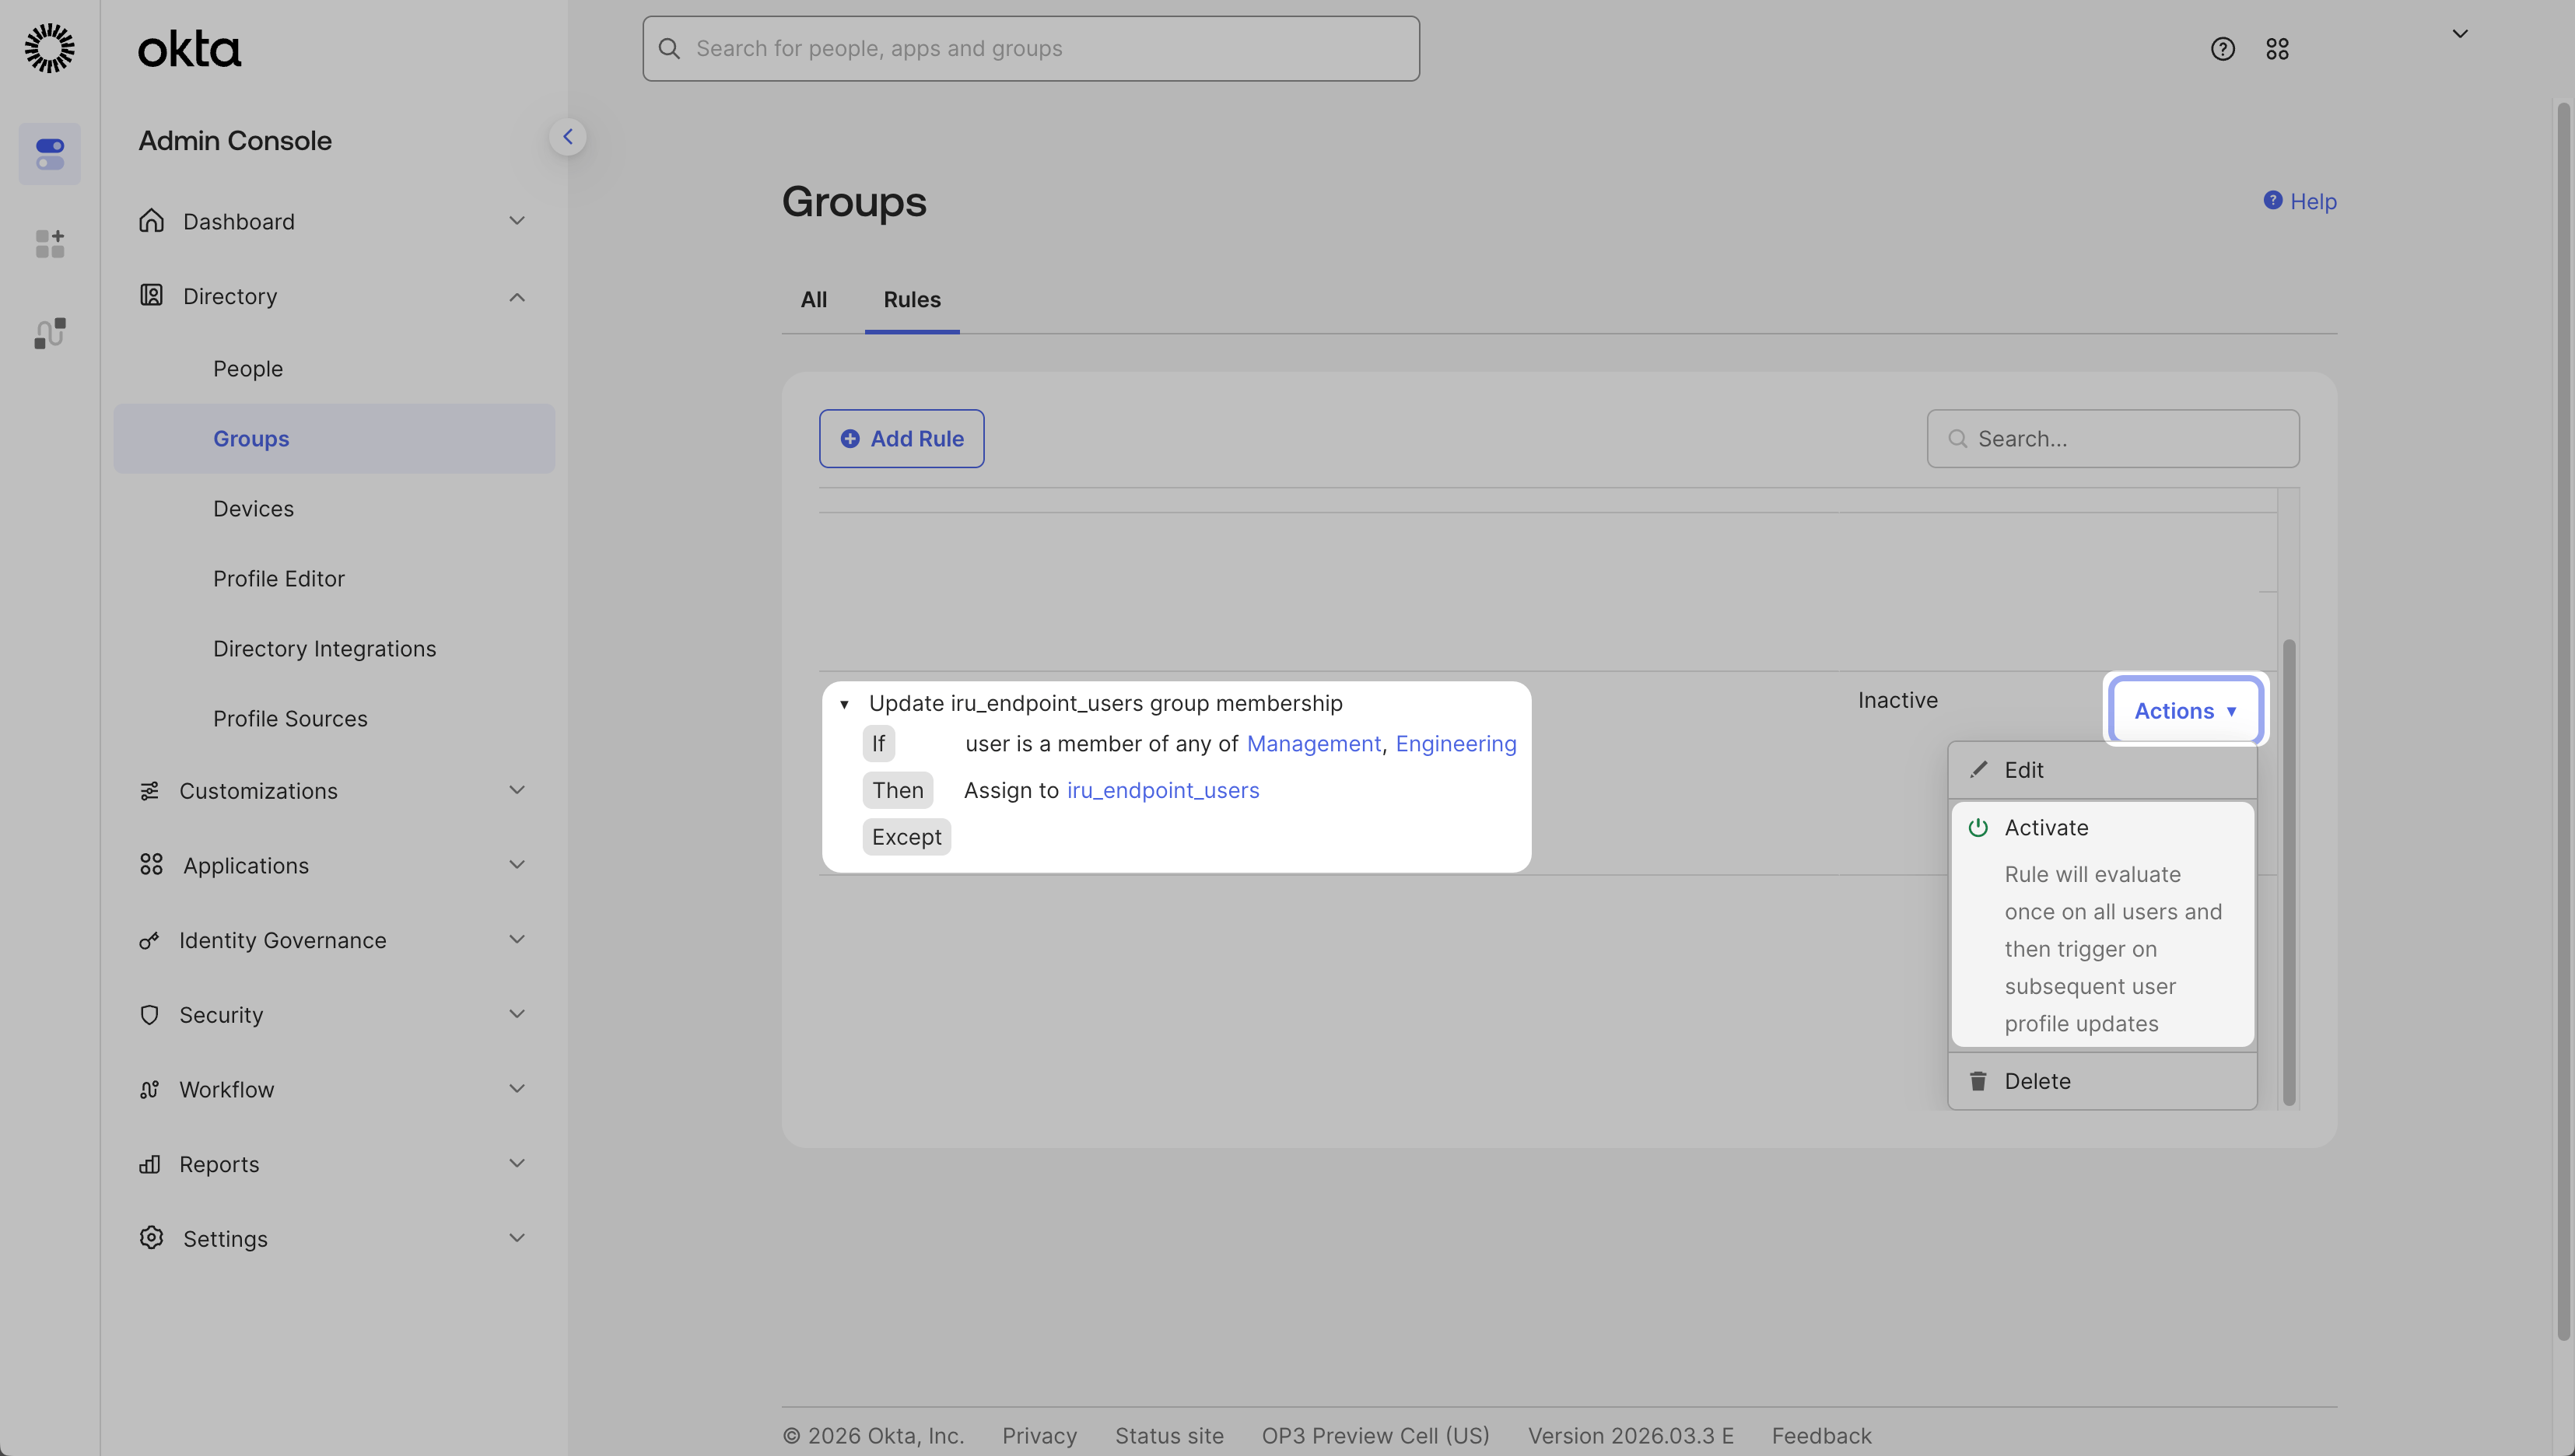
The SCIM integration creates a secure connection between Okta and Iru Endpoint, enabling automatic synchronization of user and group data. When users or groups are added, modified, or removed in Okta, these changes are automatically reflected in Iru Endpoint through the SCIM protocol.Prerequisites
- Ensure you’re using Okta’s Advanced Lifecycle Management plan, which supports built-in, standards-based provisioning for SCIM.
- Be sure to review the supported user and group attributes listed in the SCIM Directory Integration article.
- Iru Endpoint
- Okta
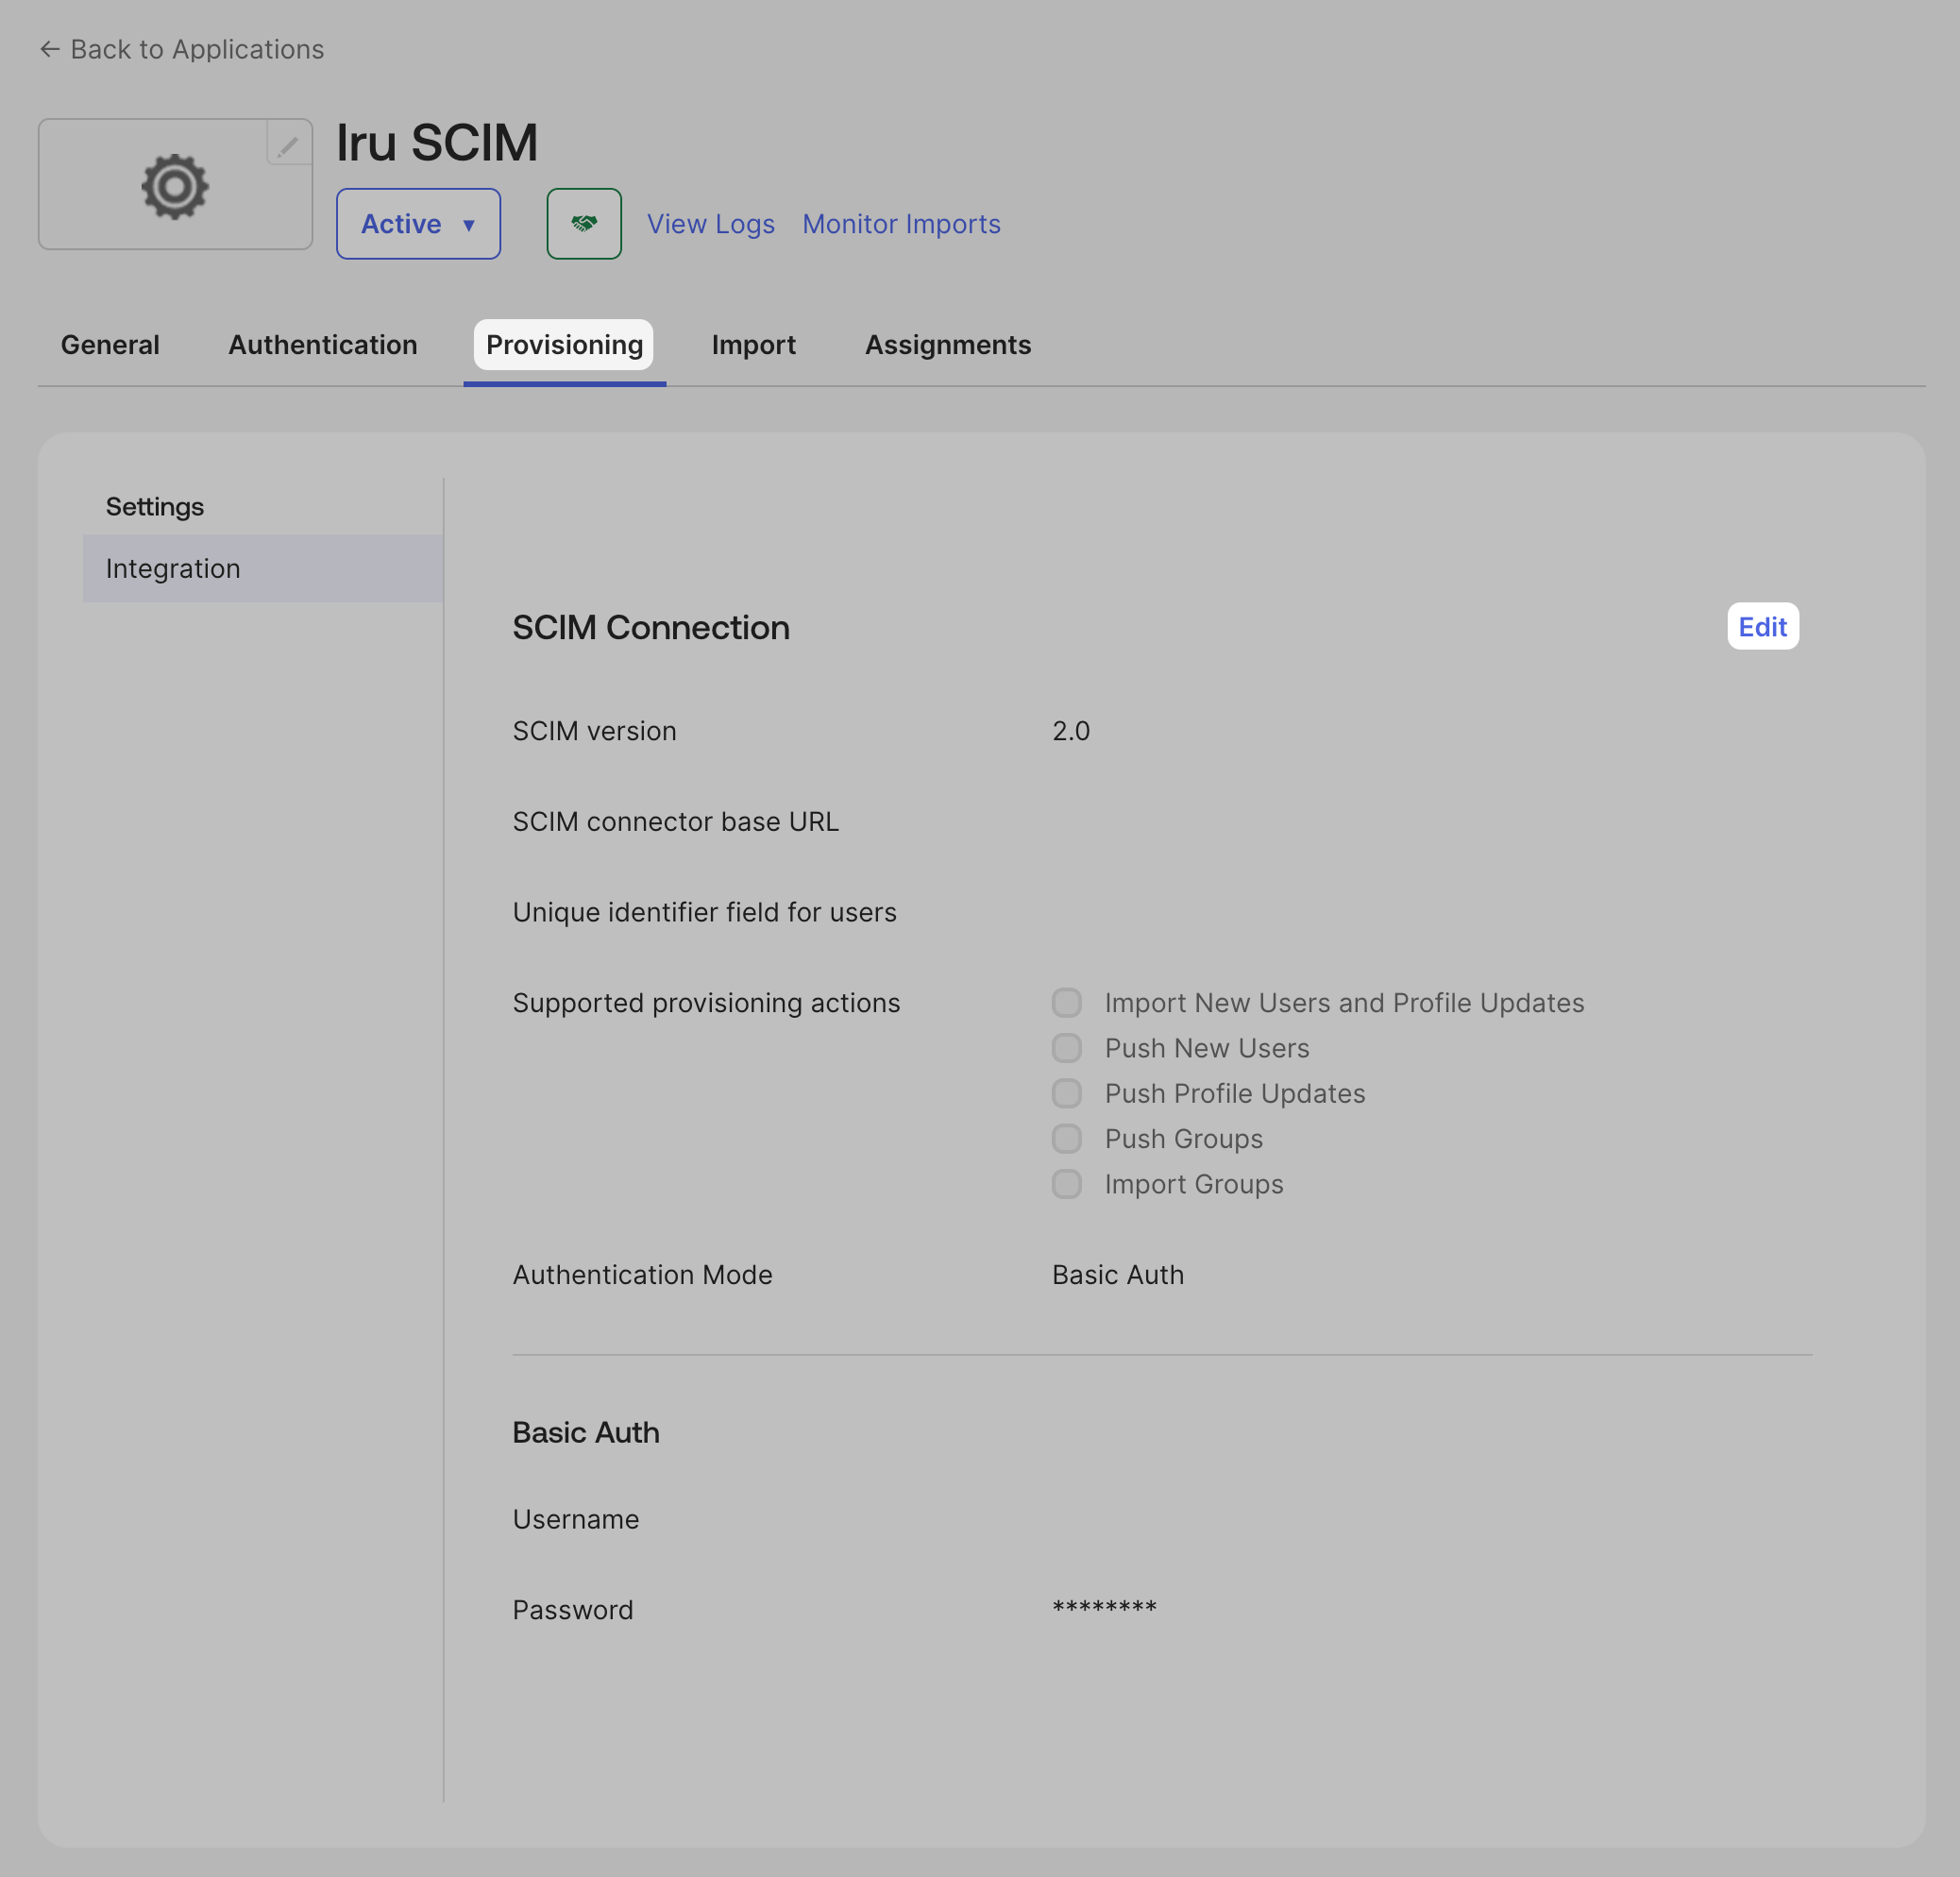
Get the SCIM Token and API URL
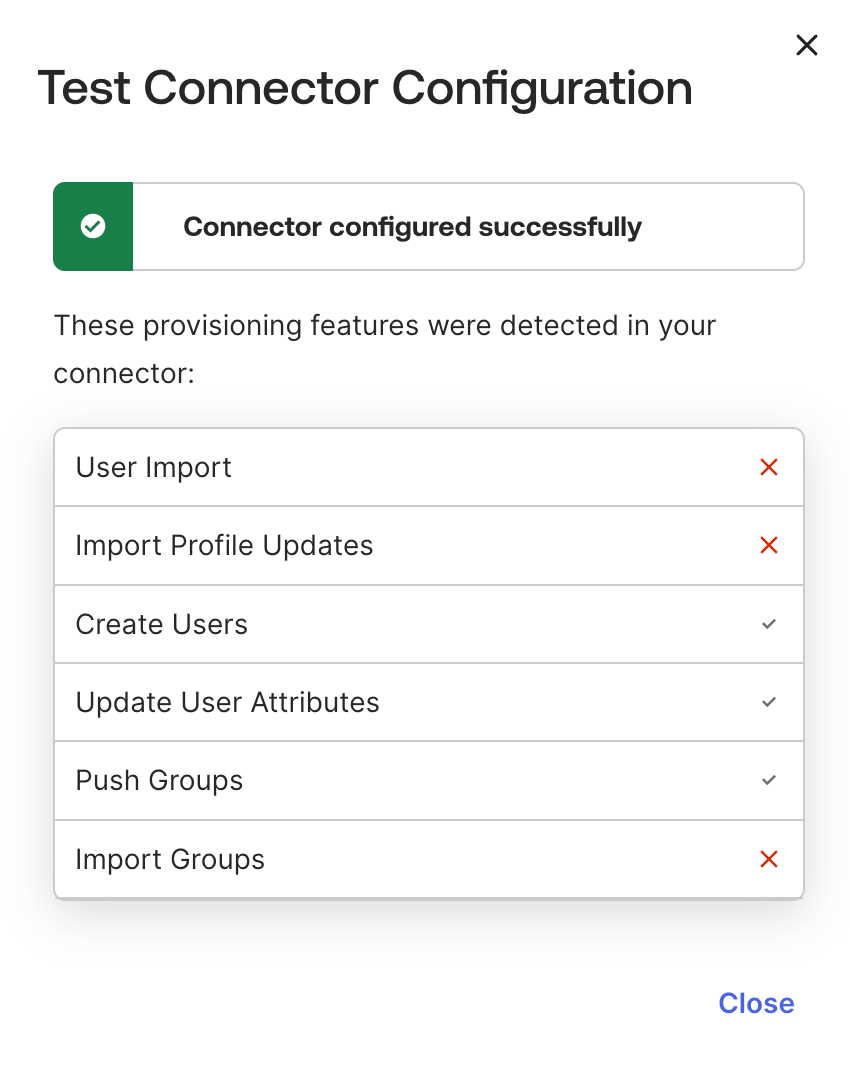
Complete these steps in Iru Endpoint first. You will need the SCIM access token and API URL when configuring Okta. For full details, see the SCIM Directory Integration article.Open Integrations
In Iru Endpoint, click your name at the bottom of the left navigation, then select Integrations.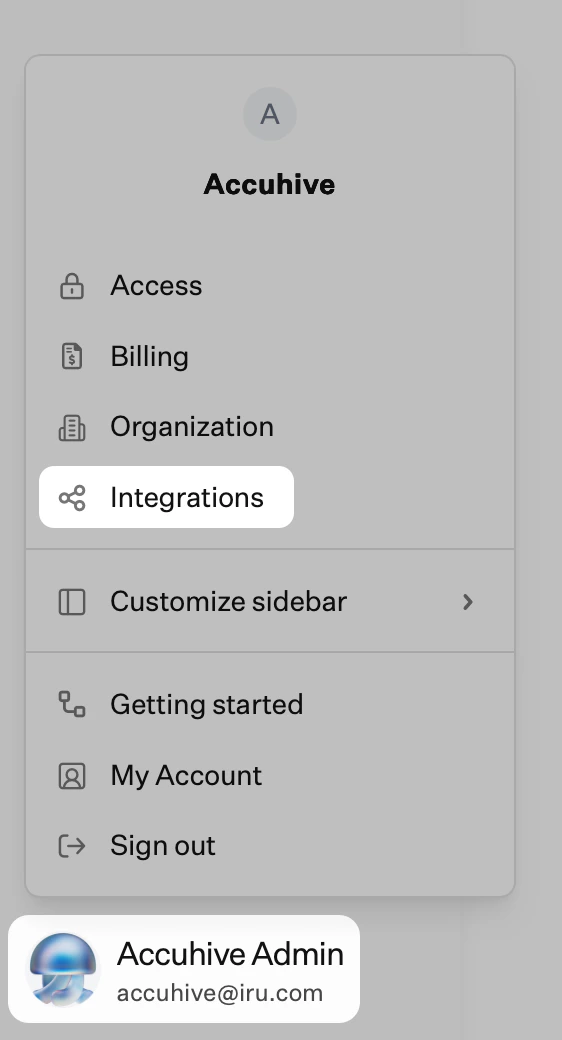
Generate Authentication Token
Click Generate token. The SCIM integration uses an HTTP authorization header with a Bearer Token.
Copy the Token
Click Copy token. The token will not be visible again after you click Done. Store it securely, as you will need it in the Okta tab.
Confirm and Complete Setup
Confirm that you have copied the token by checking the box, then click Done. You will return to the Integrations page.

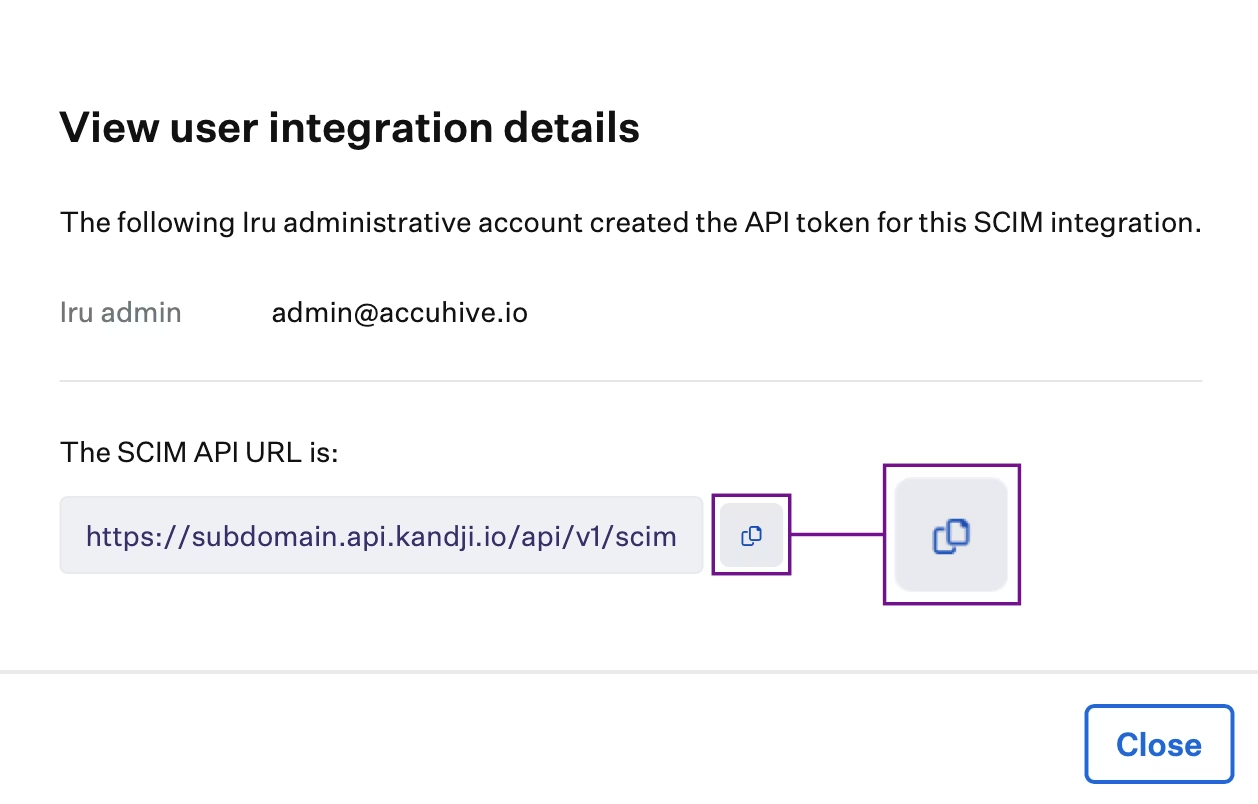
Copy API URL
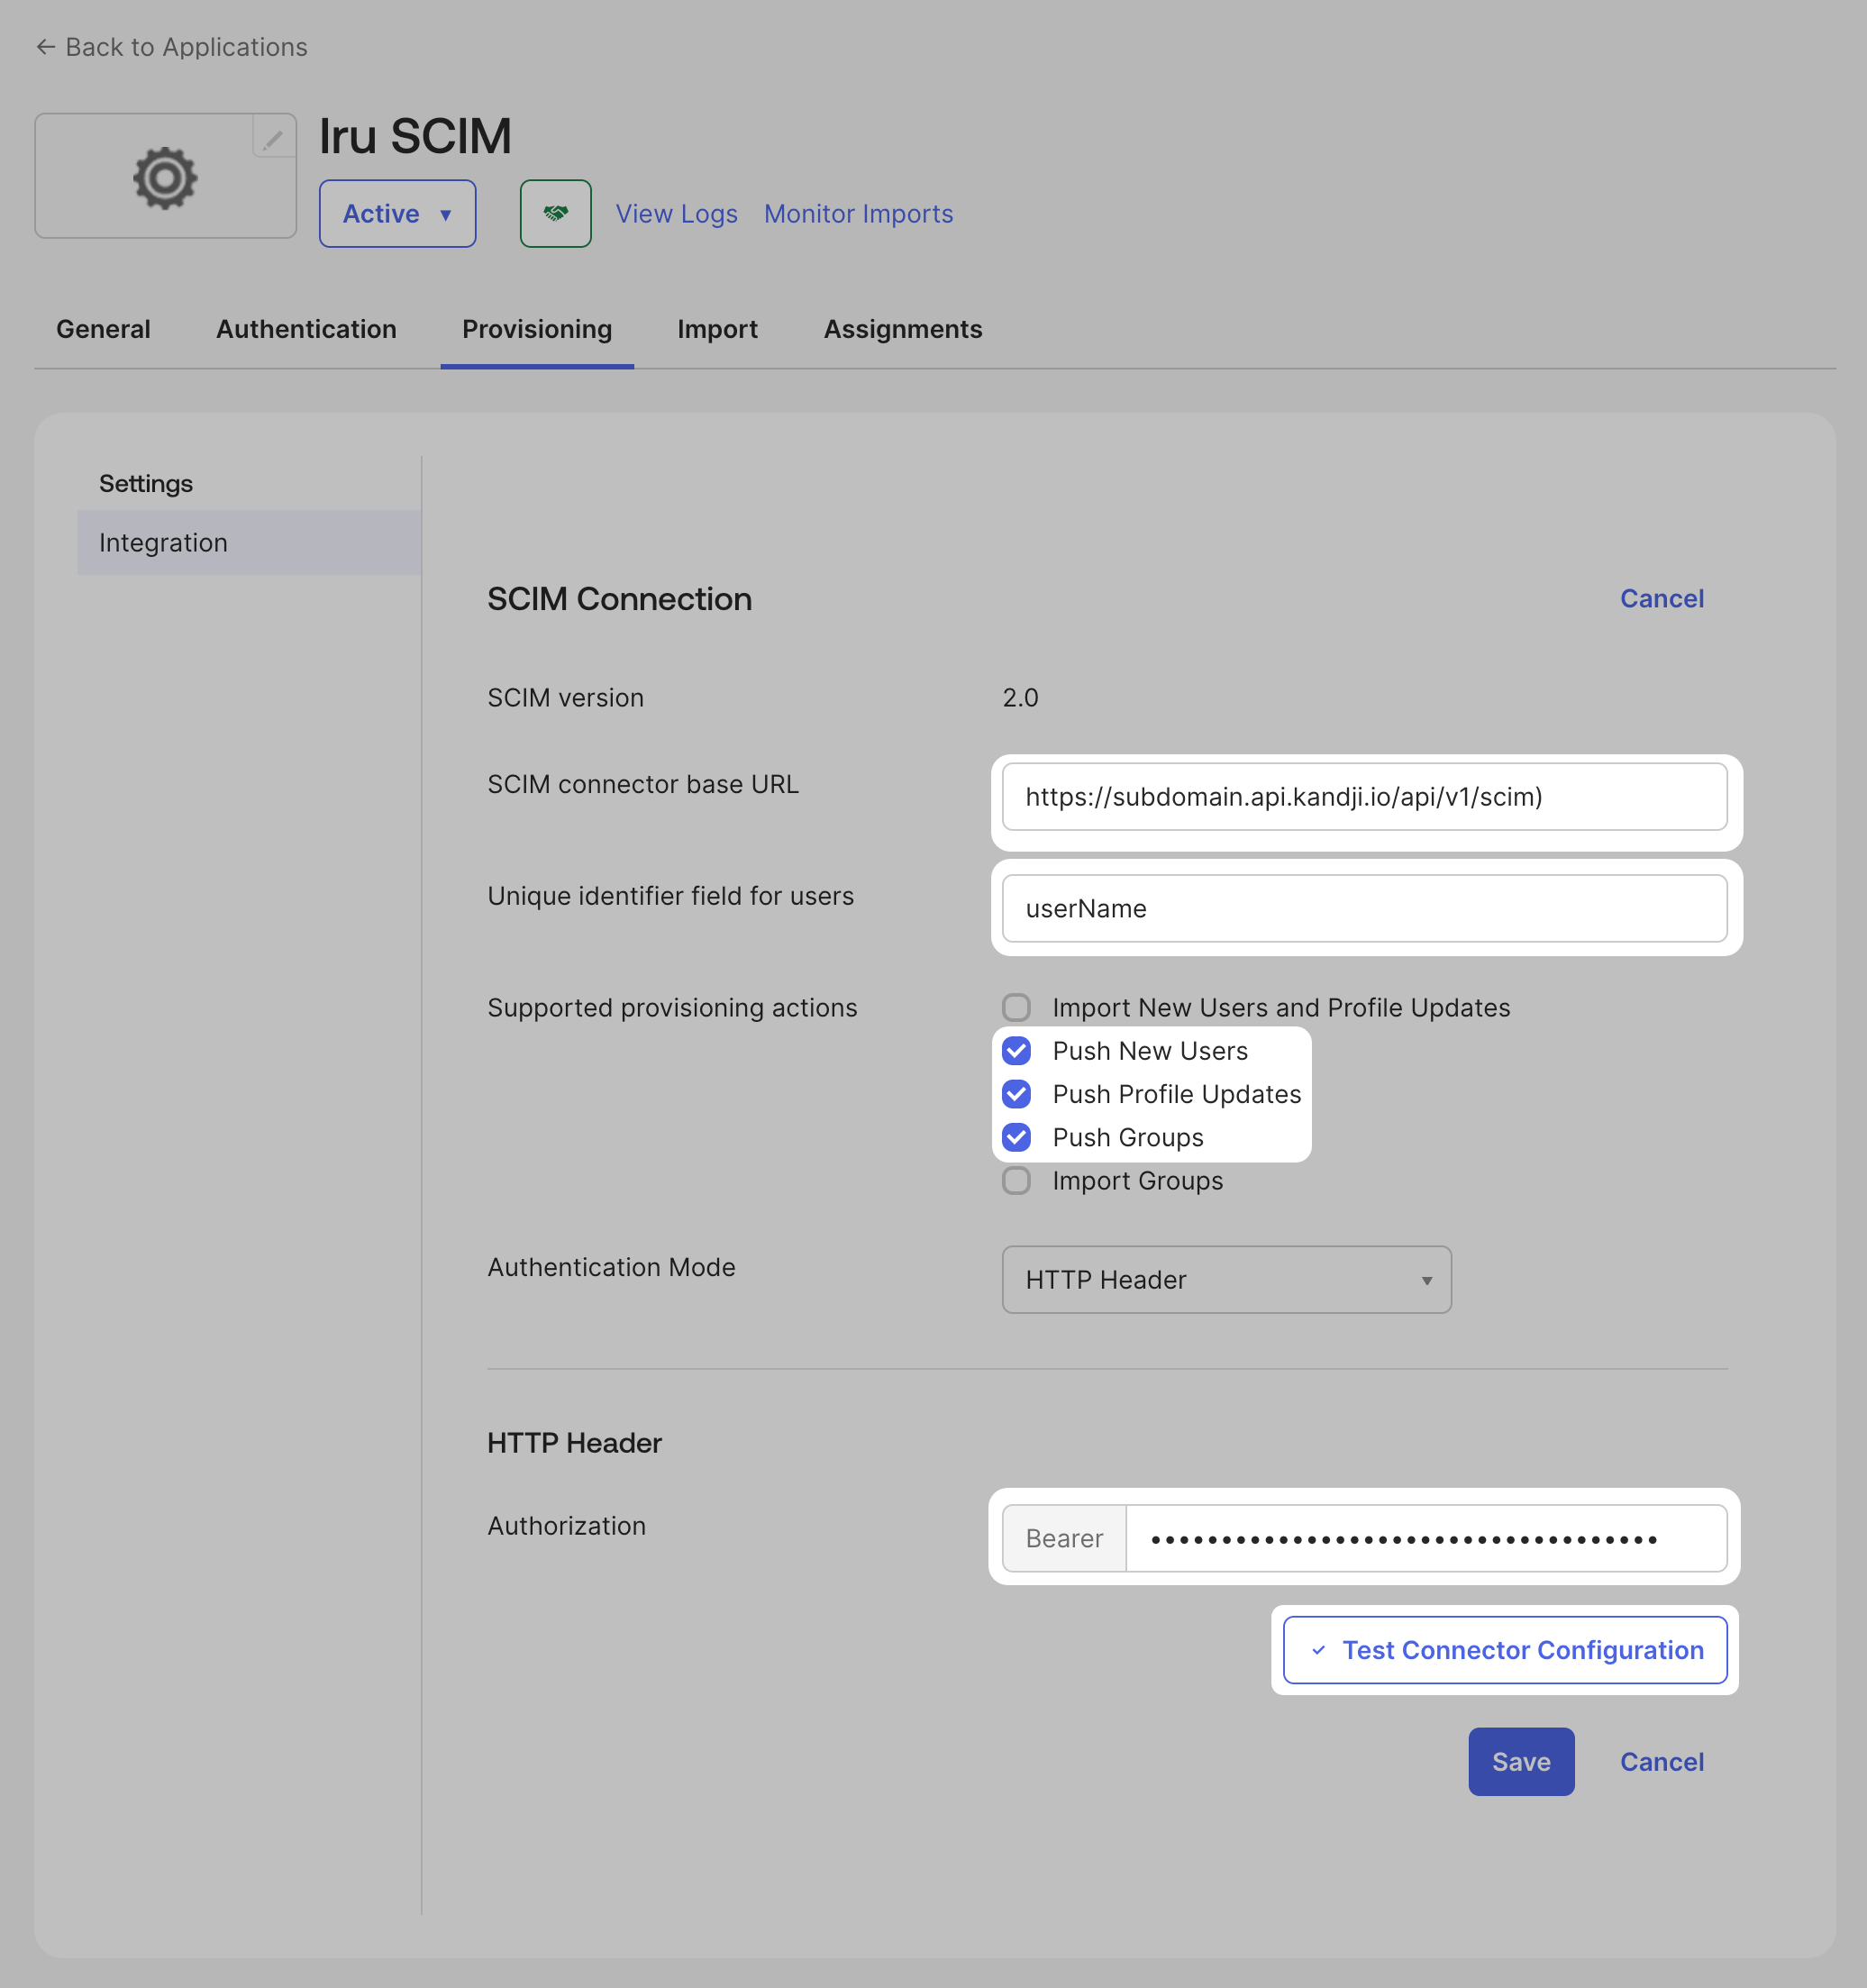
Copy the SCIM API URL (e.g.
https://subdomain.api.iru.com/api/v1/scim). Your identity provider will require this. The URL displayed in your tenant may still show the api.kandji.io domain. The api.kandji.io version of the SCIM API URL will also work for this purpose.