About the Amazon S3 Activity Log Integration
Amazon S3 Activity Log Integration in Iru Endpoint enables organizations to send tenant activity events to a self-hosted S3 bucket for centralized activity collection and analysis with SIEM services.
How It Works
This integration pushes event data to your specified S3 bucket using cross-account access via an Iru Endpoint-provided IAM role, enabling centralized activity collection and analysis.
Once configured, it automatically captures Iru Endpoint tenant activity events and delivers them to your specified bucket, where you can access them for monitoring, compliance, or analysis purposes. Refer to our activity log API documentation for a list of logged events.
Once configured, event data is sent to your designated S3 bucket using cross-account access through an Iru Endpoint-provided IAM role, allowing for centralized collection and analysis of activity logs.
The first log collection after the Integration is connected only includes the previous hour of activity. Subsequent activity log collection will occur hourly.
Prerequisites
Before configuring this integration, ensure the following:
- You have an active AWS account.
- You have permissions to create a new S3 bucket.
- You have permissions to create an IAM Role with AssumeRole and S3 write permissions.
Setting Up AWS Access
Iru Endpoint Integration Setup
Open Integrations
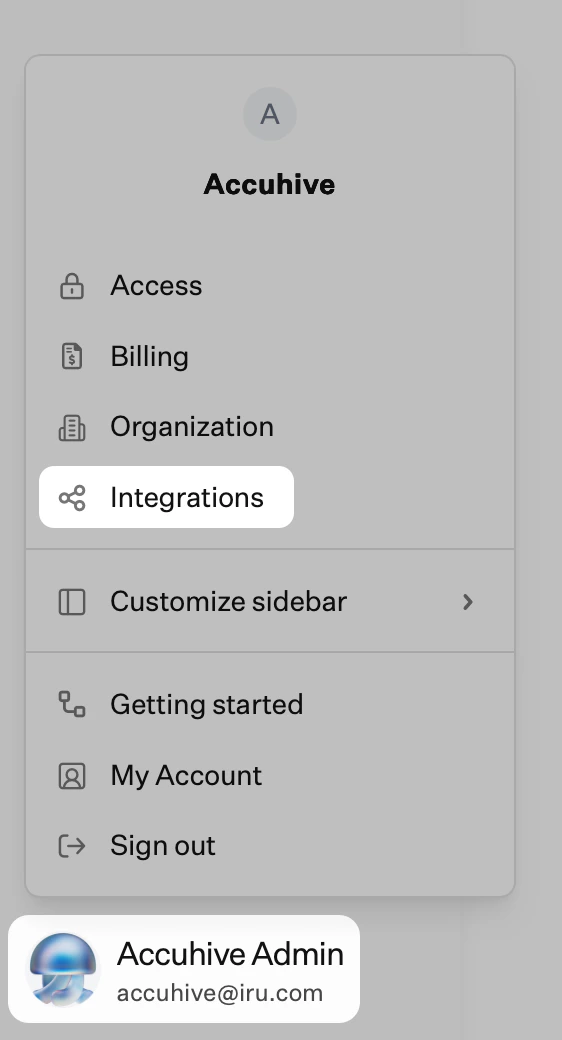
Click your name at the bottom of the left navigation, then select Integrations. Discover Integrations
Click Discover integrations in the upper-right of the Integrations page.
Add S3 Integration
Under Security integrations, click Add and configure under Amazon S3 Activity Log Integration.
Copy IAM Role
Copy the value for IRU_ENDPOINT_IAM_ROLE and store the value in a secure location.
Copy AWS Account ID
Copy the value for IRU_ENDPOINT_AWS_ACCOUNT_ID and store the value in a secure location.
Store Values Securely
These values will be used as part of your IAM role permissions in the next section.
Creating S3 Bucket
You must create a new S3 Bucket to use the Amazon S3 Activity Log Integration.
Access AWS Console
Log in to AWS.
Navigate to S3
Navigate to Amazon S3 > Buckets.
Create Bucket
Click Create bucket.
Select Bucket Type
Choose the General purpose bucket type.
Enter Bucket Name
Enter a memorable Bucket name.
- This name will be referenced in policies.
Configure Public Access
Under Block Public Access settings for this bucket, ensure that the Block all public access option is selected.
Set Versioning
Under Bucket Versioning, keep the Disable option selected.
Configure Encryption
Under Encryption type, select Server side encryption with Amazon S3 managed Keys (SSE-S3).
Enable Bucket Key
Under Bucket Key, select Enabled.
Review Configuration
Iru Endpoint currently only supports the default encryption options defined above.
Create Bucket
Click Create bucket.
Select Created Bucket
Select the bucket you just created.
Access Permissions
Click the Permissions tab.
Edit Bucket Policy
Under Bucket policy, click Edit.
Add Bucket Policy
Add the following bucket policy to the role permissions. Click Save changes.Replace bucket name references
Replace all reference to BUCKET_NAME with the name of the bucket you just created.
{
    "Version": "2012-10-17",
    "Statement": [
        {
            "Sid": "AllowSSLRequestsOnly",
            "Effect": "Deny",
            "Principal": "*",
            "Action": "s3:*",
            "Resource": [
              "arn:aws:s3:::BUCKET_NAME/*",
              "arn:aws:s3:::BUCKET_NAME"
            ],
            "Condition": {
                "Bool": {
                    "aws:SecureTransport": "false"
                }
            }
        }
    ]
}
Navigate to IAM
In AWS, navigate to IAM > Roles.
Create New Role
Click Create role.
Select Trust Policy
Select Custom trust policy.
Add Custom Trust Policy
Add the Custom trust policy below to allow Iru Endpoint to assume this role when writing to your S3 bucket.
-
Replace the IRU_ENDPOINT_AWS_ACCOUNT_ID and IRU_ENDPOINT_IAM_ROLE text with the values you made a note of at the beginning of the article.
{
    "Version": "2012-10-17",
    "Statement": [
        {
            "Effect": "Allow",
            "Principal": {
                "AWS": "arn:aws:iam::IRU_ENDPOINT_AWS_ACCOUNT_ID:role/IRU_ENDPOINT_IAM_ROLE"
            },
            "Action": "sts:AssumeRole"
        }
    ]
}
Continue Role Creation
Click Next.
Skip Permissions
On the Add permissions screen, select Next without selecting any of the listed Permissions policies.
Add Role Details
Add a Role name and Description.
Complete Role Creation
Click Create role.
Select Created Role
Select the IAM Role you just created.
Access Permissions Tab
Click on the Permissions tab.
Add Permissions
Click Add permissions.
Create Inline Policy
Click Create inline policy.
Switch to JSON
Click the JSON tab.
Enter Inline Policy
Enter the following for the inline policy:Replace bucket name
Replace BUCKET_NAME - replace this with the name of the bucket you created that Iru Endpoint will place the activity log files in.
{
    "Version": "2012-10-17",
    "Statement": [
        {
            "Action": "s3:ListBucket",
            "Effect": "Allow",
            "Resource": "arn:aws:s3:::BUCKET_NAME"
        },
        {
            "Action": "s3:*",
            "Effect": "Allow",
            "Resource": "arn:aws:s3:::BUCKET_NAME/*"
        }
    ]
}
Continue Policy Creation
Click Next.
Name Policy
Enter a Policy name.
Create Policy
Click Create policy.
Setting Up the Integration in Iru Endpoint
Once the above is configured in your AWS account, you can proceed to setting up the integration in your Iru Endpoint account.
Open Integrations
Click your name at the bottom of the left navigation, then select Integrations. Discover Integrations
Click Discover integrations in the upper-right of the Integrations page.
Add S3 Integration
Under Security integrations, click Add and configure under Amazon S3 Activity Log Integration.
Continue Setup
Click Next.
Enter AWS Account ID
Enter the AWS Account ID.
Enter S3 Bucket Name
Enter the S3 Bucket Name for the bucket that was created earlier in this guide.
Set Destination Path
Optionally, enter a Destination Path.
Enter IAM Role ARN
Enter the IAM Role ARN for the IAM Role that was created earlier in this guide.
Enter AWS Region
Enter the AWS Region.
Connect to S3
Click Connect to S3.
Verify Connection
Iru Endpoint will attempt to upload and delete a test file in the provided S3 bucket. If Iru Endpoint is unable to successfully integrate to your S3 bucket, you will not be able to save and will need to follow the error messages surfaced in the UI to fix the connection.
Verify Event Data
Check your S3 bucket to confirm that Iru Endpoint is pushing event data. This will take a maximum of two hours, provided that activity events have been generated.
Considerations
Activity Log Frequency: Activity log events are updated hourly, with the first collection including only the previous hour of activity.
IAM Role Permissions: The IAM role must have the necessary permissions to allow Iru Endpoint to assume that role and write to the S3 bucket.
S3 Bucket Policy: You may need to adjust the S3 Bucket policy to allow Iru Endpoint to write objects to the bucket.
Security Requirements: Ensure the S3 bucket has proper encryption enabled and public access is blocked for security compliance.
Data Retention: Consider implementing S3 lifecycle policies to manage log data retention and storage costs.
Monitoring: Set up CloudWatch alarms to monitor S3 bucket access and activity log delivery.