About Microsoft Teams Integration
Microsoft Teams Integration in Iru Endpoint allows you to receive Iru Agent and system notifications directly in Microsoft Teams channels, providing centralized monitoring and alerting for your device management operations.How It Works
Integrate Microsoft Teams with Iru Endpoint to receive Iru Agent and Iru Endpoint System notifications inside public and private Teams channels. For more information on alerts, see our Global Alerts support article.Creating a New Teams Integration
The administrative account used to authenticate with Microsoft should either be an owner or member of all Teams and Channels that will be added to the Teams integration and must have a valid Office 365 license assigned.
Open Integrations
Click your name at the bottom of the left navigation, then select Integrations. Click Discover integrations.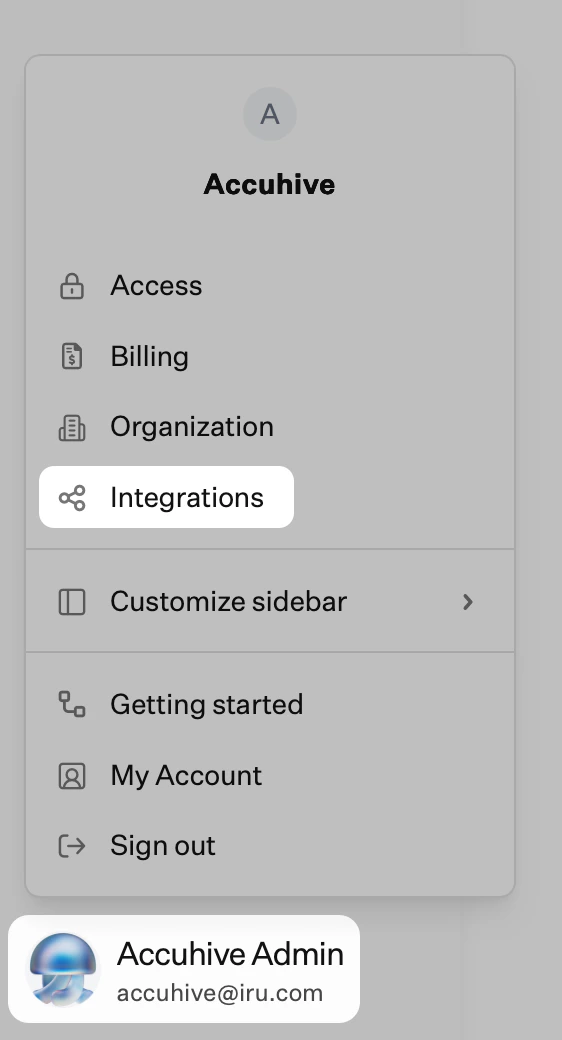
Add Microsoft Teams Integration
Under the Communication section, find Microsoft Teams and click Add and configure.
Approve Permissions
In the web browser, enter Microsoft admin credentials and click yes to approve the application permissions.
Choose Setup Option
Once the connection is established, you will be redirected back to the Teams integration, where you can Create event notifications or choose to set up event notifications later. If you choose to Set this up later, you will be taken back to the Teams integration details page.
Select Team and Channels
In the Team & channels modal, select a Team and specify one or more channels where notifications should be sent and click Next.
Configure Event Triggers
In the Set up event notifications modal, toggle the events that should trigger a notification and click Next. Event triggers can be edited later from the Teams integration details page.
Name Event Notification
In the Event notification details modal, enter a name to describe the event notification and click Next.
Test Notification
In the Test notification modal, you can choose to Send a test notification or click Done to complete the setup. The test message should be delivered to the Teams channel(s) selected earlier.
Adding Additional Teams Event Notifications
Once the initial integration setup is complete, additional notifications can be added from the Microsoft Teams integration overview page.Access Integration Details
From the Microsoft Teams integration details page, click Add event notification.
Editing a Notification
Access Notification Menu
To edit a Teams notification, select the contextual menu (…) to the right of the notification and click Edit event notification.
Deleting an Integration or Notification
Deleting Entire Integration
Access Integration Menu
Select the contextual menu (…) in the upper right-hand corner to delete the entire Teams integration and click Delete integration.
Deleting Individual Notification
Access Notification Menu
To delete an individual notification, select the contextual menu (…) to the right of the notification and click Delete event notification.