
Documentation Index

Fetch the complete documentation index at: https://docs.iru.com/llms.txt

Use this file to discover all available pages before exploring further.

Add team members and assign an access level so your team can use the Iru Endpoint Web App. More than one administrator reduces the risk of a lockout and splits day-to-day management work.

Add Additional Administrators

1

Navigate to the Account Menu Button

In Iru Endpoint, in the sidebar, click the Account Menu Button.
2

Access authentication settings

Click the Access option in the menu.
Screenshot of the account menu with Access option highlighted
3

Invite a new user

Click + Administrator in the top right of the Access page.
4

Complete the user details

Fill in the required fields (e.g., email, first name, last name) and choose an access level for the new team member.
5

Submit invitation

Click Save to send the invitation.
Invitations expire after 24 hours. If 24 hours pass before the account is created, an existing administrator or account owner must resend the invitation from Access (Account Menu Button → Access): click the ellipsis next to the user and select Resend invite.

Access Levels

Iru Endpoint provides several access levels to control what team members can do:
  • Account Owner: Full access; cannot be deleted by other team members.
  • Administrator: Full access; can be deleted by other administrators.
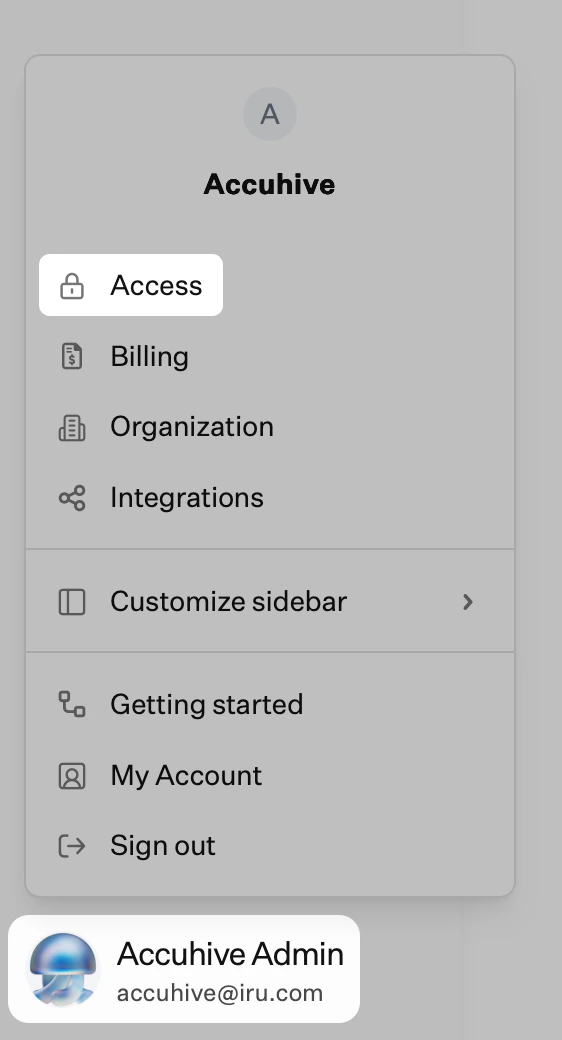
  • Standard: Same as Administrator but no Access or Organization in the Account menu.
  • Help Desk: Read-only Blueprints and Library; can perform all device actions.
  • Auditor: Limited read-only access.
  • Other access levels exist. See Team Member Role Permissions for the full list. For Iru Compliance roles and permissions, see Compliance Permissions.

Next Steps

After adding team members:
1

Configure SSO

See SSO Setup for secure authentication.
2

Set up user directory integration

See User Directory Integration to sync users from your identity provider.