


This guide applies to all device platforms
About Migration from Classic Blueprints to Assignment Maps
Migration from Classic Blueprints to Assignment Maps is the process of moving from the legacy Blueprint system to the modern, flexible Assignment Maps system in Iru Endpoint. This provides better organization and more detailed Library Item scoping capabilities.How It Works
Moving to Assignment Maps improves how you manage your devices in Iru Endpoint. Here’s what you need to know, along with some tips to make the transition as smooth as possible.Automatic vs. Manual Migration
Automatic migration If you have Classic Blueprints with Library Items but no Assignment Rules, those Blueprints have already been automatically converted to Assignment Maps. Any new or duplicated ones are automatically converted every night. Manual migration If your Classic Blueprints include Library Items with Assignment Rules, convert those manually for the most optimized maps. Alternatively, Iru can convert them for you; see How to Convert a Classic Blueprint to an Assignment Map below.Simplifying your Blueprint Landscape
Blueprints are designed to group similar devices, and Assignment Maps take that idea further. As you migrate, aim for clarity and simplicity. If possible, consolidate multiple Classic Blueprints into fewer Assignment Maps to reduce complexity and make management easier.Any Classic Blueprints not migrated to Assignment Maps before April 1, 2026 will be automatically force-converted.
How to Convert a Classic Blueprint to an Assignment Map
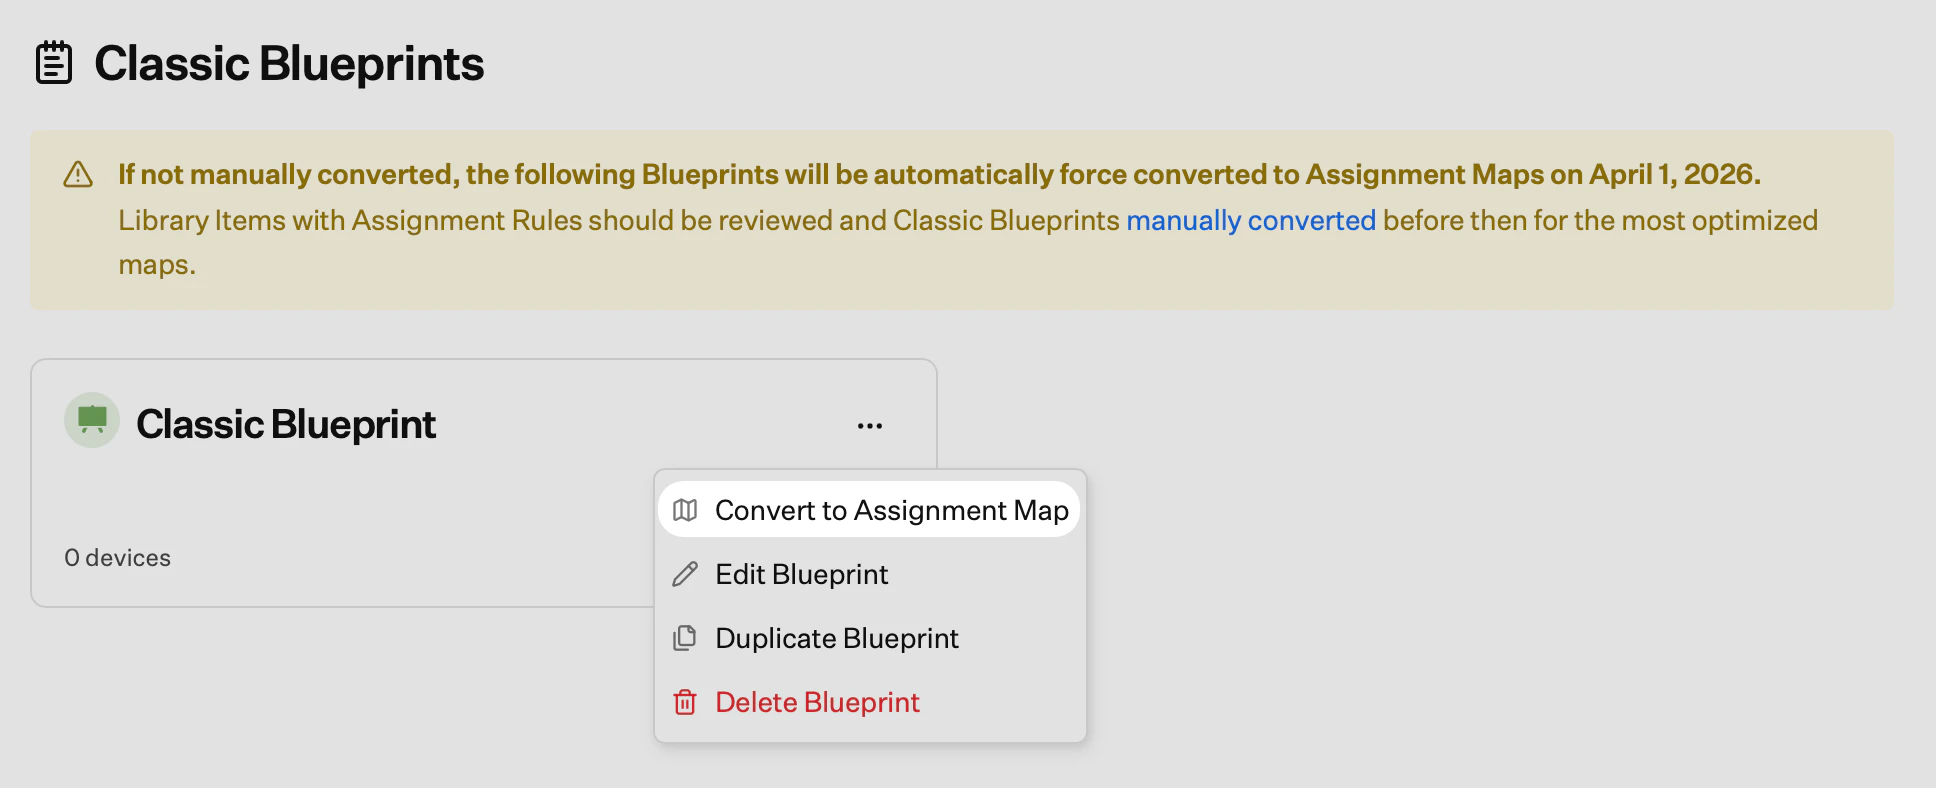
You can convert any Classic Blueprint to an Assignment Map via the ellipsis menu on a Classic Blueprint.Blueprints shown under the yellow banner include Library Items with Assignment Rules. For the most optimized maps, migrate those manually; see the How to Perform a Manual Blueprint Migration section. Iru can also convert them for you using the steps below.
Open the menu for the Classic Blueprint
Click on the ellipsis next to the Classic Blueprint you want to convert.
How to Perform a Manual Blueprint Migration
Create a New Blueprint
If desired, you can create a one-to-one Assignment Map for each Classic Blueprint; however, we recommend consolidating where possible.
Add Library Items
If you’re bringing over Library Items from a Classic Blueprint without Assignment Rules, you can filter those items and drag them into your new Assignment Map.Filter by Blueprint
Click Filters > Blueprint, then check the box next to the Classic Blueprint you’re working with.
-
If you have Library Items with rules, make note of them and recreate that logic in assignment nodes within Conditional Blocks in your Assignment Map. Think about ways to simplify—like grouping items or updating your scoping logic to make things more efficient.
- Example: If you’re deploying a Custom App to several Okta groups, consider nesting those groups under a main group in Okta and referencing that group in your Assignment Map, rather than listing each group individually.
Import Parameters (Optional)
If you’re using Parameters, you can bring them from a Classic Blueprint into your new Assignment Map.Reassign Devices to the New Assignment Map
Once you’ve migrated your Library Items, Parameters, and Assignment Rule logic, you’re ready to move devices from their old Classic Blueprint to the new Assignment Map. You can do this one device at a time or in bulk. Changing a device’s Blueprint only updates Library Item assignments if they’re different between the old and new Blueprint. For example, if both Blueprint include the same WiFi Library Item, moving the device won’t affect its WiFi configuration. It’s a good idea to move a single device or a small group first to confirm everything works as expected. To move an individual device:
To move devices in bulk:
Select Devices
In the Devices view, filter and select the checkboxes next to the devices you want to move.