Documentation Index
Fetch the complete documentation index at: https://docs.iru.com/llms.txt
Use this file to discover all available pages before exploring further.
This guide applies to Mac computers and Windows devices
Product Name Update: Throughout this guide, you may notice references to both “Kandji” and “Iru Endpoint.” Our product is now called Iru Endpoint, but some integration interfaces may still display the previous name. This is a temporary situation that will be resolved as our integration partners update their systems.
About Authorizing Your Iru Endpoint Tenant for Okta Workflows
Authorizing your Iru Endpoint tenant for Okta Workflows enables you to use the Iru Endpoint connector to integrate device management with Okta Workflows, automating critical user lifecycle components.How It Works
The Iru Endpoint connector integrates device management with Okta Workflows, helping to automate critical user lifecycle components that are prone to friction or manual error. This integration allows you to create workflows that automatically respond to user lifecycle events and device management tasks.Prerequisites
Before you begin, ensure you have:- Okta Workflows admin credentials
- Iru Endpoint administrator access
- API access enabled in your Iru Endpoint tenant
Authorizing Your Iru Endpoint Tenant
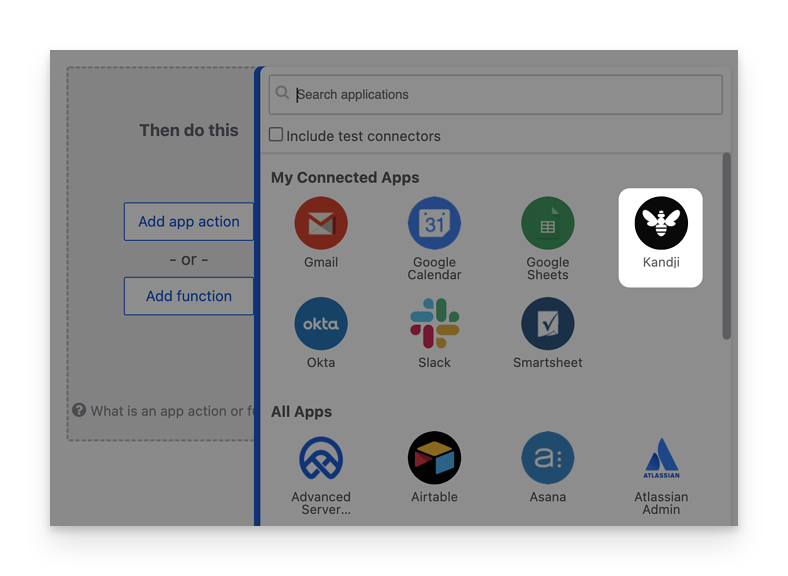
When you add an Iru Endpoint card to a Workflow for the first time, you’ll be prompted to configure the connection. This will enable you to connect your Iru Endpoint API token, save your token information, and reuse the connection for future Workflows.You can create and manage multiple connections from your Connections page.
Creating an Iru Endpoint Connection
Prerequisites:- Okta Workflows admin credentials
- Iru Endpoint Connection nickname
- Iru Endpoint API key
- Iru Endpoint domain (following the format accuhive.api.kandji.io or accuhive.api.eu.kandji.io)
| Permission | Description |
|---|---|
| Devices: Device Information: Device list | Get a list of all devices in the Iru Endpoint tenant |
| Devices: Device Information: Device details | Get the full details for a specific device |
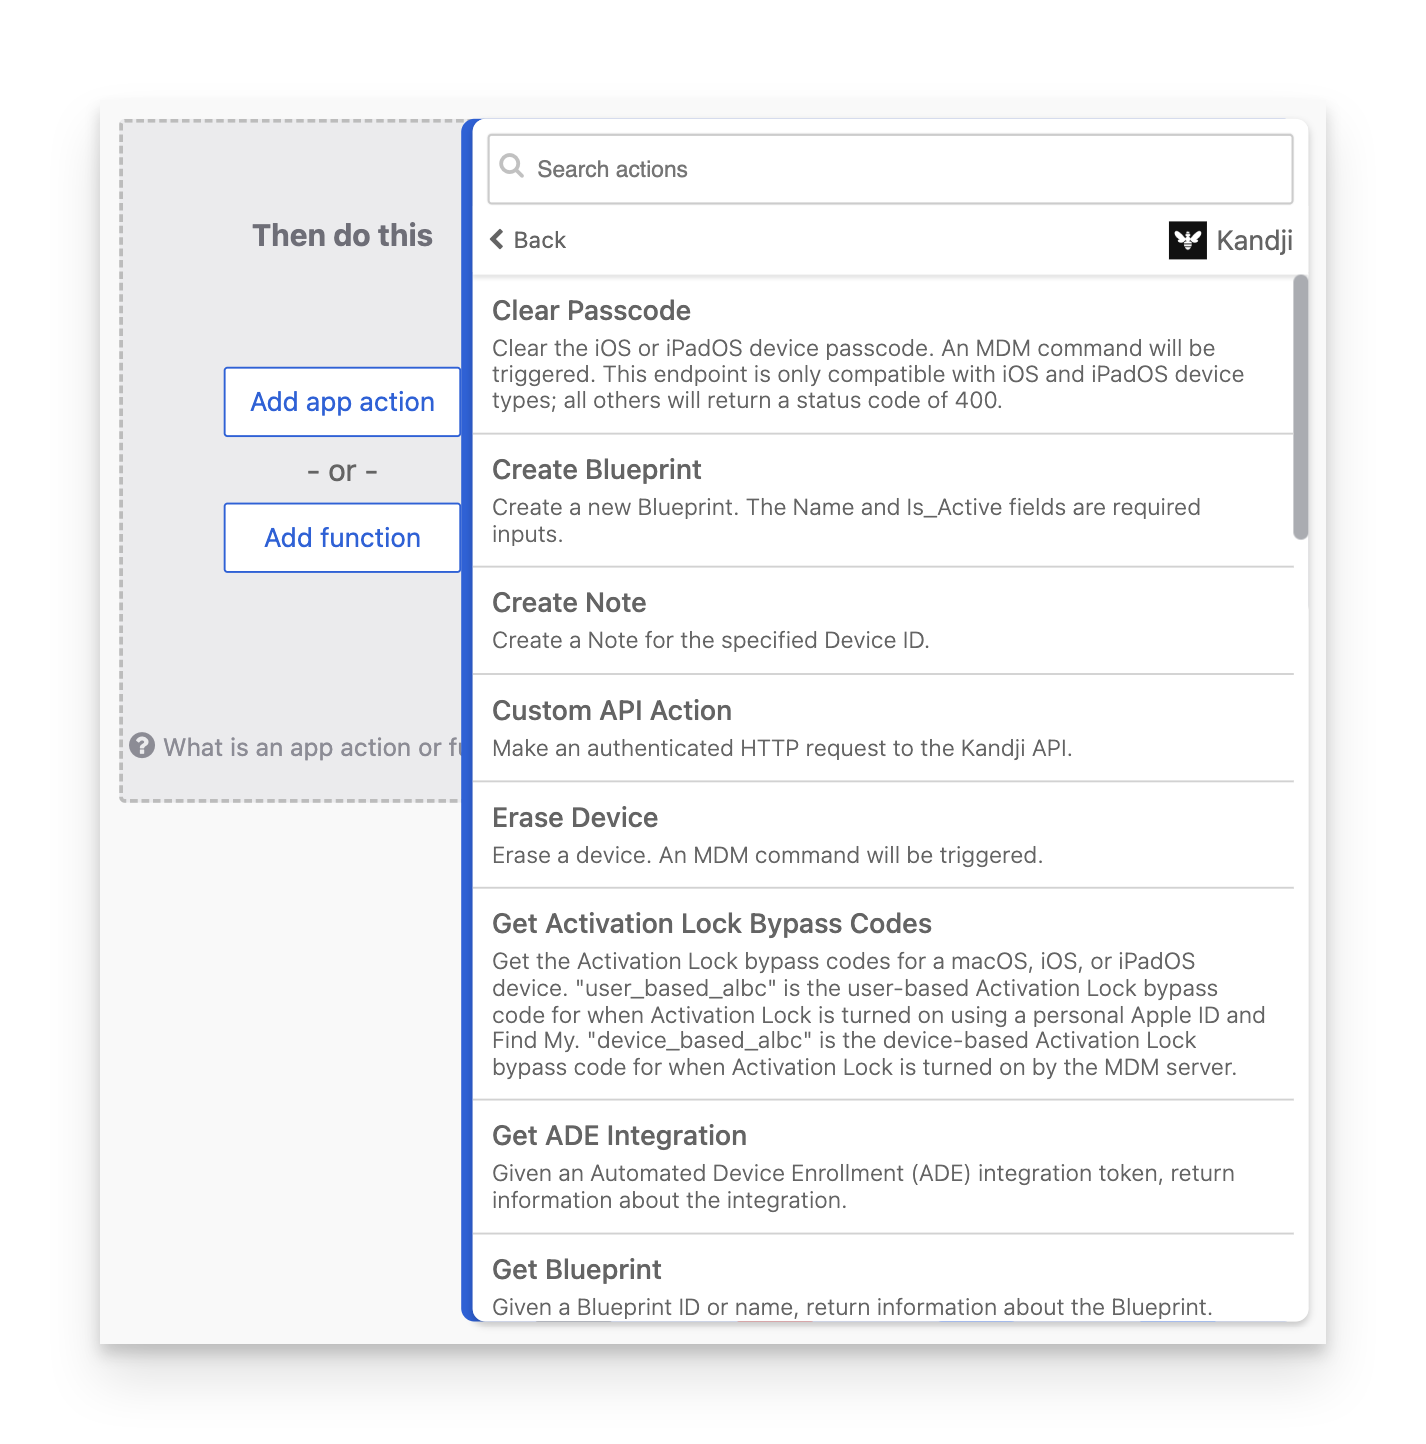
Creating an API Token in Iru Endpoint
To create an API token to use for the Iru Endpoint connector:Verify API Access
Confirm that your Iru Endpoint tenant has API enabled. If it doesn’t, contact your Customer Success Manager.
Add Token Description
In the Description field, enter a description such as Allow Okta Workflows to use the Iru Endpoint API.
Store Token Securely
Store the copied token in a safe place. If you lose the text for the token, you can delete it before you use it and create a new one with the steps above. You’ll use this token in step 3 of the next section.
Confirm Token Copy
Select the checkbox for I have copied the token and understand that I will not be able to see these details again.
Select Permissions
In the Permissions section, select the checkbox for each area to which you want Okta Workflows to have access. For example, select the checkbox for Blueprints Management to enable all permissions for inspecting and modifying Blueprints. Note: You can click the disclosure triangle to the right of the permission type to display more specific permissions.

Setting Up a Connection
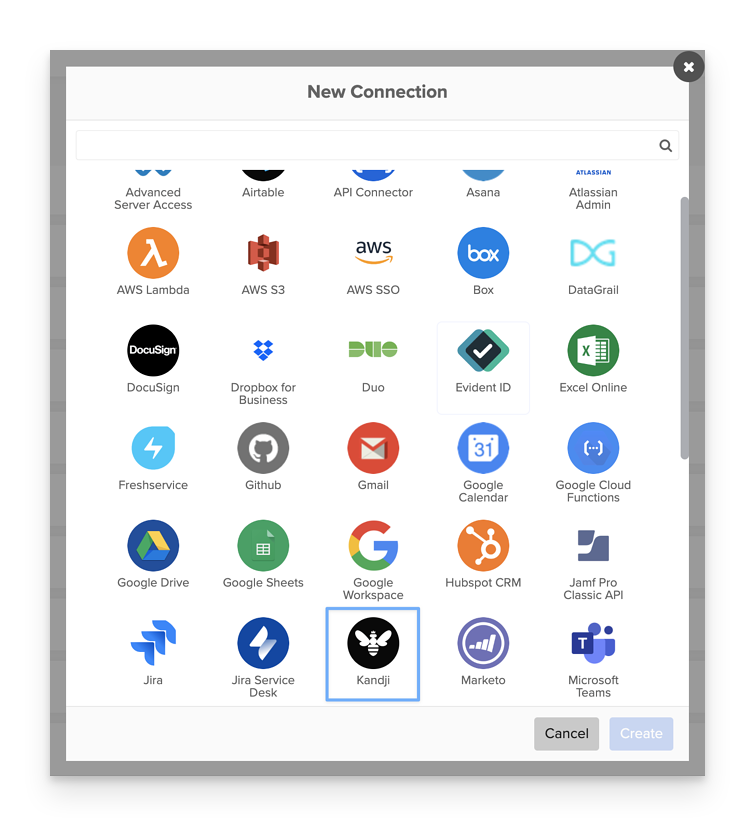
Create New Connection
In Okta Workflows, from the Connections page or any card, click New Connection.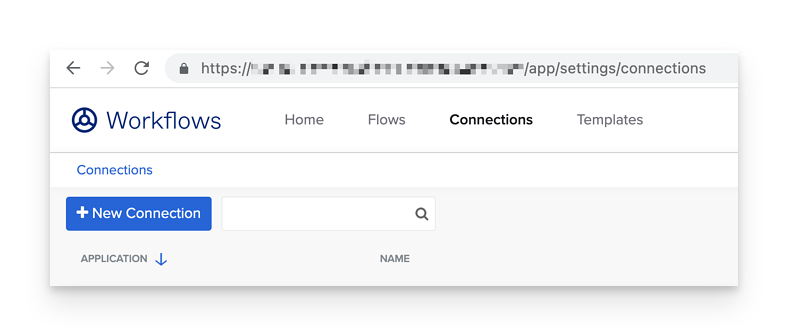
Configure Connection Nickname
In the Connection Nickname field, enter a unique name that will help you distinguish multiple Iru Endpoint tenants or multiple Iru Endpoint API keys.
Enter API Key
In the API key field, enter or paste the text of the API token you generated in step 10 of the previous section.
Enter Domain
In the Kandji domain field, enter your full Iru Endpoint domain (from step 18 of the previous section).