> ## Documentation Index
> Fetch the complete documentation index at: https://docs.iru.com/llms.txt
> Use this file to discover all available pages before exploring further.
# Configure Automated Device Enrollment
> Set up Automated Device Enrollment (ADE) in Iru Endpoint. Connect Apple Business Manager, configure MDM server tokens, and assign default Blueprints.
**Apple Business Manager** is now **Apple Business**. **Apple School Manager** is unchanged. For more information, see [Introducing Apple Business](https://www.apple.com/newsroom/2026/03/introducing-apple-business-a-new-all-in-one-platform-for-businesses-of-all-sizes/) and [Apple Business Manager is now Apple Business](https://support.apple.com/guide/apple-business-manager/apple-business-manager-is-now-apple-business-axmd79d79dea/web).
[Apple Push Notification service](/en/endpoint/settings/apple-integrations/configure-apple-push-notification-service) must be configured in your Iru Endpoint tenant before Automated Device Enrollment can be configured.
### About Automated Device Enrollment
Automated Device Enrollment (ADE) is an Apple feature that helps you automatically enroll devices into Iru Endpoint out of the box. This process simplifies the setup and configuration of corporate-owned Apple devices, such as iPhones, iPads, Macs, and Apple TVs, by managing and supervising them as soon as they're activated. In addition to facilitating zero-touch deployment, Automated Device Enrollment helps ensure that organizations retain management of corporate-owned devices throughout their entire lifecycle—even if they are lost or stolen—by forcing them to enroll back into their assigned MDM server each time they're erased or restored.
### How It Works
Automated Device Enrollment operates through a secure connection between Apple Business or Apple School Manager and Iru Endpoint. When devices are purchased from Apple or authorized resellers, they are automatically added to your organization's account in the same portal. Once assigned to Iru Endpoint, devices check with Apple during activation to verify organizational ownership and retrieve configuration settings.
### Prerequisites
* **Apple Push Notification Service**: [Apple Push Notification service](/en/endpoint/settings/apple-integrations/configure-apple-push-notification-service) must be configured in your Iru Endpoint tenant
* **Apple Business or Apple School Manager access**: Ensure you have administrative access to your organization's portal
* **Device Purchase**: Devices must be purchased from Apple or authorized resellers to be automatically added to Apple Business or Apple School Manager
* **Network Connectivity**: Ensure devices have internet connectivity during the enrollment process
Some Apple devices can be added using Apple Configurator after purchase. See our [Adding Devices to Apple Business or Apple School Manager](/en/endpoint/settings/apple-integrations/adding-devices-to-apple-business-manager) support article for more information.
### Automated Device Enrollment Process
Once devices are available in Apple Business or Apple School Manager, you can assign them to an MDM server like Iru Endpoint. This assignment initiates a sync between Apple and Iru Endpoint (handled by the Automated Device Enrollment token), making device serial numbers available in an Awaiting Enrollment status where they can be assigned to an Assignment Map in the Iru Endpoint Web App.
When a device is powered on and connected to a network, it checks with Apple to verify organizational ownership, then retrieves and applies the configuration assigned by Iru Endpoint.
### Configuring Automated Device Enrollment
In the sidebar, click the [**Account Menu Button**](/en/iru/platform-overview/account-menu), then select **Integrations**.
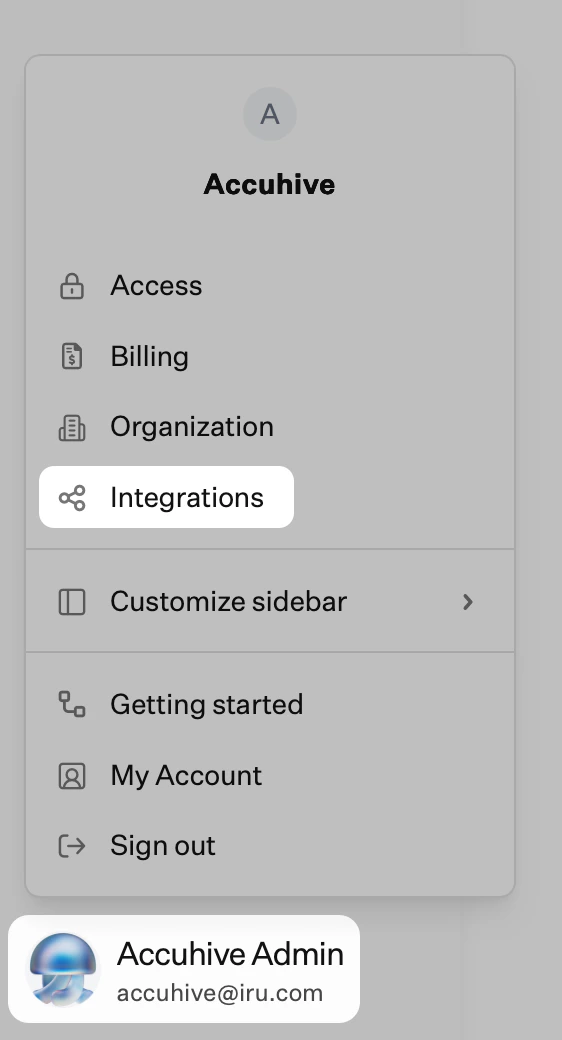 Select the **Apple integrations** section.
Under Automated Device Enrollment, click **Set up Automated Device Enrollment**.
In the setup wizard, continue until Iru Endpoint provides a **PEM** public key file (download or save it when prompted). You will upload this file to Apple Business or Apple School Manager in the next steps.
Sign in to [Apple Business](https://business.apple.com) or [Apple School Manager](https://school.apple.com) with a Managed Apple Account that can manage device management services.
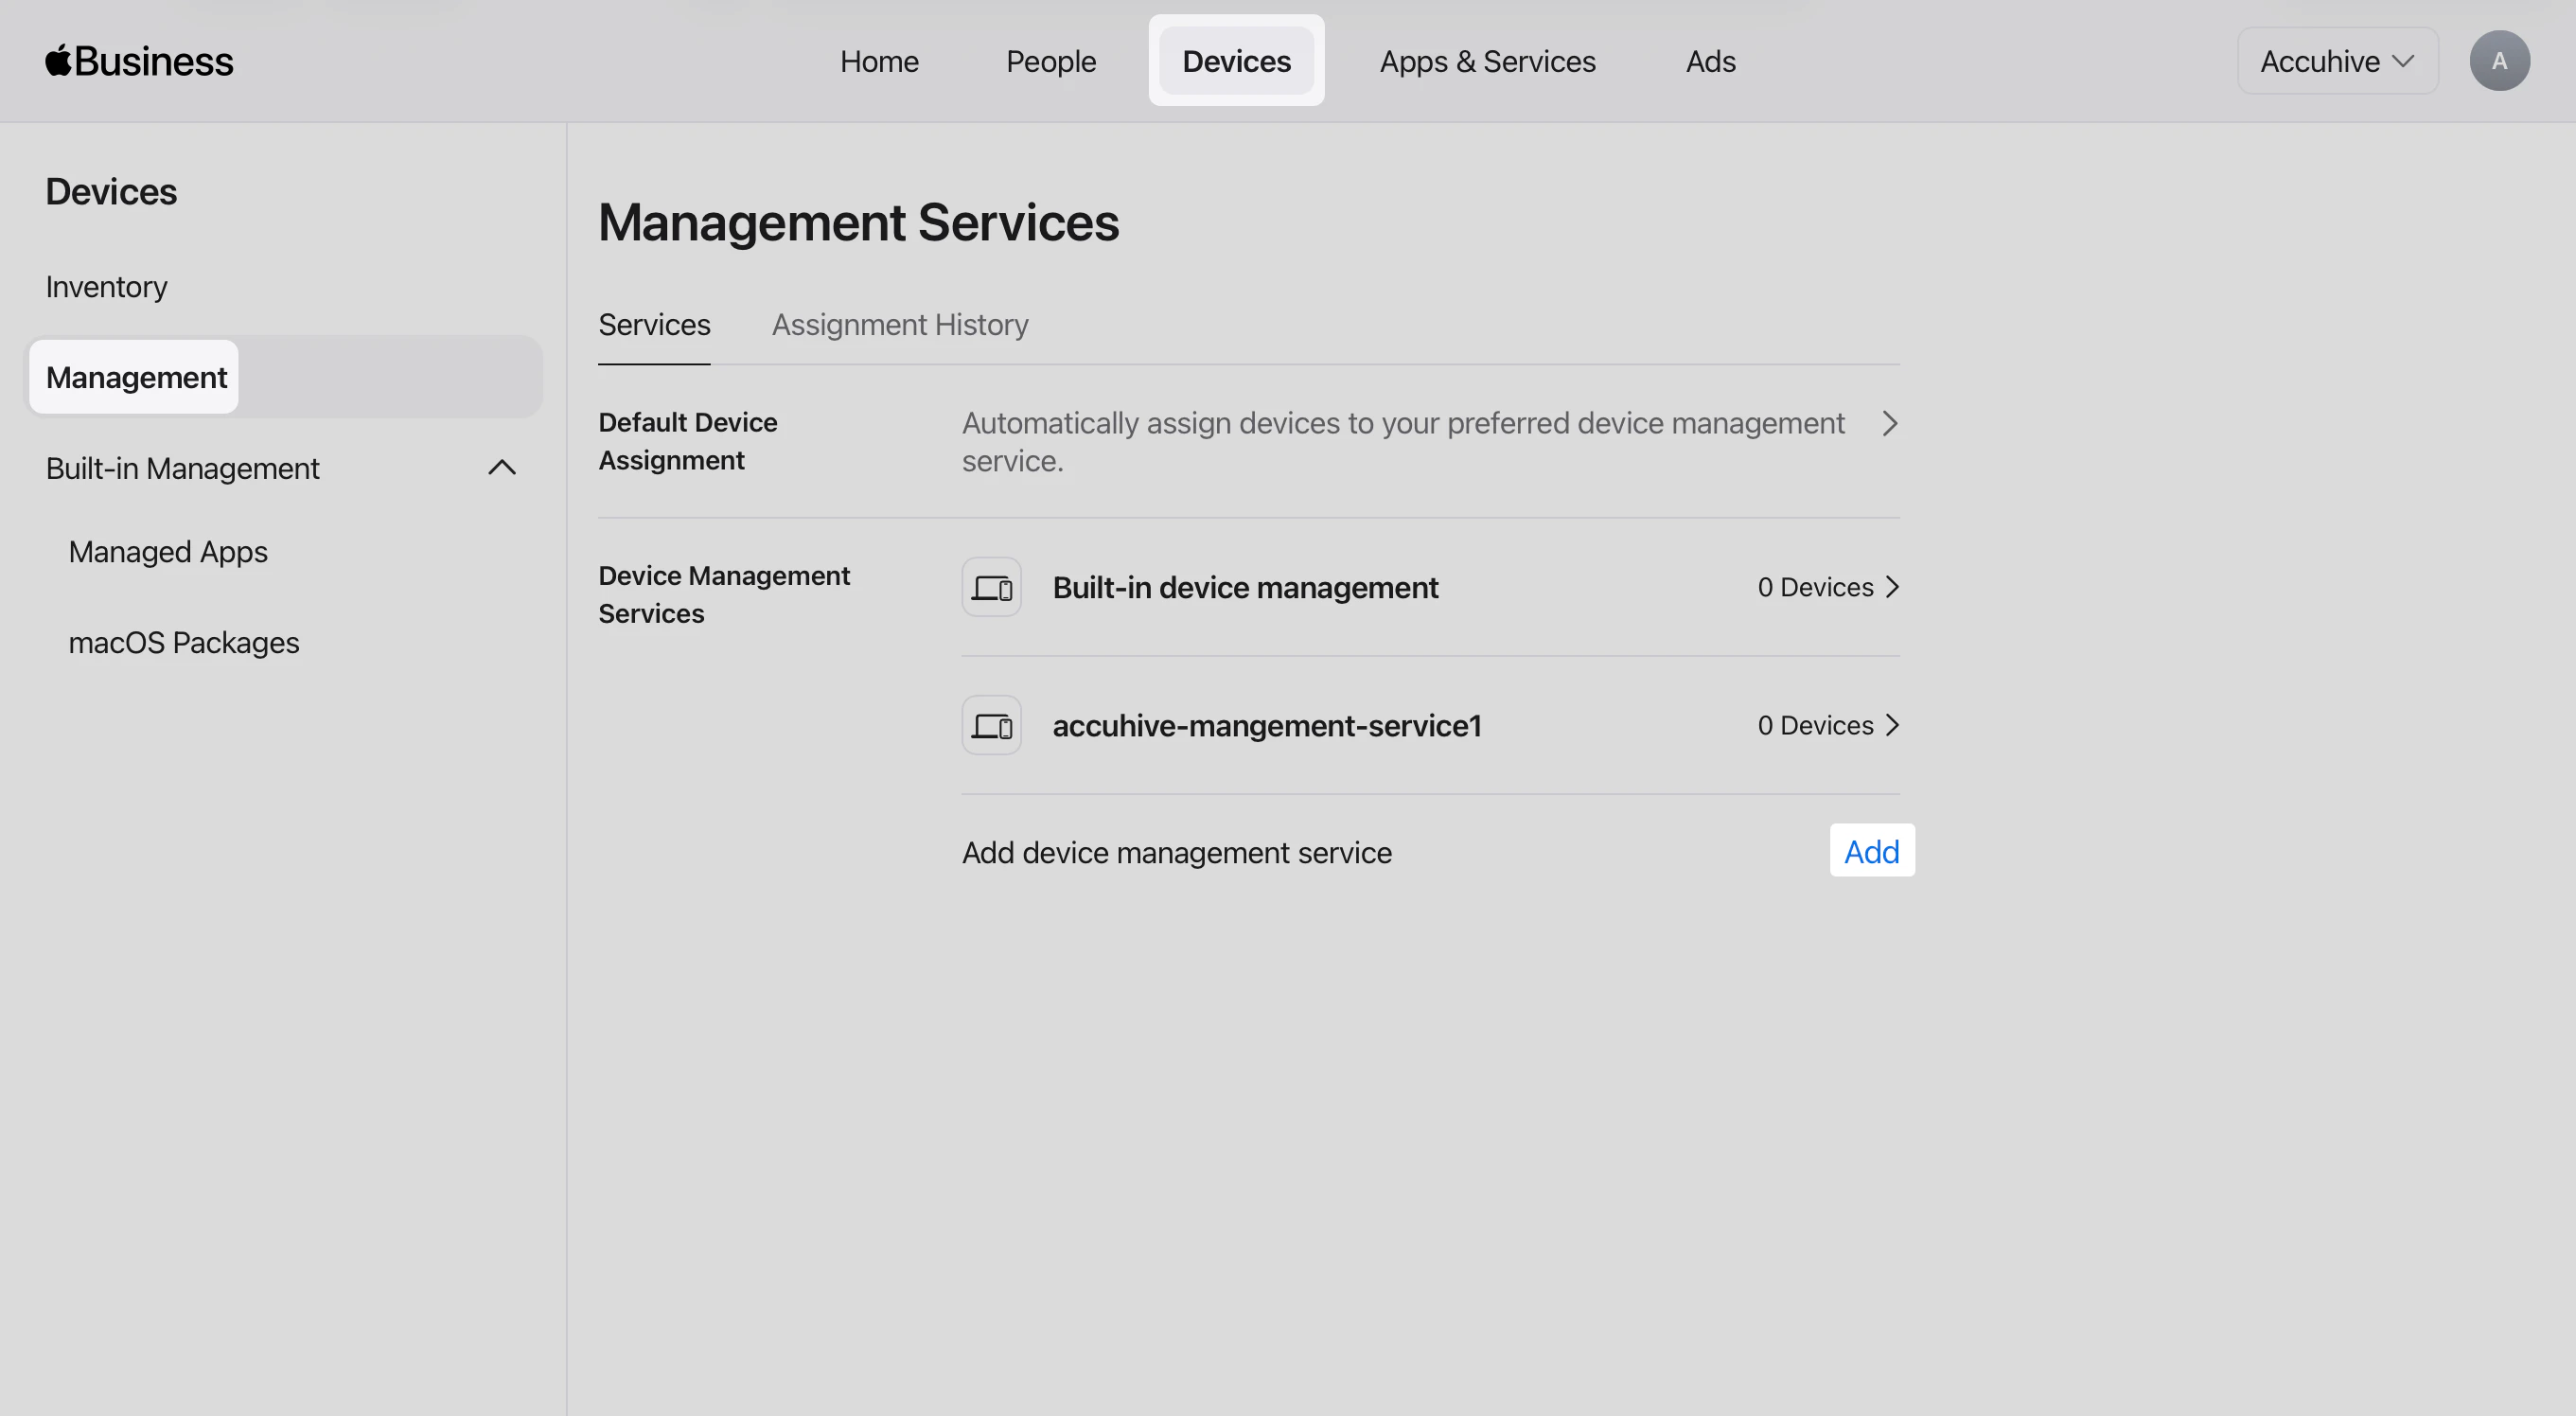
Click the **Devices** tab at the top of the page.
In the left sidebar, click **Management**.
Scroll to the bottom of the **Management Services** list and click **Add** next to **Add device management service**.
Select the **Apple integrations** section.
Under Automated Device Enrollment, click **Set up Automated Device Enrollment**.
In the setup wizard, continue until Iru Endpoint provides a **PEM** public key file (download or save it when prompted). You will upload this file to Apple Business or Apple School Manager in the next steps.
Sign in to [Apple Business](https://business.apple.com) or [Apple School Manager](https://school.apple.com) with a Managed Apple Account that can manage device management services.
Click the **Devices** tab at the top of the page.
In the left sidebar, click **Management**.
Scroll to the bottom of the **Management Services** list and click **Add** next to **Add device management service**.
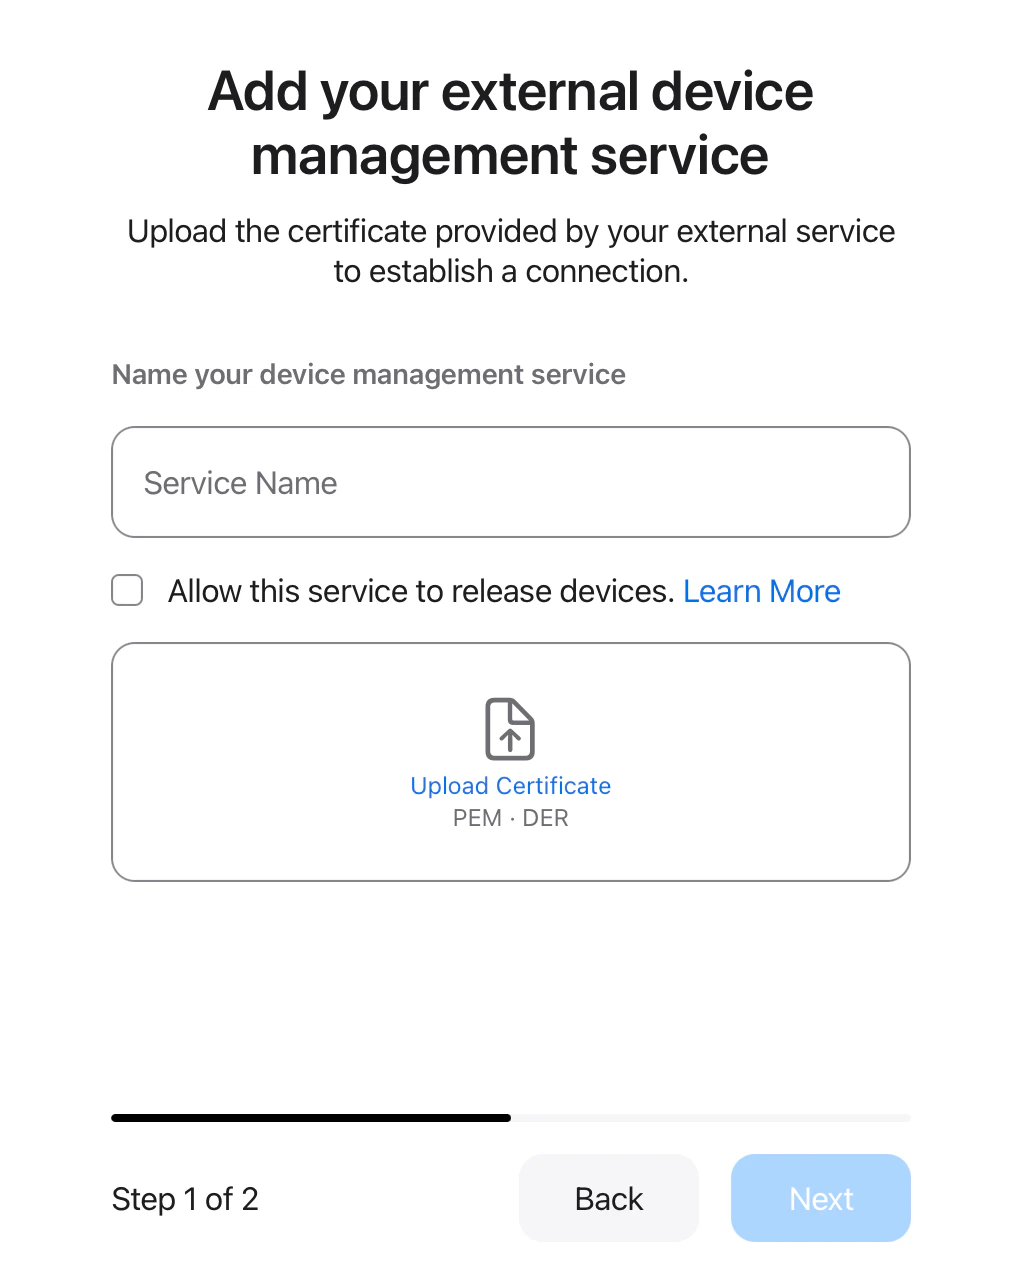
 In the **Service Name** field, enter a name for this MDM integration (for example, **Iru Endpoint**).
If your organization needs it, select **Allow this service to release devices**.
Upload the **PEM** file from Iru Endpoint.
Click **Next**.
In the **Service Name** field, enter a name for this MDM integration (for example, **Iru Endpoint**).
If your organization needs it, select **Allow this service to release devices**.
Upload the **PEM** file from Iru Endpoint.
Click **Next**.
 Click **Download Service Token**.
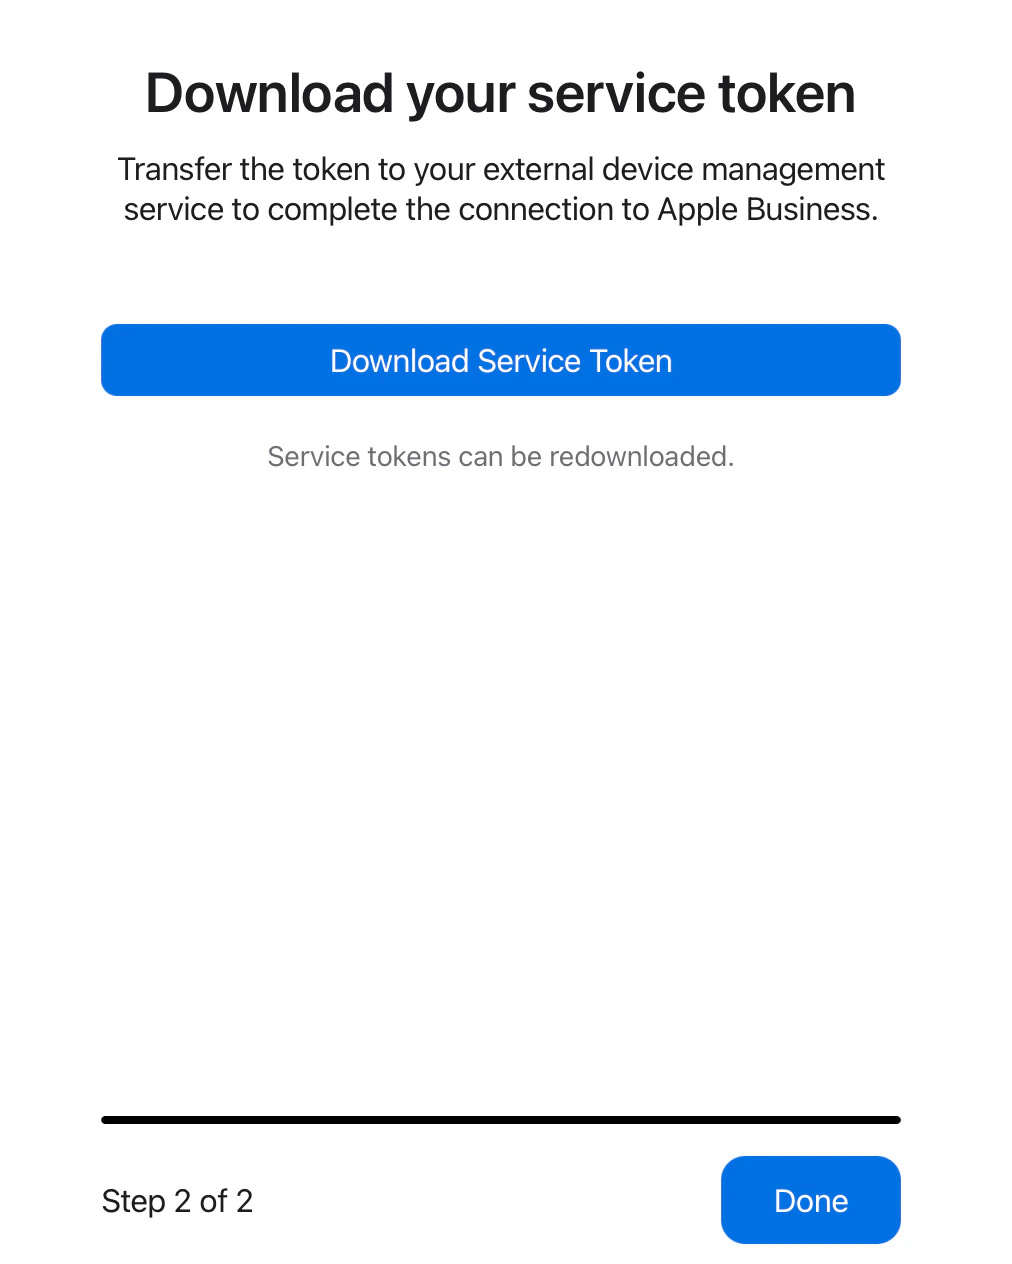 Click **Done**.
Return to Iru Endpoint and upload the **.p7m** service token file when prompted.
Complete any remaining steps in the wizard and click **Done**.
### Considerations
* **APNs Configuration**: Ensure Apple Push Notification service is properly configured before setting up ADE
* **Network Requirements**: Verify network connectivity and firewall settings for Apple services
* **Updates**: Stay informed about Apple's ADE requirements and updates
* **Device Assignment**: Plan your device assignment strategy for Assignment Maps
* **User Experience**: Test the enrollment process to ensure smooth user experience
* **Testing**: Test ADE configuration in a controlled environment before production deployment
* **Monitoring**: Regularly monitor ADE status and device enrollment success rates
* **Security Policies**: Configure appropriate security policies for corporate-owned devices
* **Lost Device Protection**: Understand how ADE helps protect against lost or stolen devices
* **Compliance Requirements**: Ensure ADE configuration meets your organization's compliance needs
* **Device Lifecycle**: Plan for device management throughout the entire lifecycle
* **Backup Strategy**: Have a plan for managing devices if ADE becomes unavailable
* **Documentation**: Keep records of ADE configuration and device assignments
* **Support**: Contact Iru Endpoint Support for assistance with complex ADE scenarios
Click **Done**.
Return to Iru Endpoint and upload the **.p7m** service token file when prompted.
Complete any remaining steps in the wizard and click **Done**.
### Considerations
* **APNs Configuration**: Ensure Apple Push Notification service is properly configured before setting up ADE
* **Network Requirements**: Verify network connectivity and firewall settings for Apple services
* **Updates**: Stay informed about Apple's ADE requirements and updates
* **Device Assignment**: Plan your device assignment strategy for Assignment Maps
* **User Experience**: Test the enrollment process to ensure smooth user experience
* **Testing**: Test ADE configuration in a controlled environment before production deployment
* **Monitoring**: Regularly monitor ADE status and device enrollment success rates
* **Security Policies**: Configure appropriate security policies for corporate-owned devices
* **Lost Device Protection**: Understand how ADE helps protect against lost or stolen devices
* **Compliance Requirements**: Ensure ADE configuration meets your organization's compliance needs
* **Device Lifecycle**: Plan for device management throughout the entire lifecycle
* **Backup Strategy**: Have a plan for managing devices if ADE becomes unavailable
* **Documentation**: Keep records of ADE configuration and device assignments
* **Support**: Contact Iru Endpoint Support for assistance with complex ADE scenarios