> ## Documentation Index
> Fetch the complete documentation index at: https://docs.iru.com/llms.txt
> Use this file to discover all available pages before exploring further.
# Authorize Your Iru Tenant for Okta Workflows
> Authorize your Iru Endpoint tenant for Okta Workflows integration. Generate API tokens, configure the connector, and enable automated device workflows.
This guide applies to Mac computers and Windows devices
In Okta Workflows, the connector is still listed as **Kandji**. The steps in this guide that create an API token and copy your domain are performed in **Iru Endpoint**. When you configure the connection in Okta Workflows, select **Kandji** and enter your Iru Endpoint API token and domain.
### About Authorizing Your Iru Tenant for Okta Workflows
Authorizing your Iru Endpoint tenant for Okta Workflows lets Okta Workflows connect to your tenant through the **Kandji** connector, so you can automate device management tasks in your workflows.
### How It Works
The **Kandji** connector in Okta Workflows connects to your Iru Endpoint tenant using an API token and domain. After you configure the connection, you can build workflows that respond to user lifecycle events and device management tasks without manual steps in Iru Endpoint.
### Prerequisites
Before you begin, ensure you have:
* Okta Workflows admin credentials
* Iru Endpoint administrator access
* API access enabled in your Iru Endpoint tenant
After successfully authorizing your Iru Endpoint tenant for Okta Workflows, you can [use Kandji connector action cards in Okta Workflows](/en/endpoint/integrations/okta-workflows/use-kandji-connector-action-cards-with-okta-workflows).
### Authorizing Your Iru Tenant
Authorization has two parts: create an API token and copy your domain in **Iru Endpoint**, then configure the **Kandji** connector in **Okta Workflows** with those values.
When you add a **Kandji** card to a workflow for the first time, Okta Workflows prompts you to configure the connection. You can save the connection and reuse it for future workflows.
You can create and manage multiple connections from your **Connections** page.
#### Creating an API Token in Iru Endpoint
Complete these steps in the **Iru Endpoint** web app.
To create an API token for the Kandji connector in Okta Workflows:
Sign in to the Iru Endpoint web app with administrator credentials.
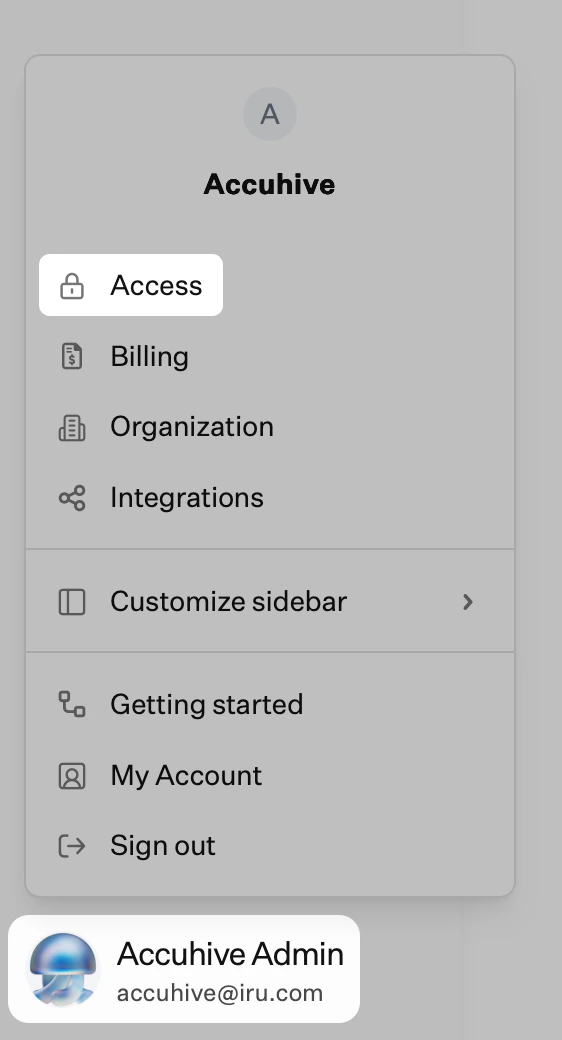
In the sidebar, click the [**Account Menu Button**](/en/iru/platform-overview/account-menu), then select **Access**.
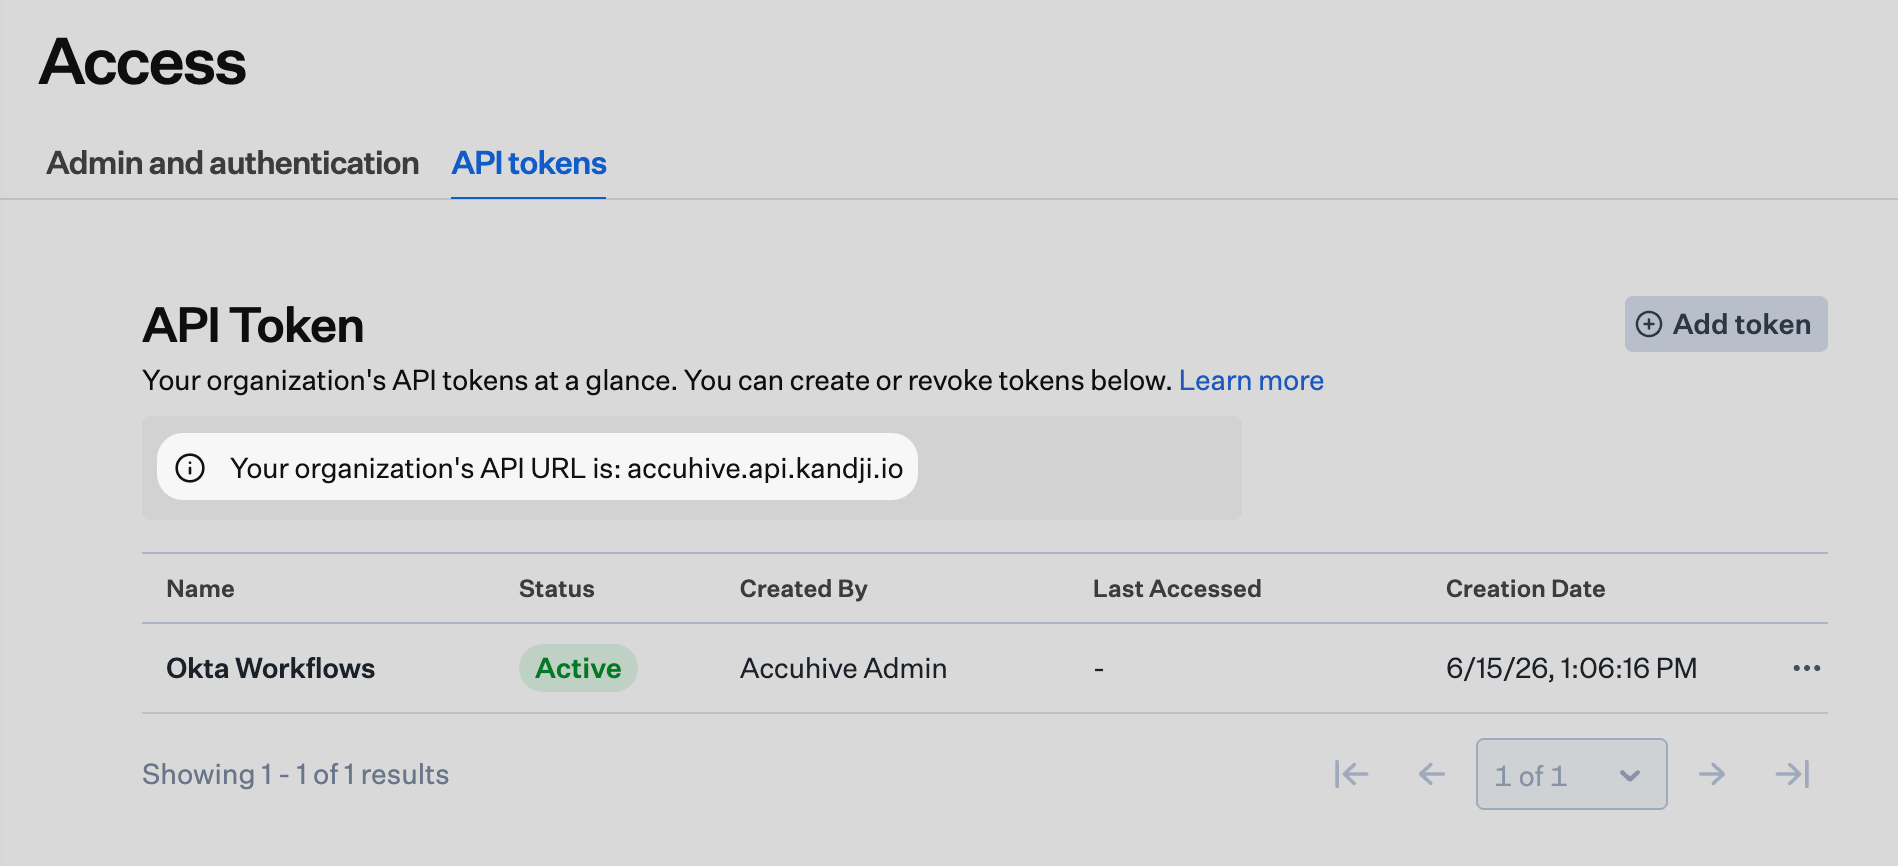
 On the **API tokens** tab, click **Add Token**.
In the **Name** field, enter a name such as Okta Workflows.
In the Description field, enter a description such as *Allow Okta Workflows to use the Iru Endpoint API*.
Click **Create**.
In the **Copy your API token** dialog, click **Copy Token**.
Store the copied token in a safe place. If you lose the text for the token, you can delete it before you use it and create a new one with the steps above. You'll use this token in step 4 of the next section.
Select the checkbox for **I have copied the token and understand that I will not be able to see these details again.**
Click Next.
In the **Manage API Permissions** dialog, click **Configure**.
In the Permissions section, select the checkbox for each area to which you want Okta Workflows to have access. For example, select the checkbox for **Blueprints Management** to enable all permissions for inspecting and modifying Blueprints. Note: You can click the disclosure triangle to the right of the permission type to display more specific permissions.
Review the permissions you've configured for the API token.
Click **Save** then **Close**.
On the **API tokens** tab, confirm that your new token is displayed.
In **Your organization's API URL is** field, copy or make a note of your Iru Endpoint domain.
On the **API tokens** tab, click **Add Token**.
In the **Name** field, enter a name such as Okta Workflows.
In the Description field, enter a description such as *Allow Okta Workflows to use the Iru Endpoint API*.
Click **Create**.
In the **Copy your API token** dialog, click **Copy Token**.
Store the copied token in a safe place. If you lose the text for the token, you can delete it before you use it and create a new one with the steps above. You'll use this token in step 4 of the next section.
Select the checkbox for **I have copied the token and understand that I will not be able to see these details again.**
Click Next.
In the **Manage API Permissions** dialog, click **Configure**.
In the Permissions section, select the checkbox for each area to which you want Okta Workflows to have access. For example, select the checkbox for **Blueprints Management** to enable all permissions for inspecting and modifying Blueprints. Note: You can click the disclosure triangle to the right of the permission type to display more specific permissions.
Review the permissions you've configured for the API token.
Click **Save** then **Close**.
On the **API tokens** tab, confirm that your new token is displayed.
In **Your organization's API URL is** field, copy or make a note of your Iru Endpoint domain.
 #### Setting Up the Kandji Connector in Okta Workflows
Complete these steps in **Okta Workflows**. You need the API token and domain from the previous section.
You can create more than one connection. For example, you might have multiple Iru Endpoint tenants or be testing multiple API tokens. The API token must include at least **Devices: Device Information: Device list** permission. Grant additional permissions based on the workflow actions you plan to use. For example, to list all devices, the token needs:
| Permission | Description |
| ----------------------------------------------- | ---------------------------------------------------- |
| **Devices: Device Information: Device list** | Get a list of all devices in the Iru Endpoint tenant |
| **Devices: Device Information: Device details** | Get the full details for a specific device |
In Okta Workflows, from the Connections page or any card, click **New Connection**.
#### Setting Up the Kandji Connector in Okta Workflows
Complete these steps in **Okta Workflows**. You need the API token and domain from the previous section.
You can create more than one connection. For example, you might have multiple Iru Endpoint tenants or be testing multiple API tokens. The API token must include at least **Devices: Device Information: Device list** permission. Grant additional permissions based on the workflow actions you plan to use. For example, to list all devices, the token needs:
| Permission | Description |
| ----------------------------------------------- | ---------------------------------------------------- |
| **Devices: Device Information: Device list** | Get a list of all devices in the Iru Endpoint tenant |
| **Devices: Device Information: Device details** | Get the full details for a specific device |
In Okta Workflows, from the Connections page or any card, click **New Connection**.
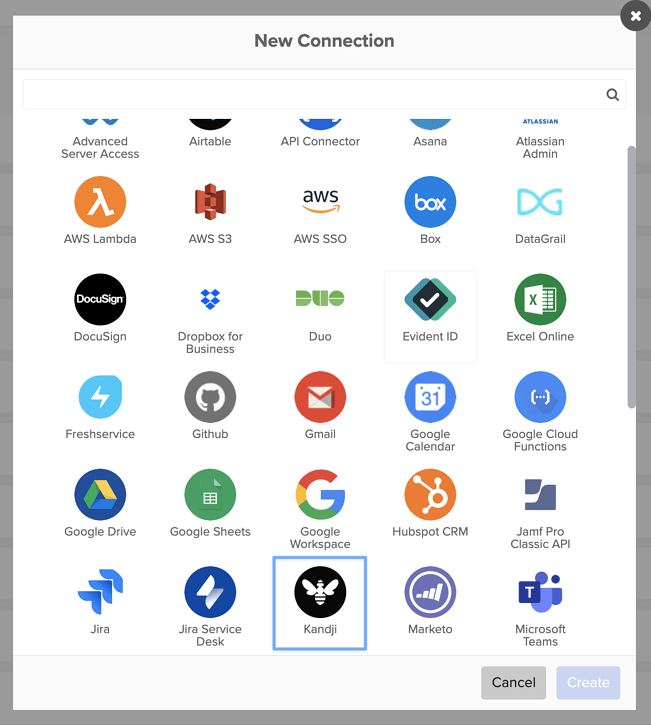
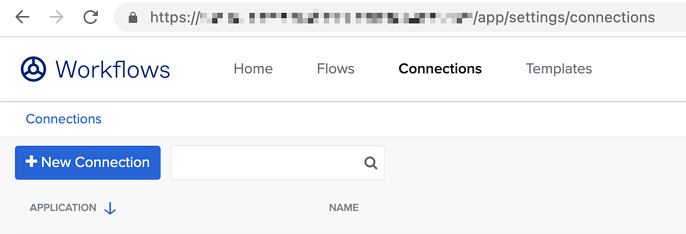 In the New Connection window, scroll if necessary, then select **Kandji**. This is the connector name in Okta Workflows; it connects to your Iru Endpoint tenant.
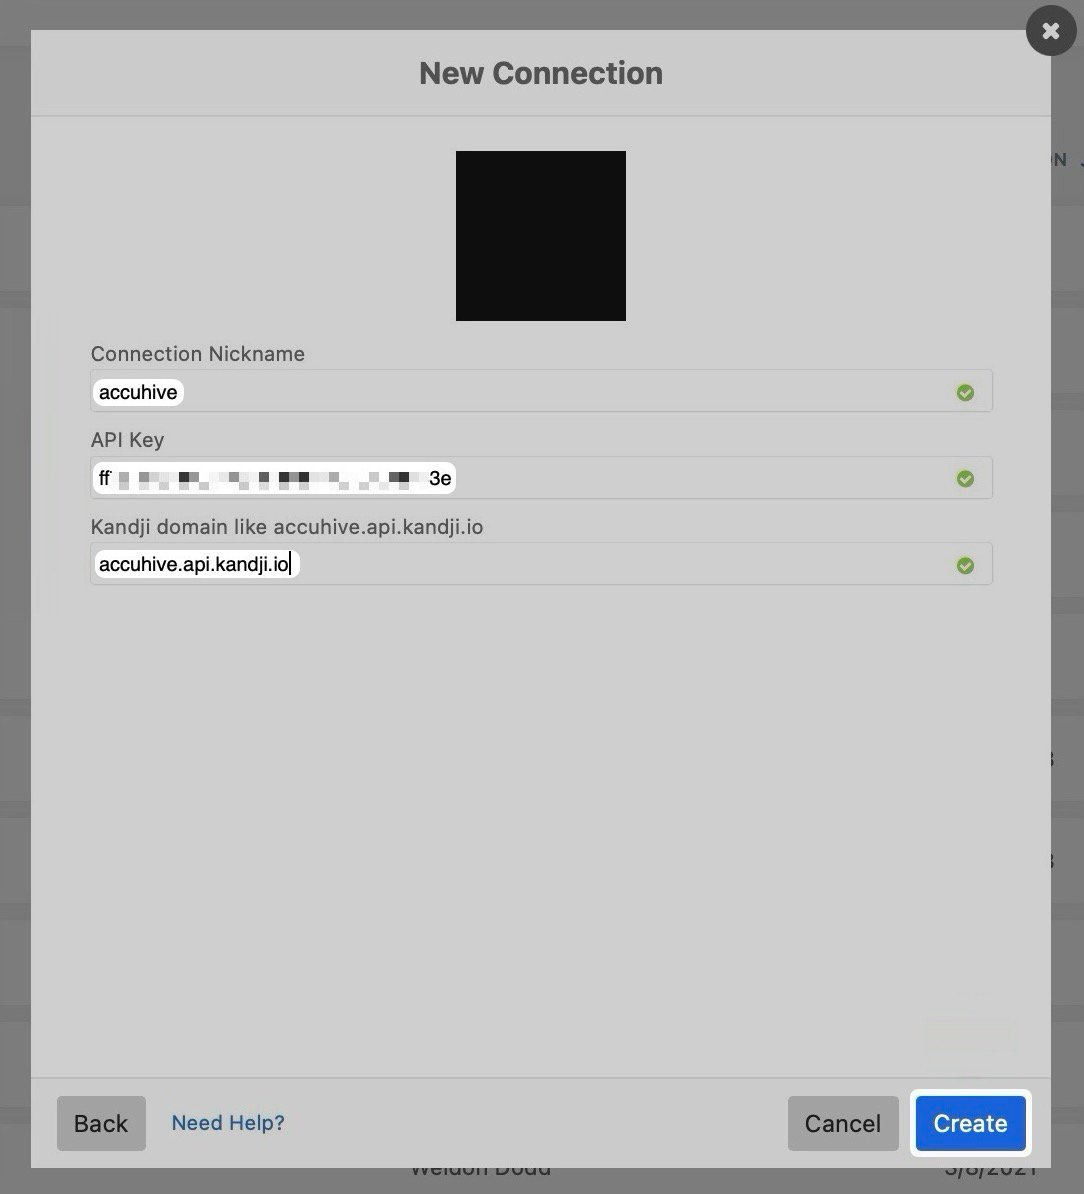
 In the **Connection Nickname** field, enter a unique name that will help you distinguish multiple Iru Endpoint tenants or multiple Iru Endpoint API keys.
In the **API key** field, enter or paste the text of the API token you generated in step 7 of the previous section.
In the **Kandji domain** field, enter your full Iru Endpoint domain from step 16 of the previous section. Okta Workflows labels this field **Kandji domain**, but the value is your Iru Endpoint API URL (for example, *accuhive.api.kandji.io* or *accuhive.api.eu.kandji.io*).
Click **Create**.
In the **Connection Nickname** field, enter a unique name that will help you distinguish multiple Iru Endpoint tenants or multiple Iru Endpoint API keys.
In the **API key** field, enter or paste the text of the API token you generated in step 7 of the previous section.
In the **Kandji domain** field, enter your full Iru Endpoint domain from step 16 of the previous section. Okta Workflows labels this field **Kandji domain**, but the value is your Iru Endpoint API URL (for example, *accuhive.api.kandji.io* or *accuhive.api.eu.kandji.io*).
Click **Create**.
 The **Kandji** connector is now configured and connected to your Iru Endpoint tenant. You can use it with the available connector cards.
#### Using the Connection in Workflows
In Workflows go to the Flows section and click **+New Flow**.
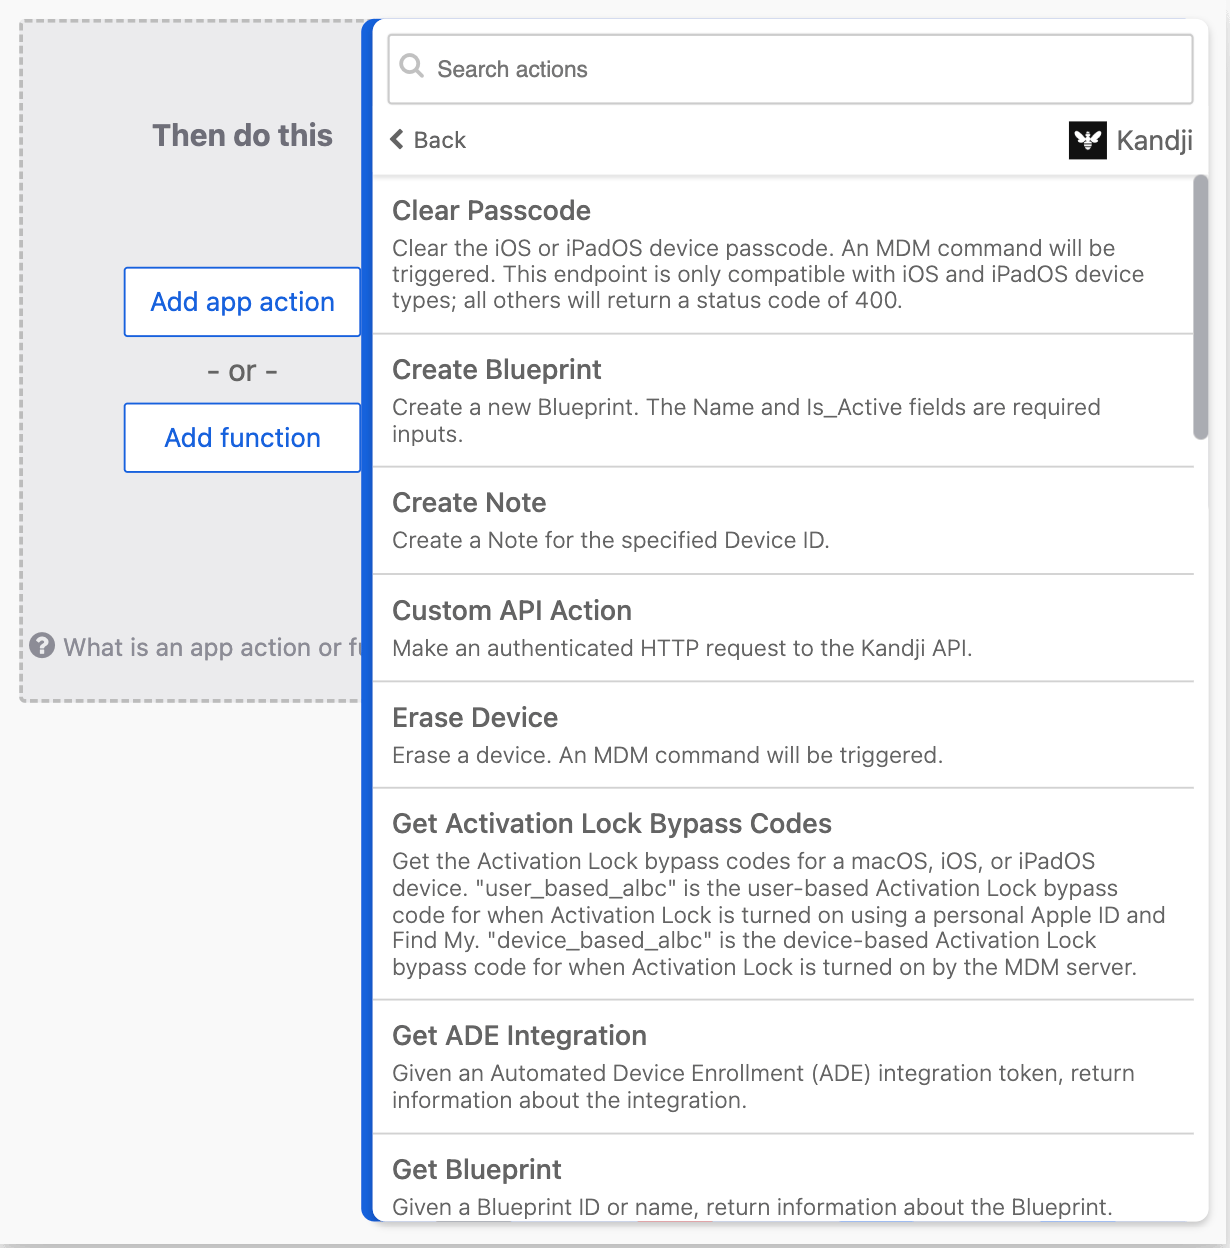
Click **Add app action**.
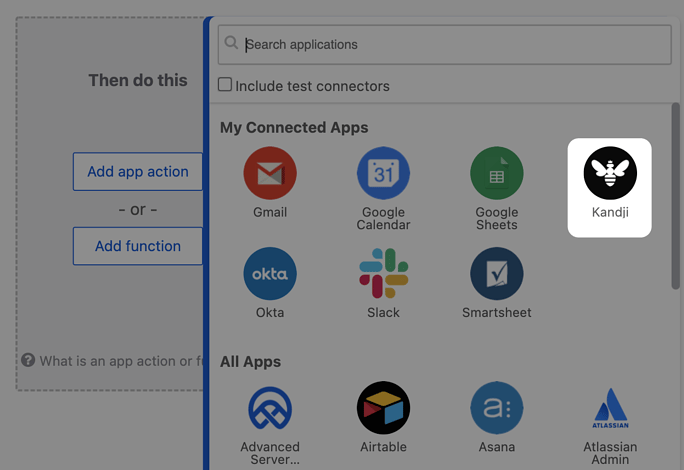
In the **My Connected Apps** section, click **Kandji**. Okta Workflows still displays this app name; it provides access to your Iru Endpoint tenant.
The **Kandji** connector is now configured and connected to your Iru Endpoint tenant. You can use it with the available connector cards.
#### Using the Connection in Workflows
In Workflows go to the Flows section and click **+New Flow**.
Click **Add app action**.
In the **My Connected Apps** section, click **Kandji**. Okta Workflows still displays this app name; it provides access to your Iru Endpoint tenant.
 Select a connector card.
Configure the card and continue building your workflow.
Select a connector card.
Configure the card and continue building your workflow.